Flannel Scarf with Fringe Sewing Tutorial
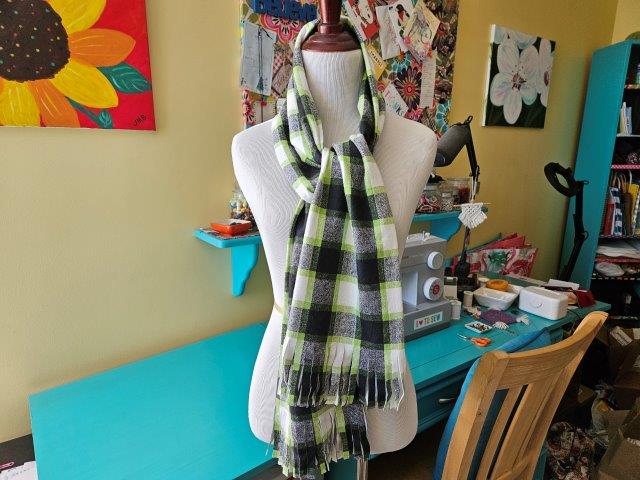
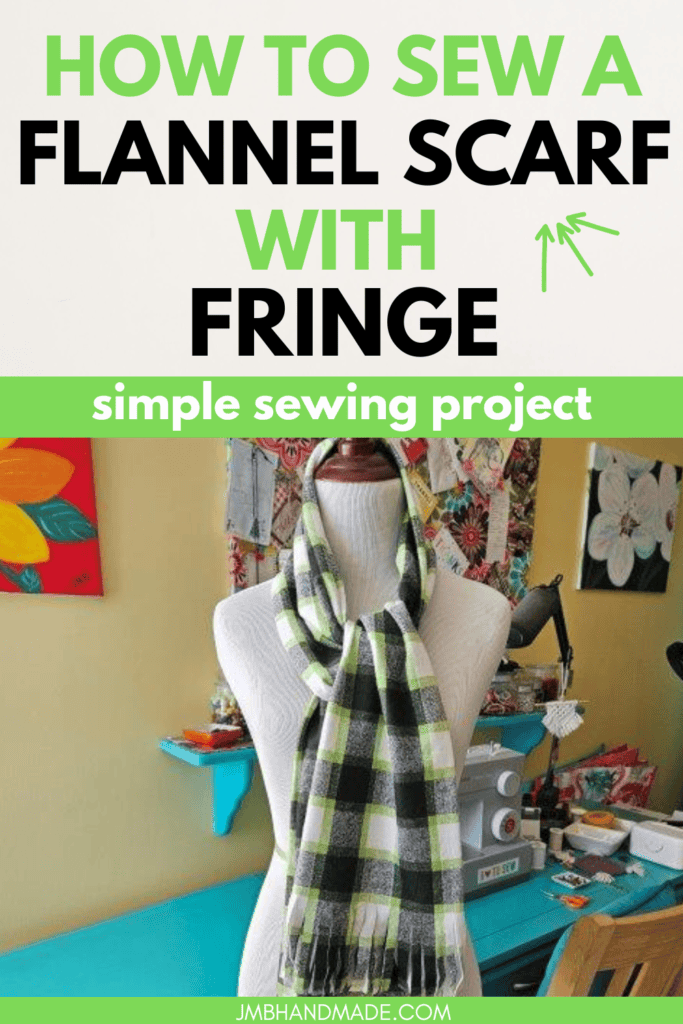
Sew a flannel scarf with fringe out of a fabric remnant using these step-by-step instructions.
This easy flannel scarf with fringe is sewn using just under a yard of fabric. I found a flannel fabric remnant and loved the plaid and colors. A flannel scarf was the perfect sewing project for this plaid fabric. I plan on wearing the finished scarf this winter at my son’s college and it matches my coat! Plus, it’s lightweight yet warm and this scarf is such a quick sew!
Another scarf you might like is the t-shirt scarf made out of shirts you no longer wear!
This post contains affiliate links. Please see below disclosure for more information.
***You can find the AD-FREE, printable PDF version of this sewing tutorial available for purchase in my Etsy shop HERE. Includes 8 pages of step-by-step instructions with pictures. Print a copy to keep next to your sewing machine for easy reference.***
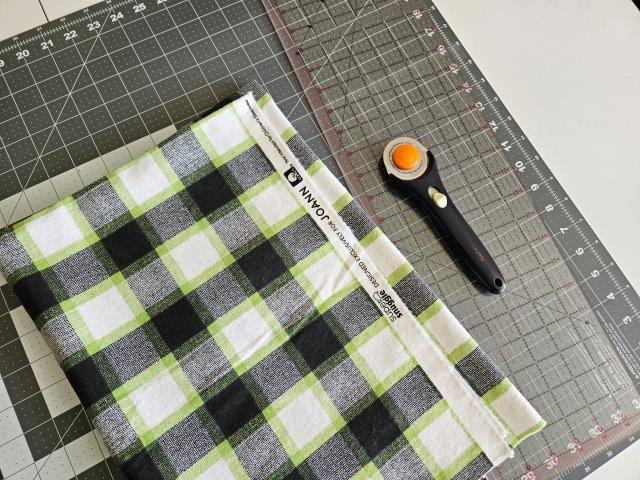
Flannel scarf supplies needed:
- Cotton flannel fabric – 3/4 – 1 yard of fabric
- Cutting mat
- Rotary cutter
- Clear ruler
- Sewing scissors
- Straight pins or clips
- Sewing machine
Cut your fabric in half
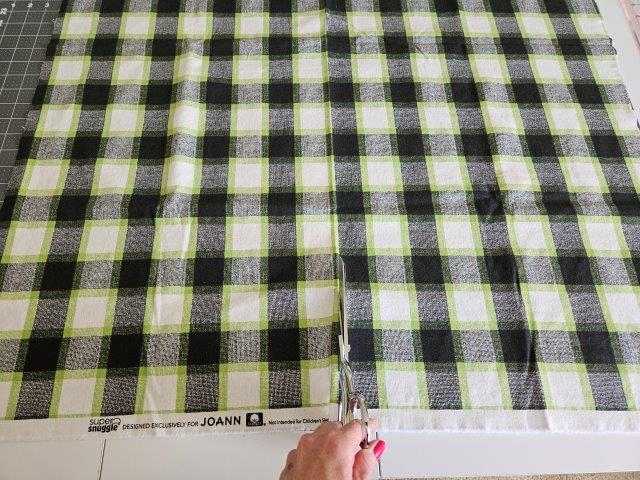
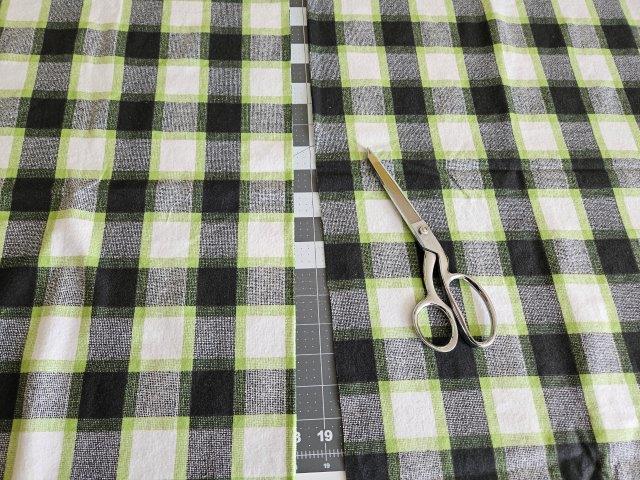
Lay out your fabric. Using your sewing scissors, cut the fabric in half lengthwise. It doesn’t need to be exact right now. You will be trimming the edges later. Because my flannel fabric is plaid, I cut along the plaid line.
Sew the two fabric pieces together
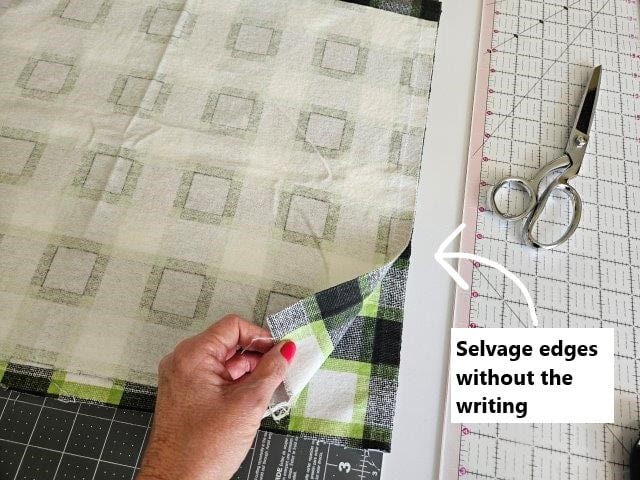
Place one fabric piece on top of the other, right sides together, lining up the selvage edges (without the writing).
Line up the fabric pattern as best as you can, if necessary. Since I’m working with plaid, it was easy for me to line up the pattern. If it’s not lined up exactly, it doesn’t matter too much – this part of the flannel scarf will be around your neck. You will be trimming the long edges in a later step.
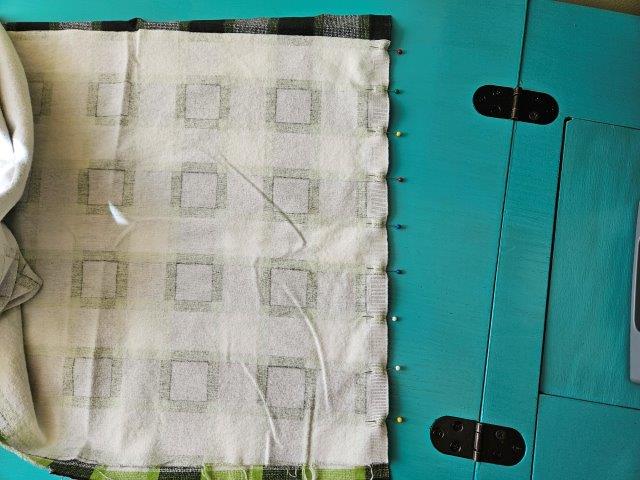
Pin to hold in place.
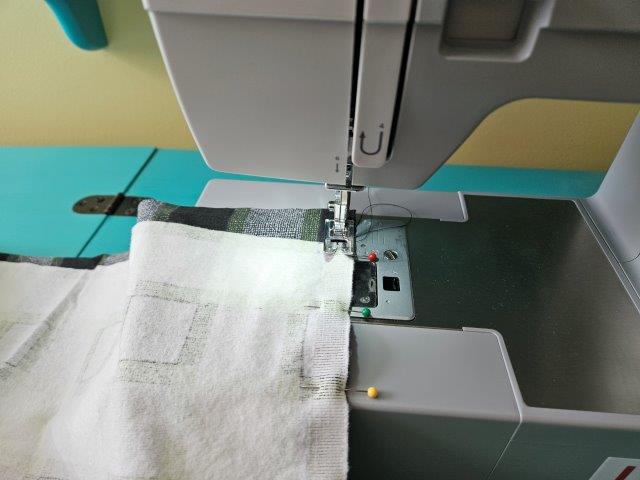
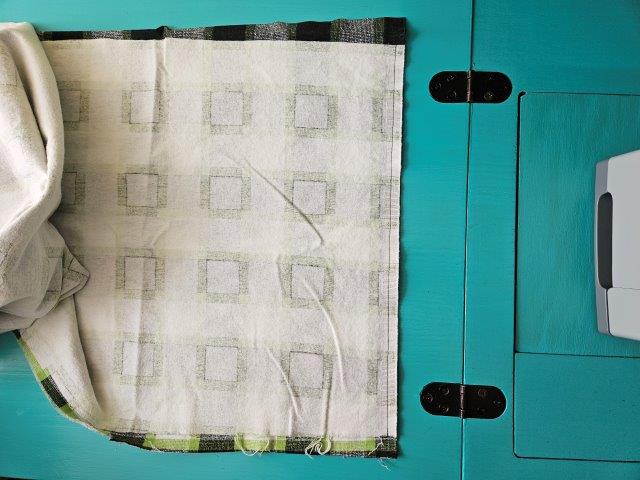
Sew along the edge using a 3/8″ seam allowance.
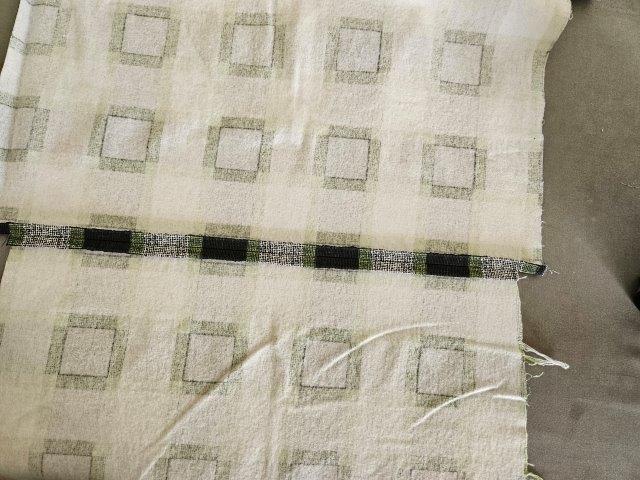
Press the seam.
***You can find the AD-FREE, printable PDF version of this sewing tutorial available for purchase in my Etsy shop HERE. Includes 8 pages of step-by-step instructions with pictures. Print a copy to keep next to your sewing machine for easy reference.***
Trim the long edges
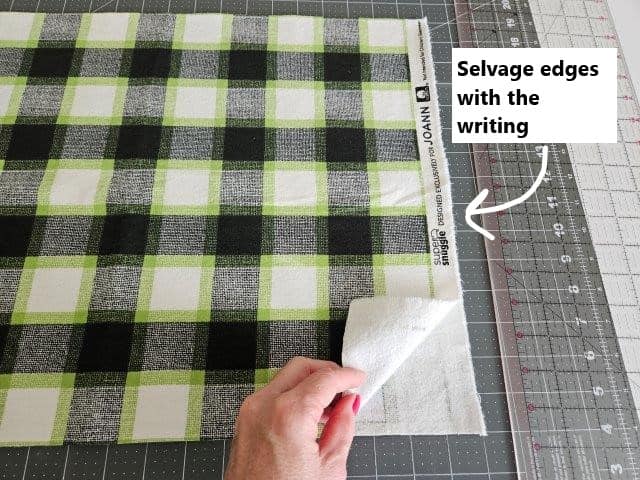
Fold the fabric in half again but this time lining up the other selvage edges (with the writing).
Fold in half again – this will make it easier to trim the edges using your rotary cutter or your fabric scissors.
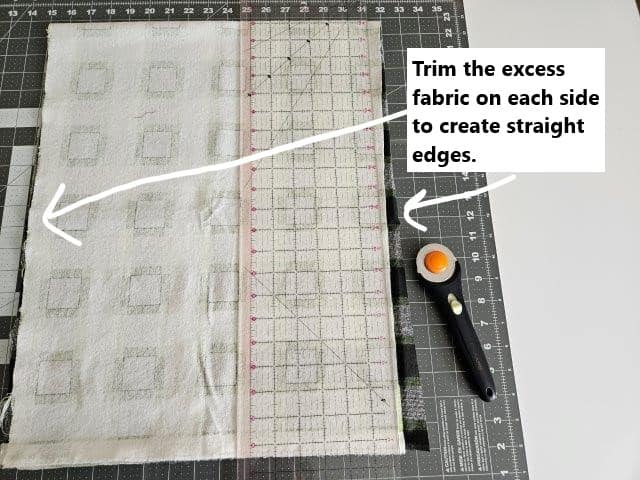
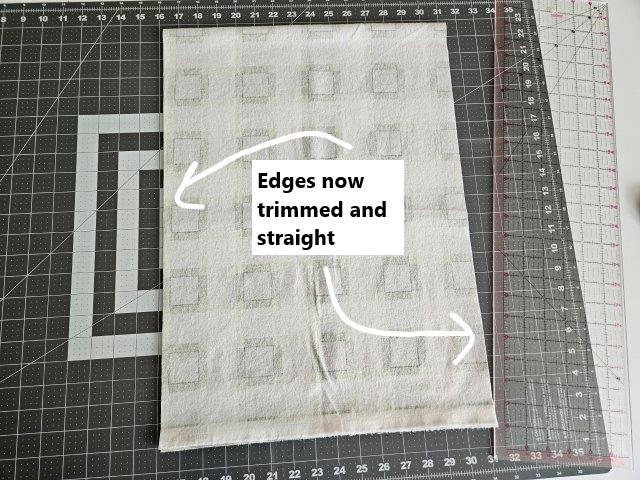
Using your cutting mat, clear ruler, and rotary cutter, trim the excess fabric off each long side to create straight edges.
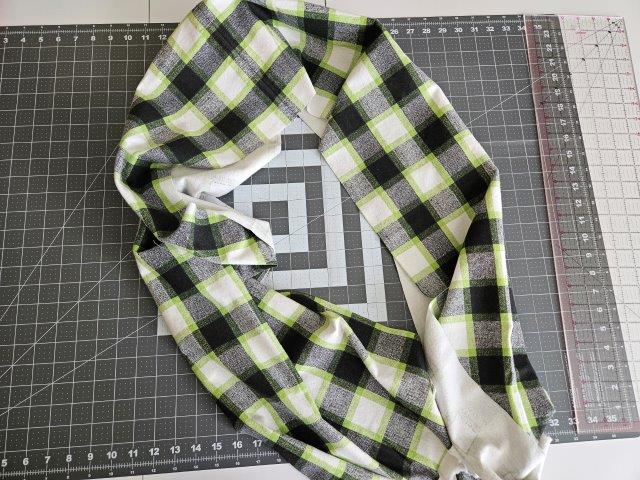
At this point, you should have one long flannel scarf with the two pieces sewn together, seam pressed, and long edges trimmed.
Trim the length of the flannel scarf (optional)
I decided to trim the scarf by 16 inches because it was longer than I wanted. I trimmed 8 inches from each end in order to keep the seam in the middle.
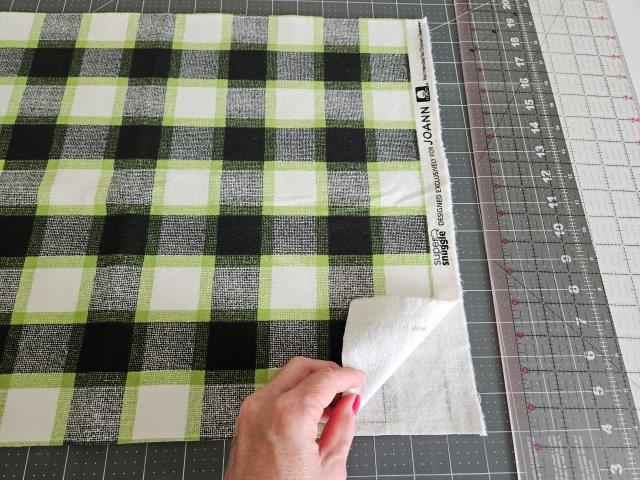
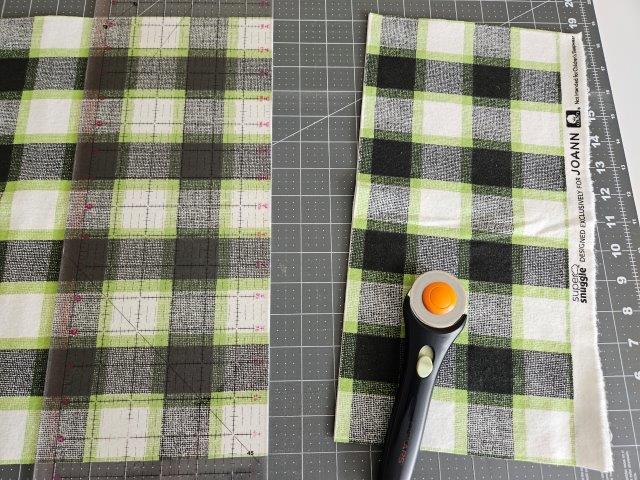
Fold in half the same way you did before with the selvage ends lined up and trim the ends to your desired length – optional.
Sew it together
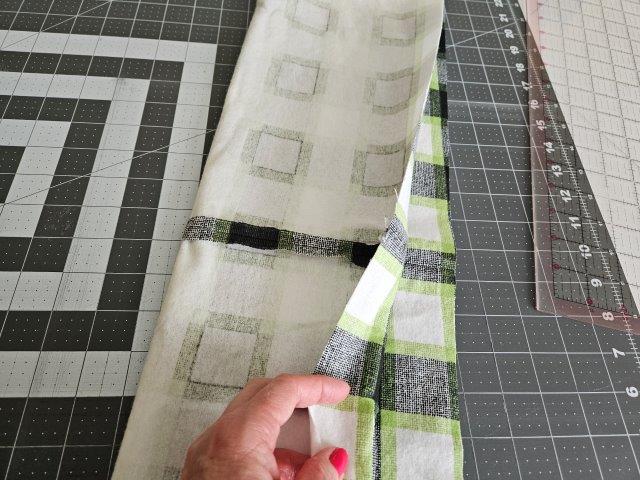
Fold your flannel scarf in half lengthwise, right sides together, lining up the middle seam and short ends. Pin to hold in place.
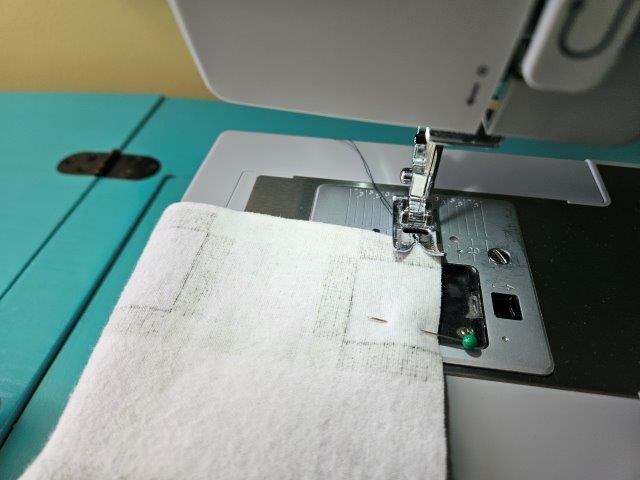
Sew along the long edge using a 3/8″ seam allowance. Backstitch at the beginning and end.
Press the seam.
Turn right side out and make the fringe
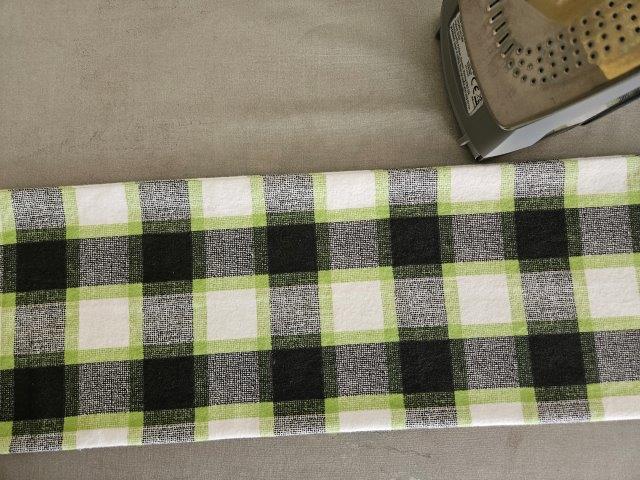
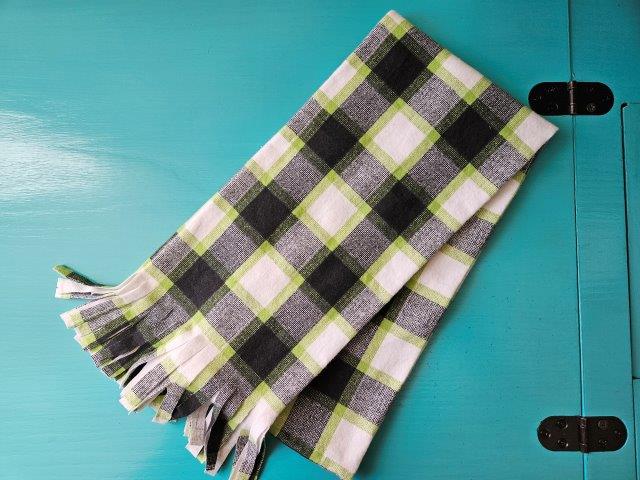
Turn your flannel scarf right side out. Press the scarf so it lays flat.
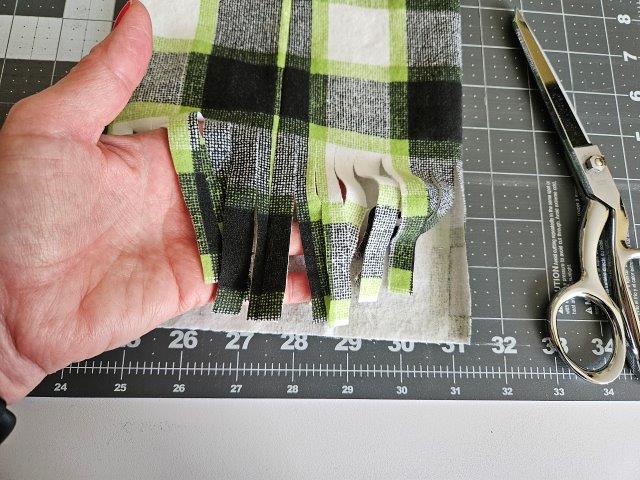
On each end of the scarf, use your sewing scissors to cut strips to make the fringe. You can cut these as wide and as long as you want. I cut the fringe about 3-inches long and 1/2-inch wide.
I might decide later to make the fringe longer, but this is what I’m going with for now.
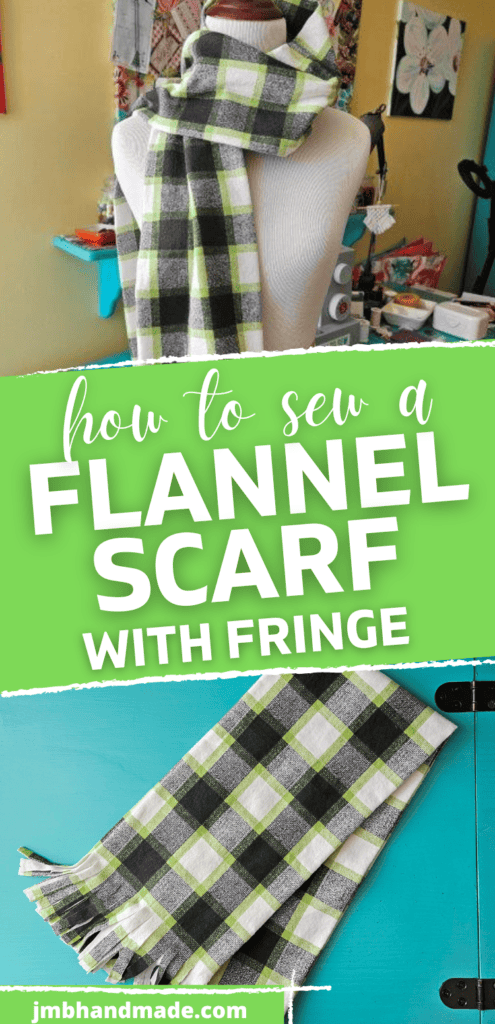
Pin for later!
***You can find the AD-FREE, printable PDF version of this sewing tutorial available for purchase in my Etsy shop HERE. Includes 8 pages of step-by-step instructions with pictures. Print a copy to keep next to your sewing machine for easy reference.***
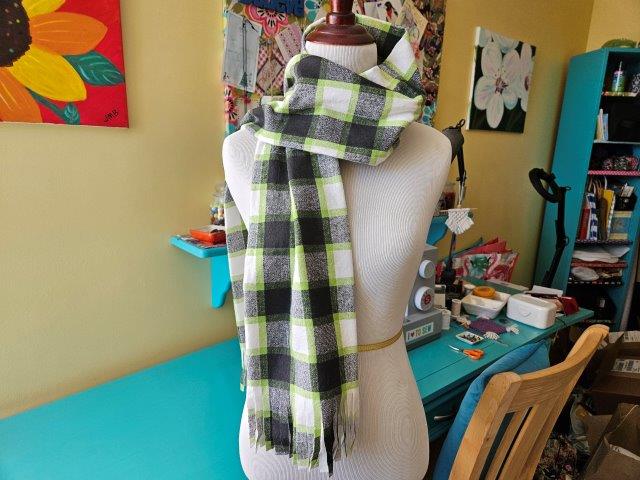
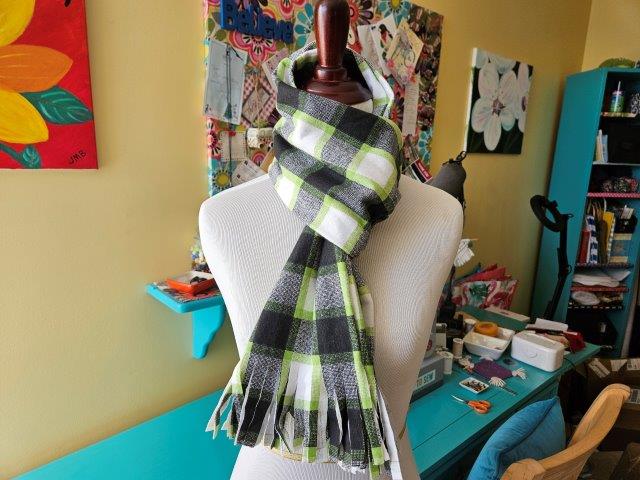
You are finished!
I hope you enjoyed this simple sewing tutorial on how to make a flannel scarf with fringe. Happy sewing!

Other sewing tutorials you might like:
- DIY Quilted Coasters – Two Styles
- Belt Bag / Fanny Pack Sewing Tutorial
- How to Sew a Backpack with Flap Closure
- Simple Fabric Trash Bag for Your Car