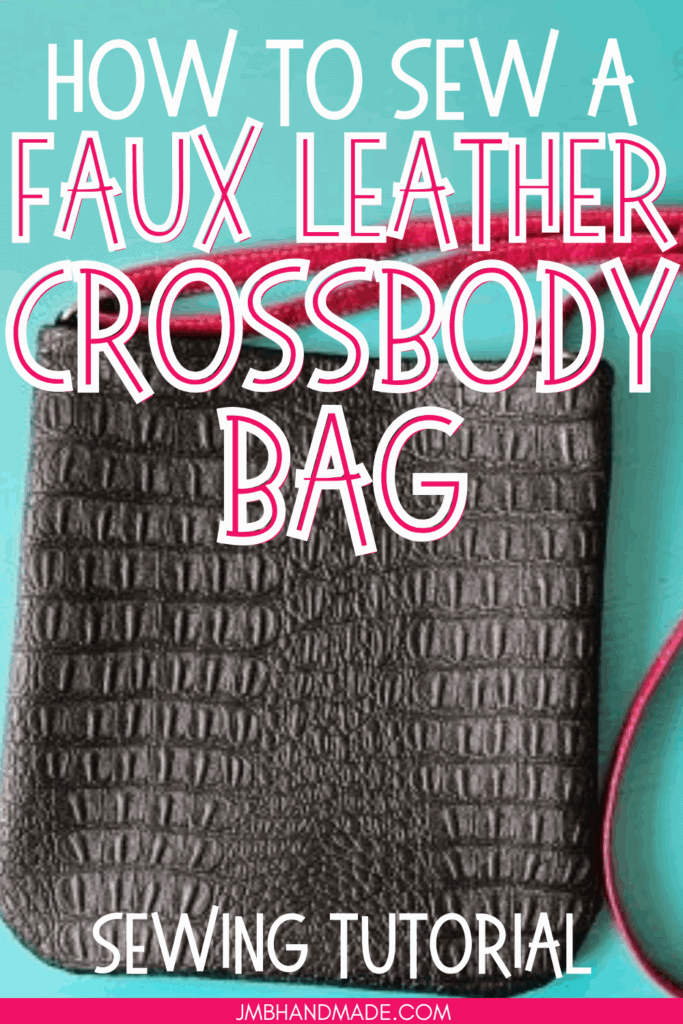
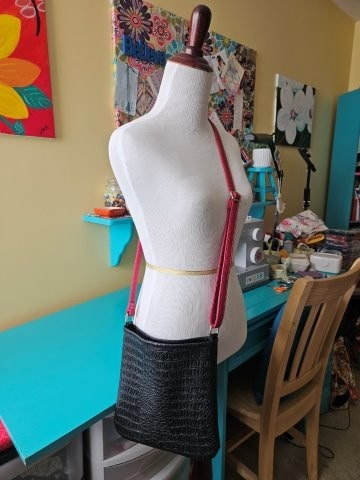
Simple Faux Leather Crossbody Bag Sewing Tutorial
Sew a simple faux leather crossbody bag using this easy sewing tutorial.
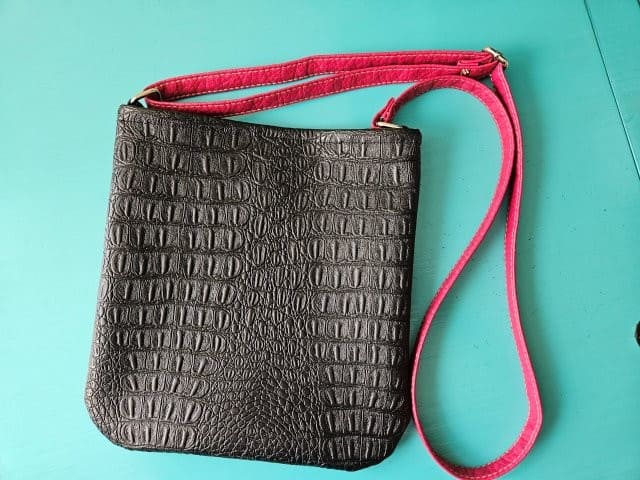
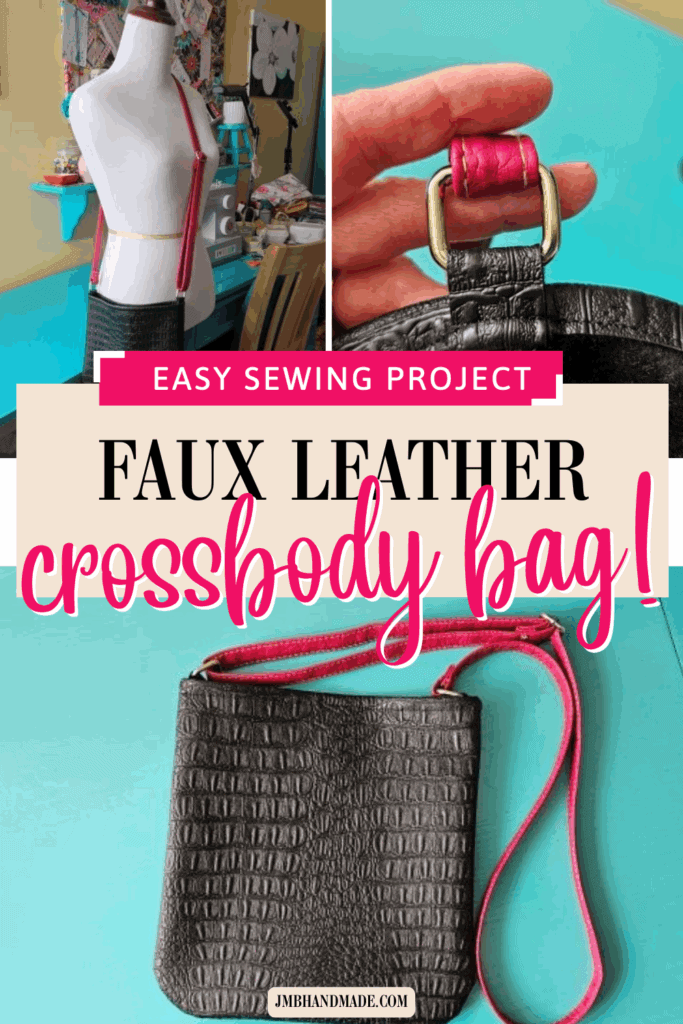
I love creating and sewing new handbags! This crossbody purse is made with a faux leather remnant and a recycled purse strap. No lining needed!
You can use any size strap. The strap I will be using for this tutorial is 3/4″ wide and is adjustable with rings. If you decide to use a different size, adjust the measurements below for the width of the short straps.
You can also sew the strap yourself. Follow these directions on how to sew your own leather / vinyl straps. If you decide to make your own or use a strap without rings – you will not need to make the short straps. You’ll just use the strap directly without the rings and short straps.
The finished faux leather sling bag is approximately 9.5″W x 10″H with an adjustable strap.
If you like the crossbody sling type bags, try making a small messenger crossbody bag or a small sling bag with zipper closure.
You can also use the pattern for the vinyl zipper pencil case to make a matching small zipper pouch. No lining needed.
This post contains affiliate links. Please see below disclosure for more information.
***You can find the AD-FREE, printable PDF version of this sewing tutorial available for purchase in my Etsy shop HERE. Includes 12 pages of step-by-step instructions with pictures. Print a copy to keep next to your sewing machine for easy reference.***
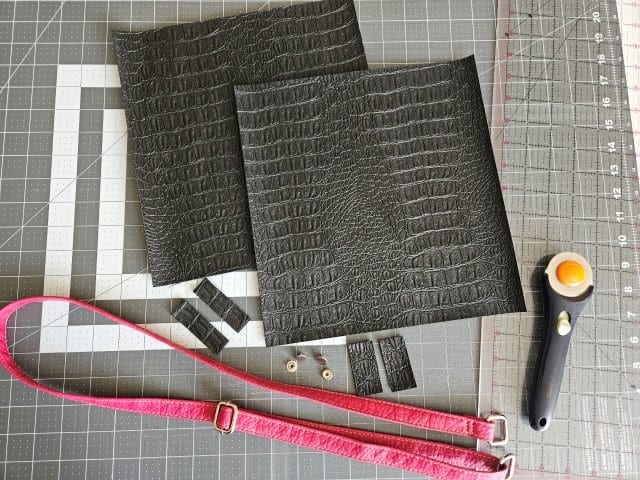
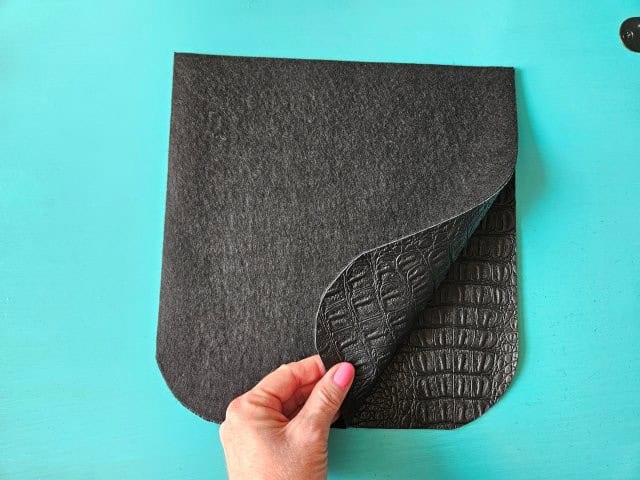
Faux leather crossbody bag supplies needed:
- Faux leather – 2 pieces 10.5″W x 11″H
- Faux leather – 2 pieces 3/4″W x 2.5″H and 2 pieces 1″W x 2″H
- Cutting mat
- Rotary cutter
- Clear ruler
- Non-stick presser foot
- KAM snaps and tool
- Recycled purse strap with rings
- Sewing clips
- Sewing machine needle made to sew leather
- Sewing scissors
- Sewing machine
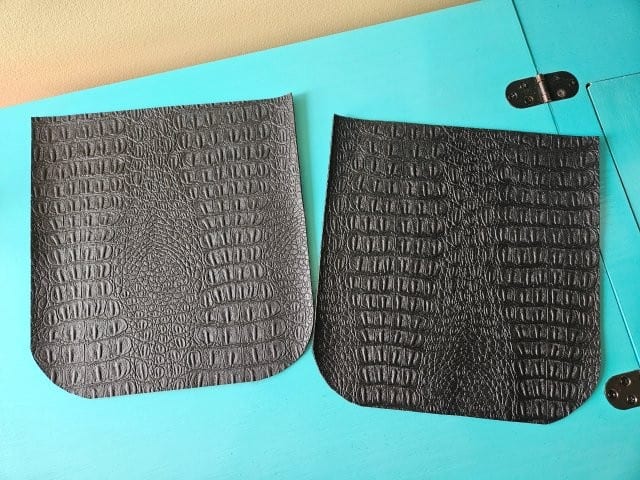
Measure and cut
Using your cutting mat, clear ruler, and rotary cutter, cut two pieces of the faux leather each measuring 10.5″W x 11″H. Cut two pieces measuring 3/4″W x 2.5″H for the short straps and two pieces each measuring 1″W x 2″H for the snap closure.
Round the bottom corners
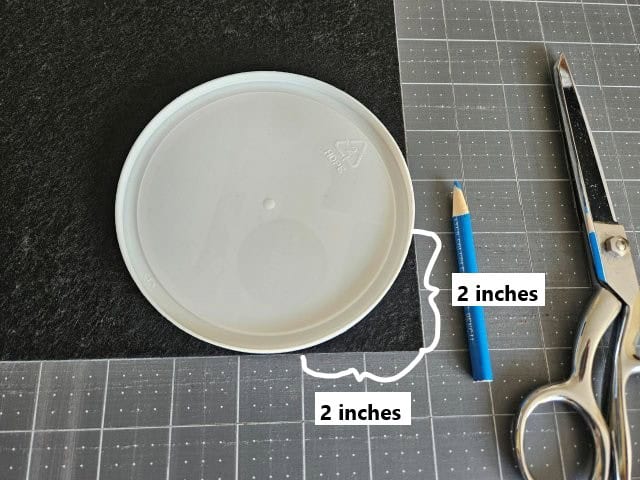
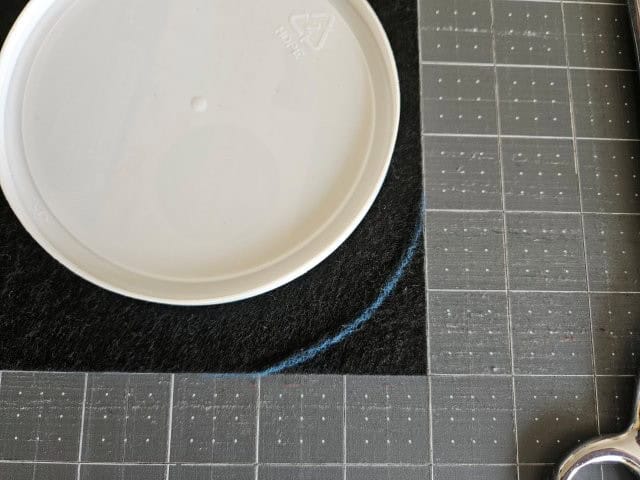
Place one of the faux leather pieces right side down on your cutting mat, lining up the bottom right corner with a corner of the cutting mat. Find a lid or a plate to trace with your marking pencil – I use an old yogurt container lid. You’ll want the round corner to be about 2 inches away from the cutting mat corner. Trace with your marking pencil.
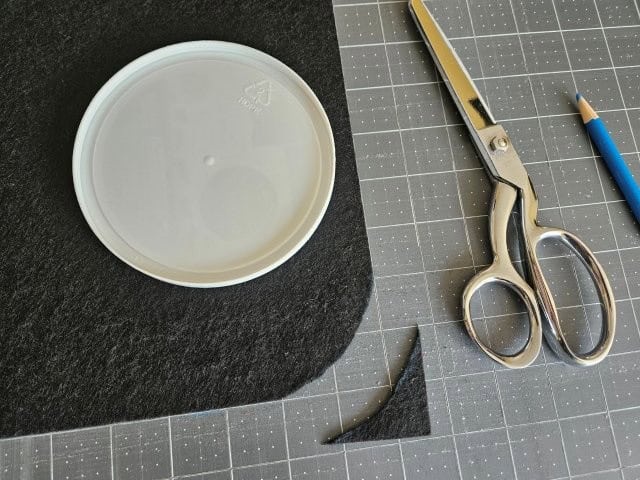
Use your sewing scissors and cut along the pencil line.
Repeat with the other three corners.
The above picture shows what your rounded corners should look like.
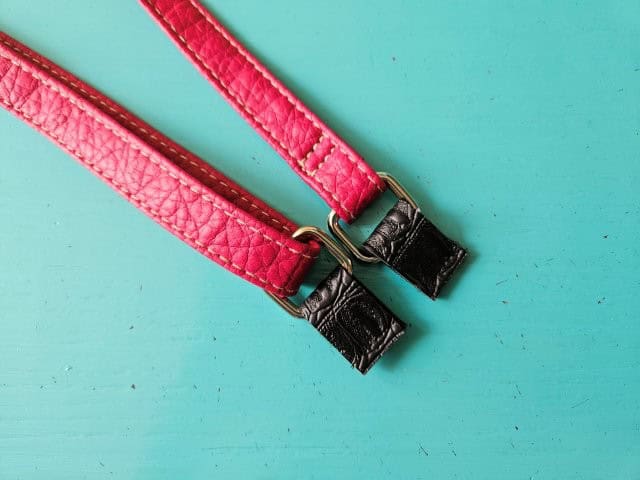
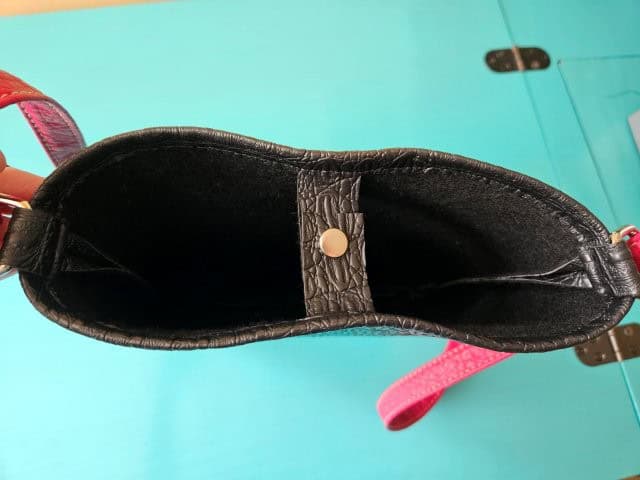
Attach the KAM snaps
You are going to attach the KAM snaps to the 1″W x 2″H straps.
I’m using silver KAM snaps but you can use any color you like.
Use the awl tool to make a small hole in the middle (1/2″) and 1/2″ from the top of each strap.
On one of the straps, you’ll need to attach the cap to the wrong side of the strap. Attach the snaps following the package instructions.
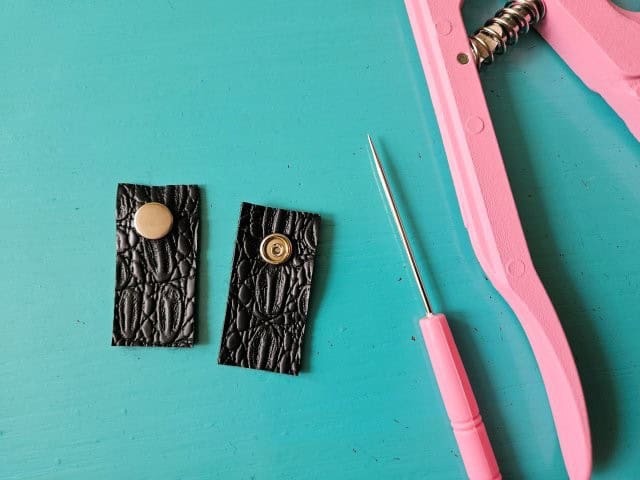
The above picture shows what your snaps should look like.
***You can find the AD-FREE, printable PDF version of this sewing tutorial available for purchase in my Etsy shop HERE. Includes 12 pages of step-by-step instructions with pictures. Print a copy to keep next to your sewing machine for easy reference.***
Add the short straps
Now you’re going to add the short straps (3/4″W x 2.5″H) to the recycled purse strap rings, if using.
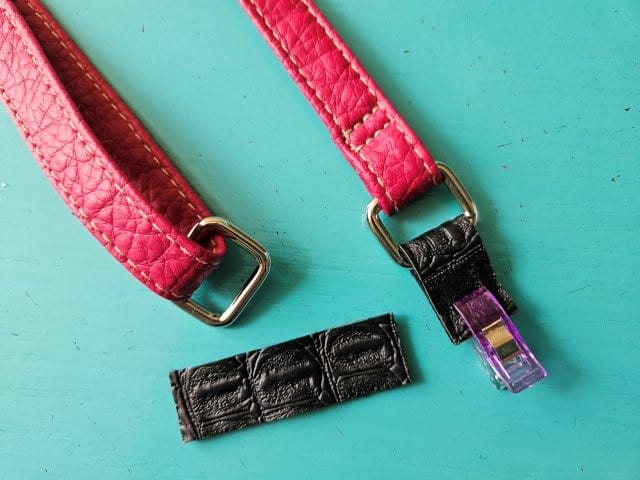
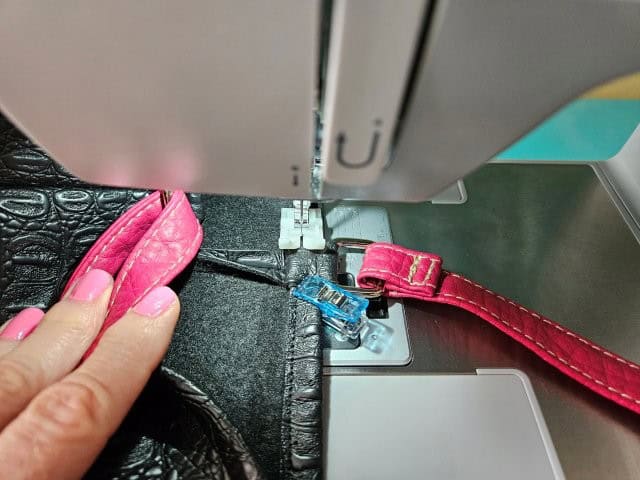
Place one of the short straps through the loop and fold in half. Clip to hold in place.
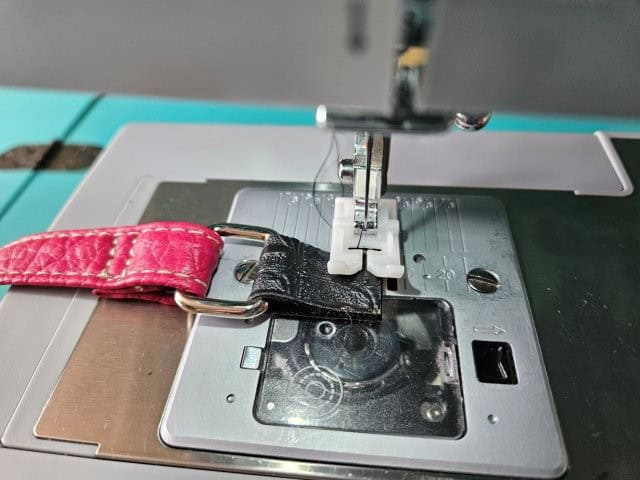
Baste the strap to the ring using the non-stick presser foot.
Repeat with the other short strap and ring.
The above picture shows the short straps basted to the rings.
Sew the faux leather
Place the faux leather pieces right sides are together.
Hold in place using sewing clips. (Do not use straight pins because you will have permanent holes.)
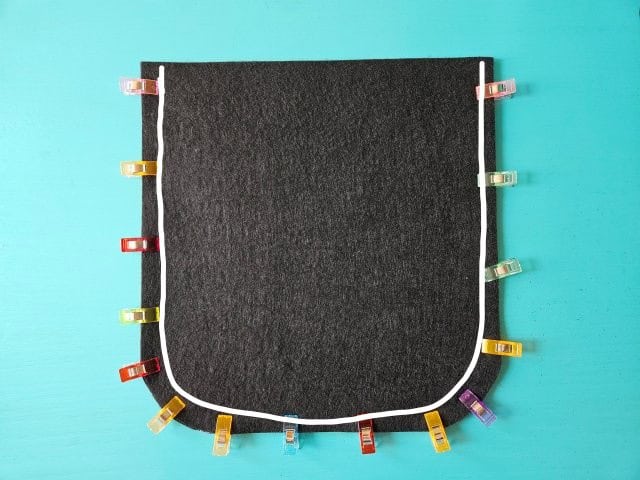
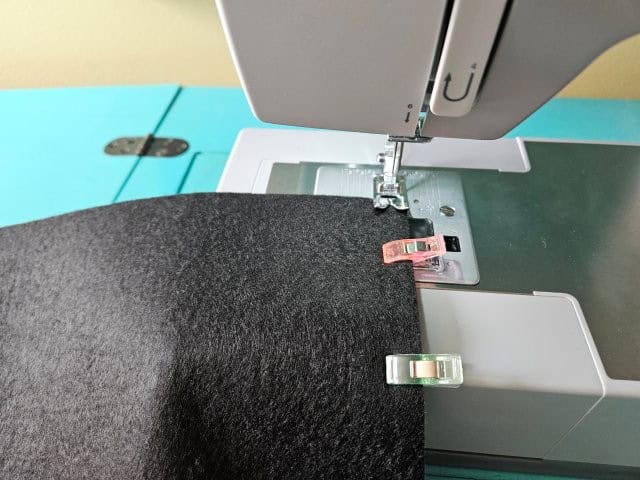
Sew along the sides and bottom of the crossbody bag using a 3/8″ seam allowance, leaving the top open.
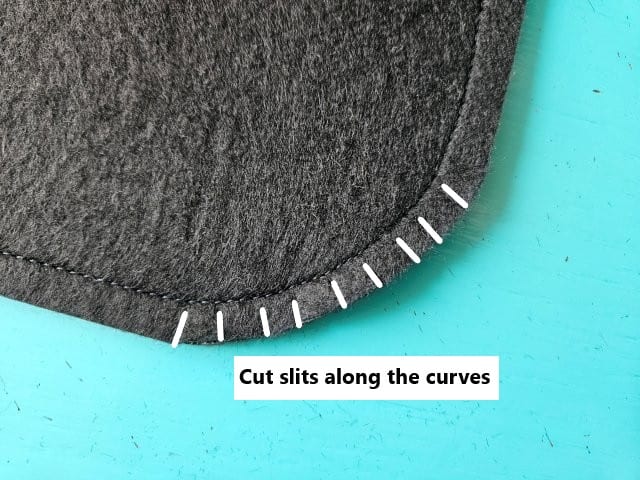
Cut little slits around the curves using your sewing scissors – the curves will be more defined. (The above picture shows the cut slits in white)

Turn the faux leather crossbody bag right side out.
Sew it all together
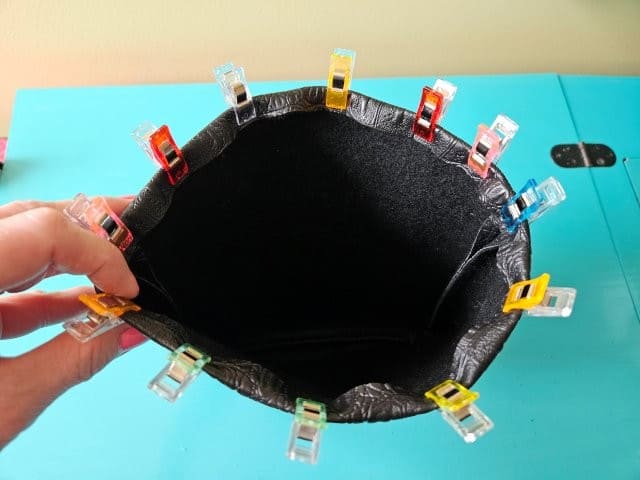
Fold down the top of the faux leather bag 1/2″ and hold in place with sewing clips.

Eyeball the middle of the bag and slip one of the straps with the snap under the fold and hold with a sewing clip.
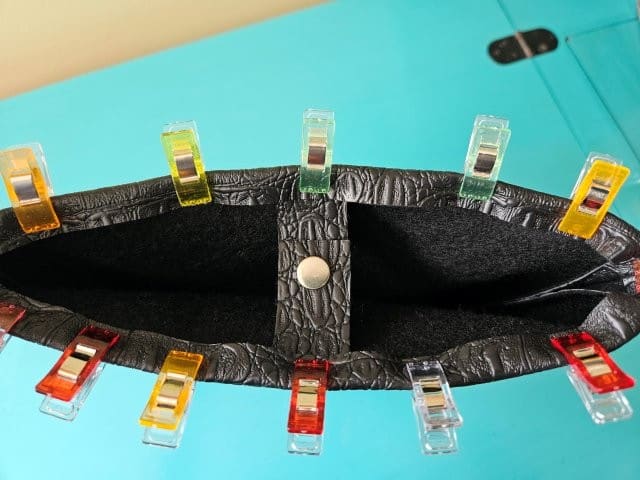
Place the other strap with snap directly across under the fold and hold with a sewing clip.
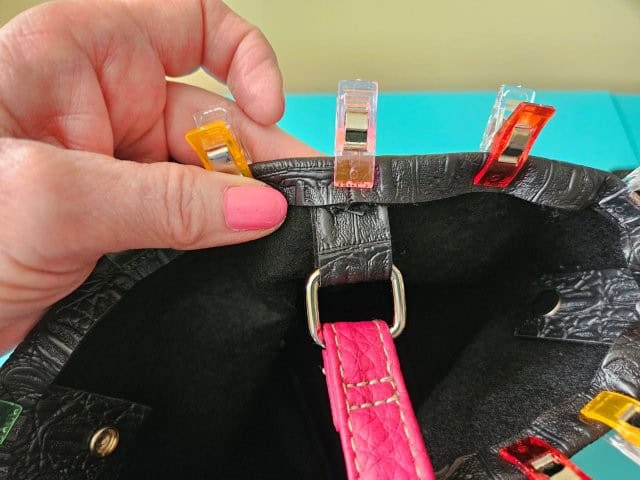
Next, place each short strap under the folds along the seams (be sure the long strap is not twisted). Hold with a sewing clip.
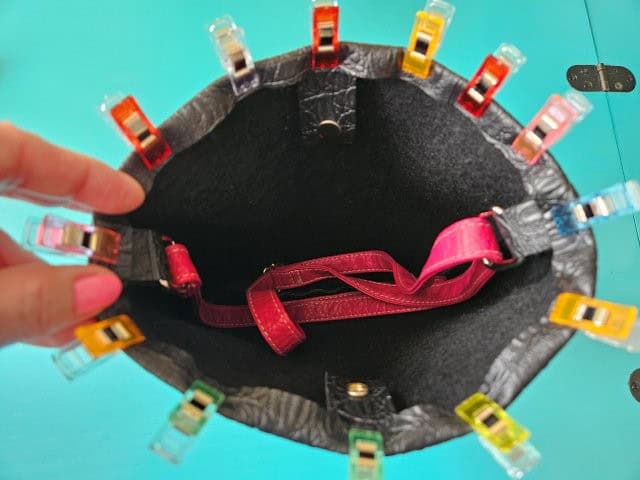
Place the long strap inside the bag to keep it out of the way.
At this point, if you haven’t already, change your sewing machine needle to a needle made to sew leather. I used my regular needle up until this point. Also, be sure to use the non-stick presser foot.
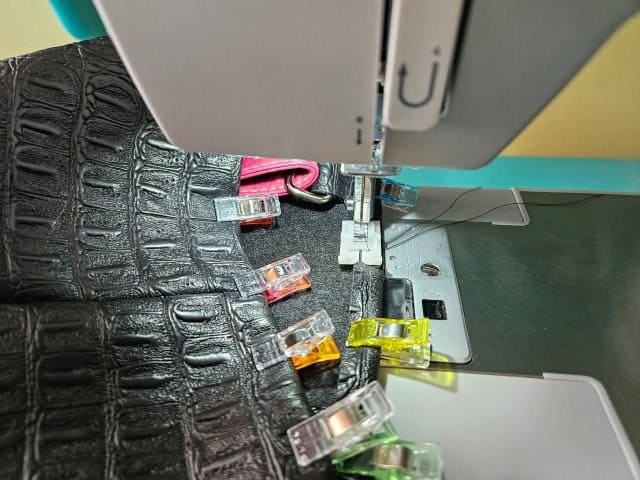
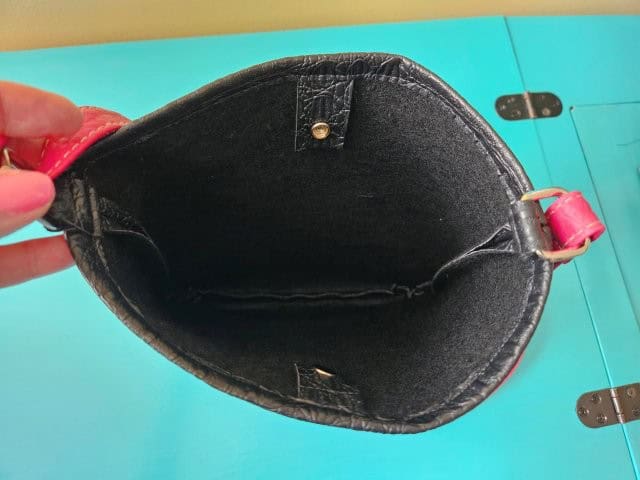
Top stitch all around the top of the bag.
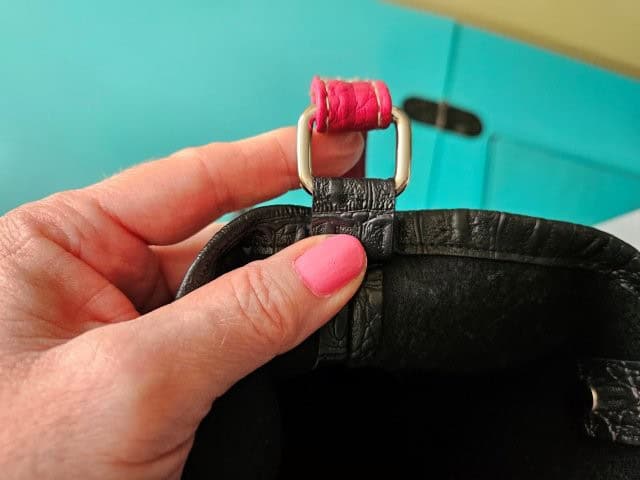
Fold the short straps up and sew along the stitches already sewn.
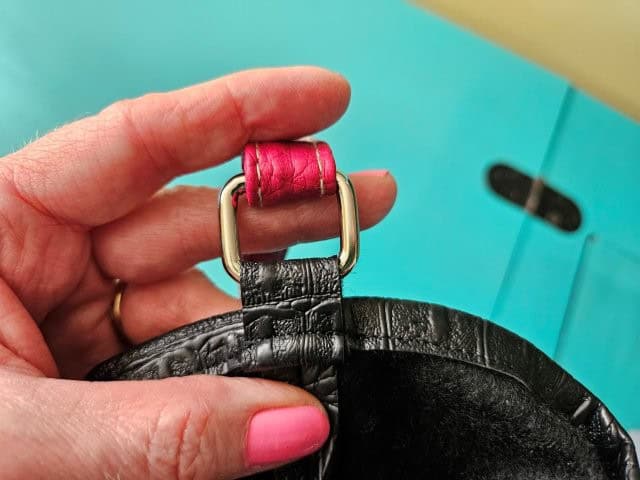
The above picture shows the sewn short strap.
***You can find the AD-FREE, printable PDF version of this sewing tutorial available for purchase in my Etsy shop HERE. Includes 12 pages of step-by-step instructions with pictures. Print a copy to keep next to your sewing machine for easy reference.***
Pin for later!
You are finished!
I hope you enjoyed sewing yourself a fun faux leather crossbody bag! Happy sewing!
Other handbags to sew:
- Wristlet Purse Sewing Project
- How to Sew a Backpack Purse
- Messenger Sling Bag Sewing Tutorial
- Curved Top Shoulder Bag Sewing Pattern