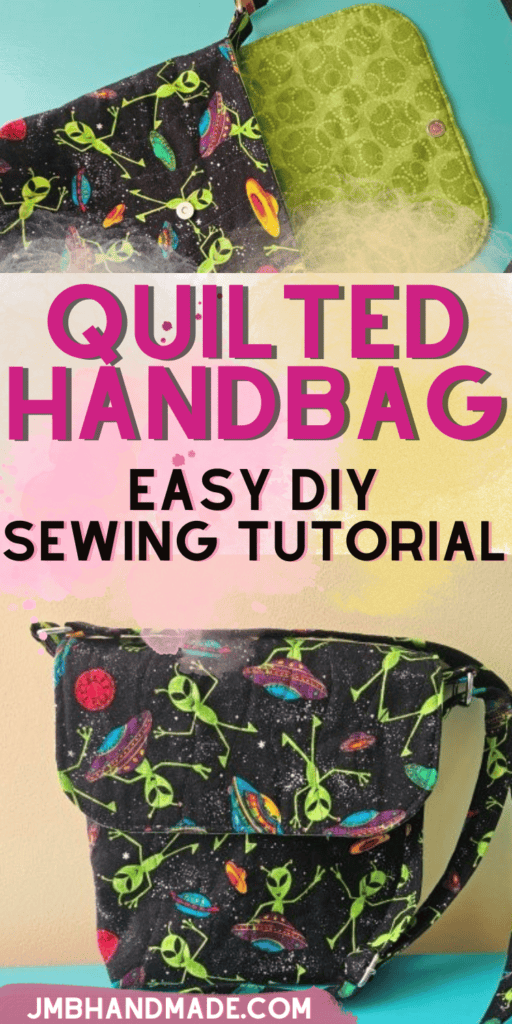
Quilted Messenger Bag Sewing Pattern
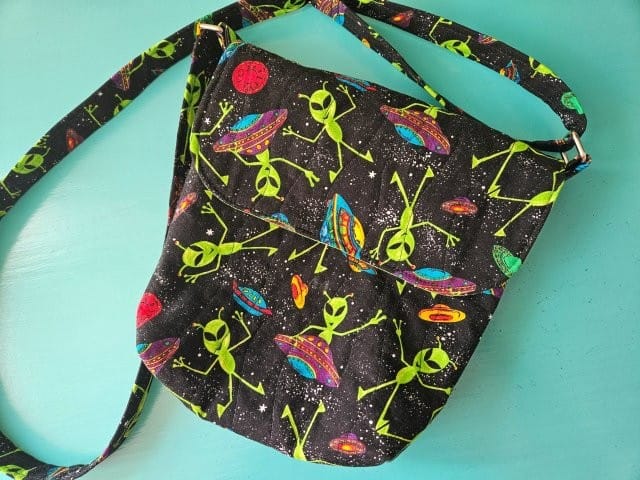
Learn how to sew a quilted messenger style handbag using this easy sewing tutorial.
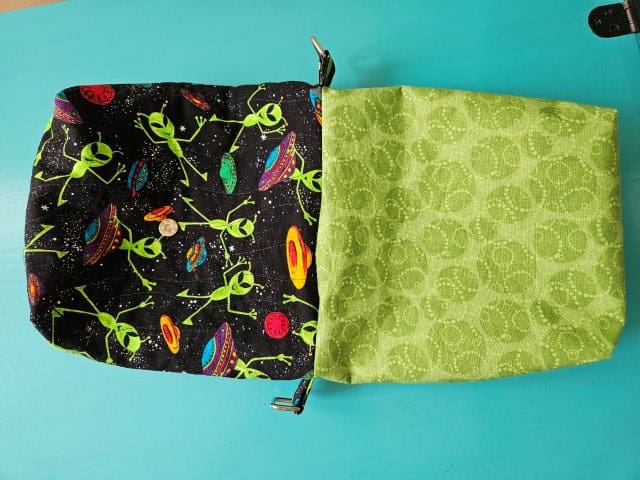
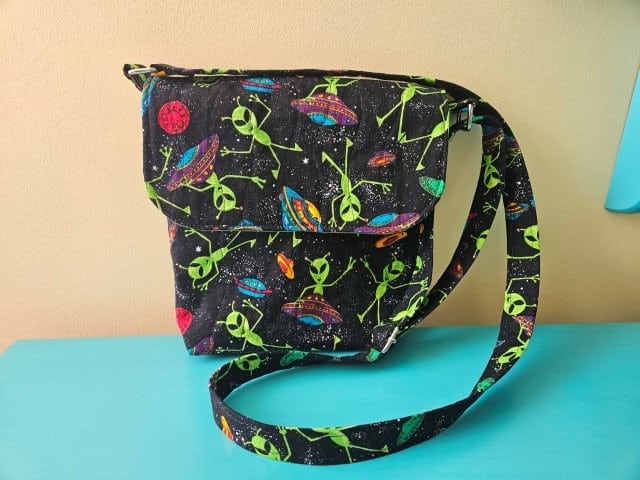
The quilted messenger bag sewing pattern is the ideal sewing project to get you started with quilting. Experiment with your favorite quilting designs. Plus, the finished crossbody bag is the perfect size for when you’re on the go and want to do some hands-free shopping.
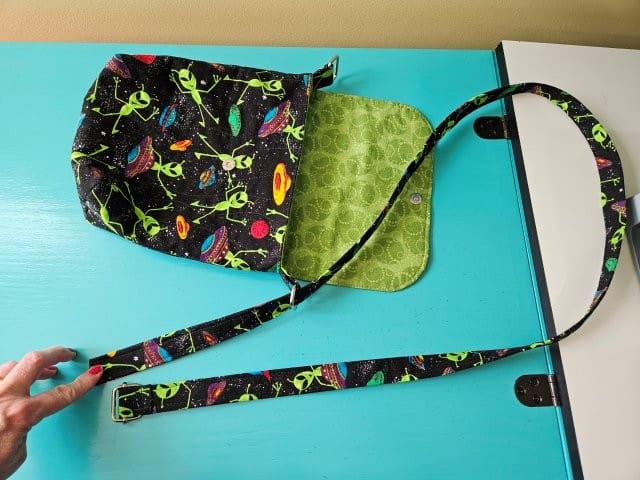
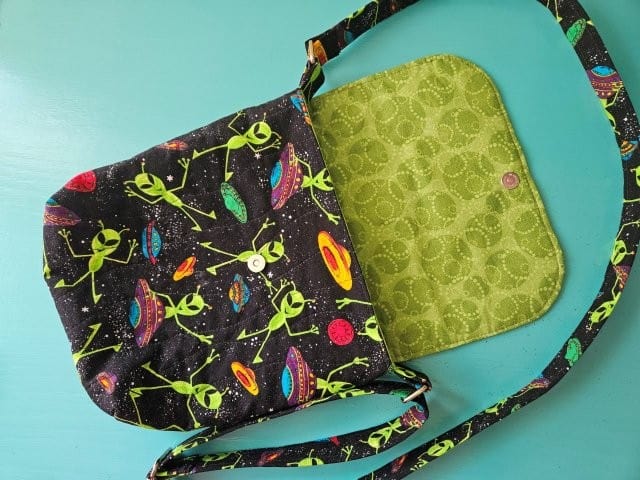
This DIY quilted sling bag bag is similar to the patchwork quilted messenger bag using fabric scraps and the small crossbody messenger bag – all of which have their unique style and design. You’ll love the flap closure with snap and the adjustable strap.
The dimensions for the finished messenger crossbody bag are approximately 9″W (at the widest part) x 10″H x 3″D.
If you love making handbags as much as I do, check out this list of my favorite bags to sew!
This post contains affiliate links. Please see below disclosure for more information.
***You can find the AD-FREE, printable PDF version of this sewing tutorial available for purchase in my Etsy shop HERE. Includes 23 pages of step-by-step instructions with pictures. Print a copy to keep next to your sewing machine for easy reference.***
Messenger bag supplies needed:
- Outer fabric – one yard – my favorite fabric shop
- Lining fabric – 1/2 yard
- Cutting mat
- Clear ruler
- Rotary cutter
- Cotton batting
- Fusible interfacing – Pellon P44F Fusible Interfacing
- Magnetic snap
- 1-inch rectangle slide
- Two 1-inch rectangle rings
- Marking pencil
- Sewing scissors
- Sewing machine
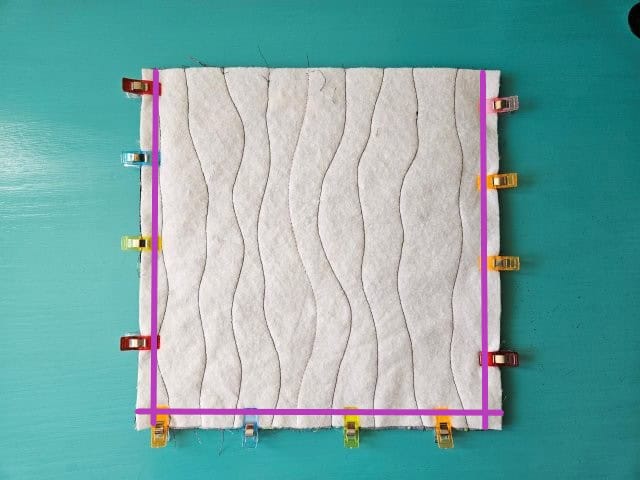
Measure and cut the bag fabric
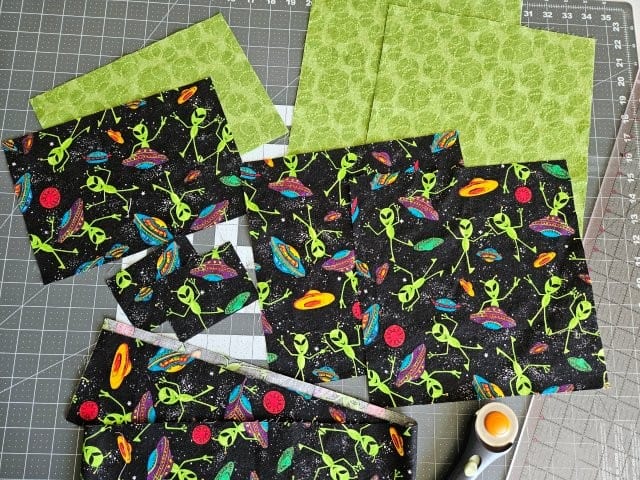
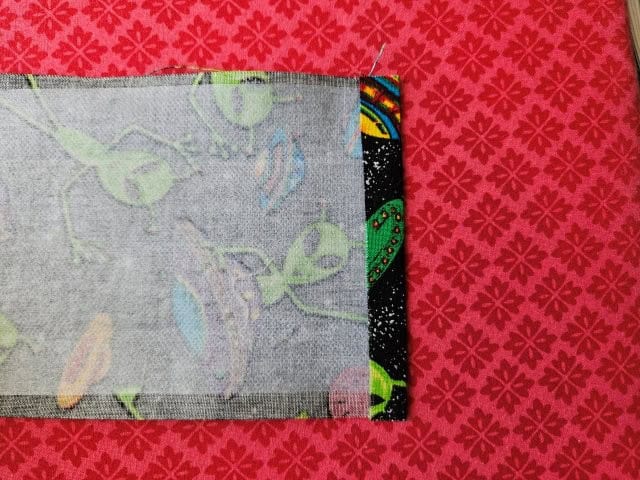
Using your cutting mat, clear ruler, and rotary cutter, cut two outer fabric pieces and two lining fabric pieces each measuring 10.5″ x 10.5″.
Cut one outer fabric piece and one lining fabric piece each measuring 10″W x 7″H for the messenger crossbody bag flap.
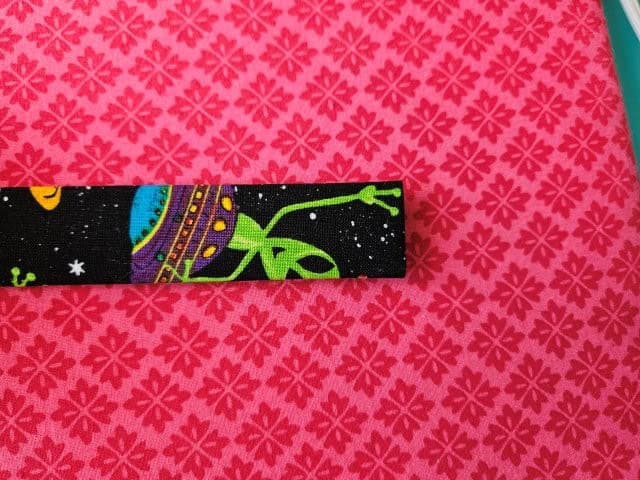
For the long strap, cut one outer fabric piece measuring 4″W x 52″H, or as long as you need. Cut two outer fabric pieces measuring 4″W x 3″H for the short straps.
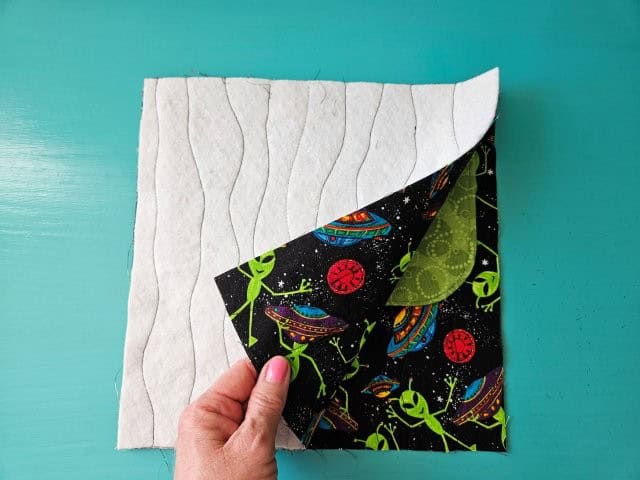
Add the batting and quilt
Now you’re going to add the batting to the two outer bag fabric pieces and outer flap piece. I’m using Warm and White cotton batting for this messenger bag sewing pattern.
Cut two pieces of cotton batting measuring 10.5″ x 10.5″ for the outer bag pieces and one piece 10″W x 7″H for the outer flap piece.
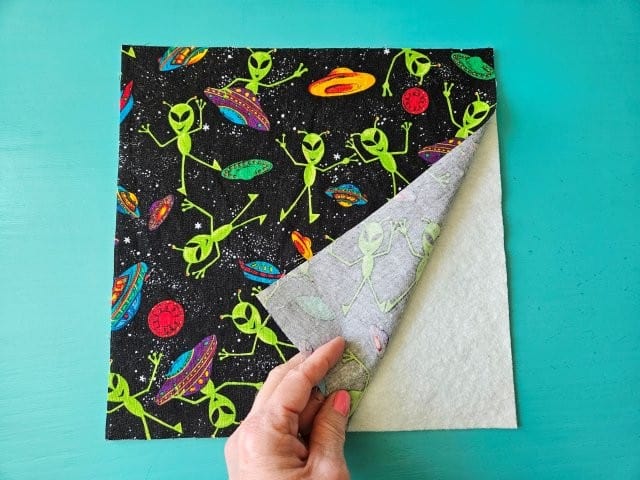
Place the batting pieces to the wrong side of each outer fabric piece and the outer flap cover piece. Pin or clip to hold in place.
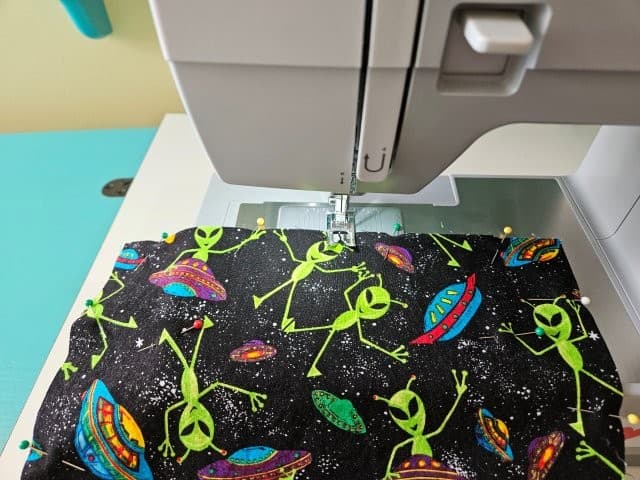
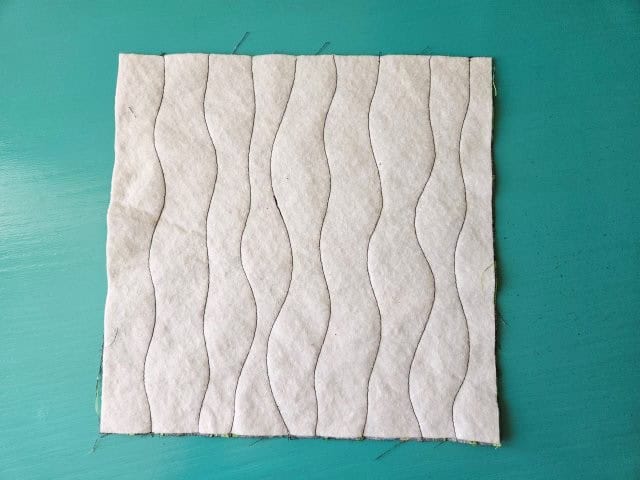
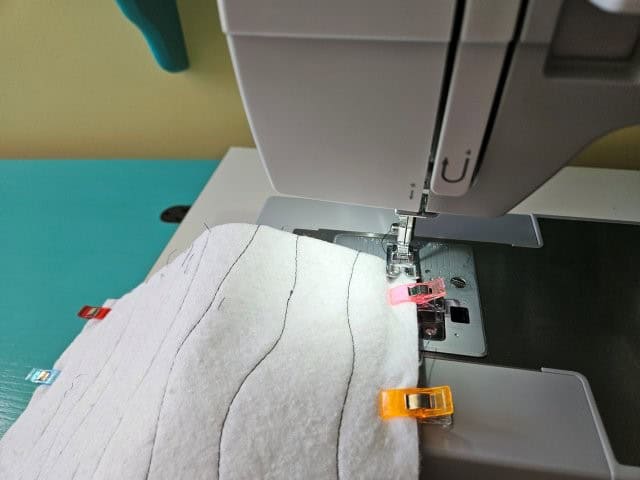
Quilt the batting to the fabric in any style you like. I started in the middle and sewed random curved lines from top to bottom.
Attach the fusible interfacing
I’m using Pellon P44F Fusible Interfacing for this messenger crossbody bag pattern but any lightweight fusible interfacing will work.
You are going to attach the fusible interfacing to both lining fabric pieces, the flap lining piece, the long strap, and both short straps.
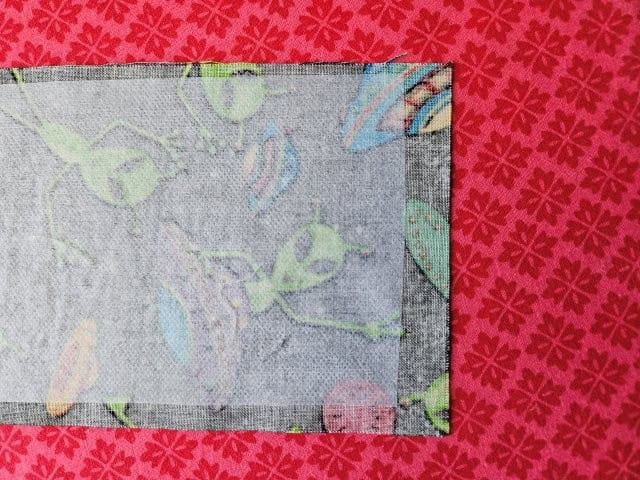
Place the interfacing on the wrong side of the fabric pieces and attach following the package instructions. NOTE: Cut the interfacing for the LONG strap about 1/2 inch shorter in length on each end for hemming.
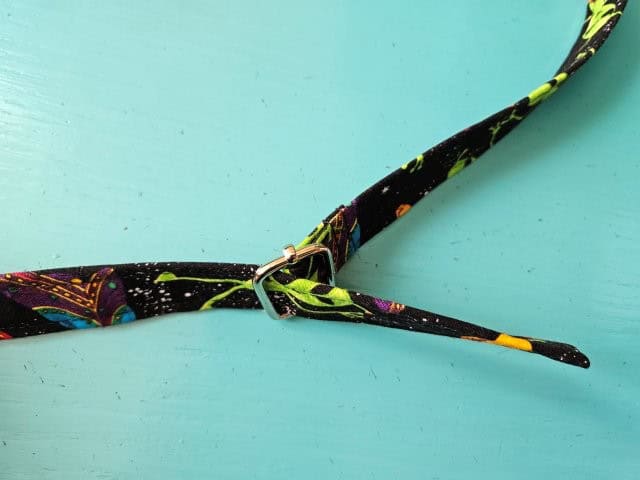
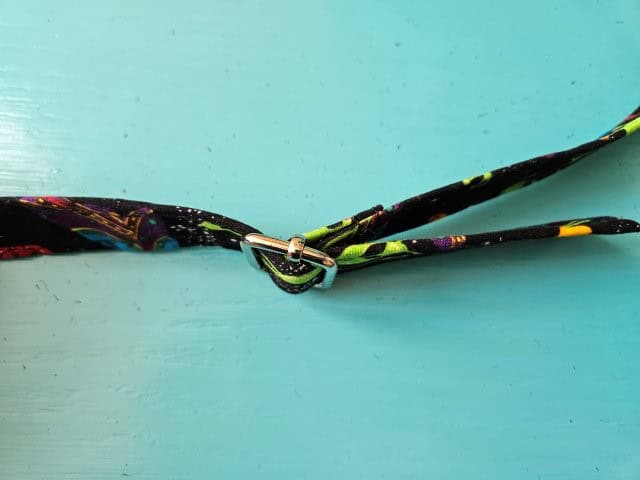
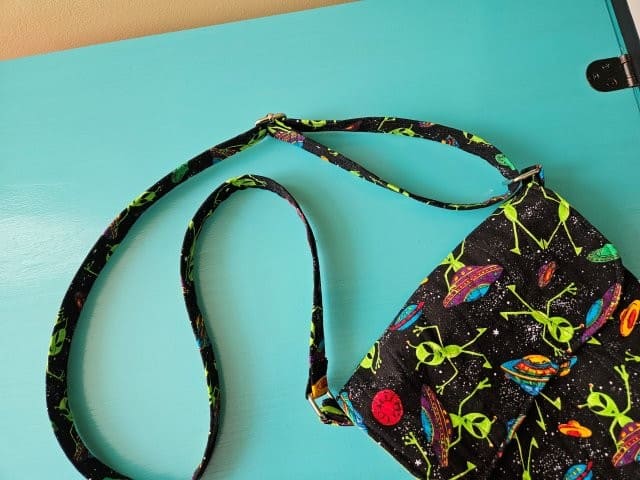
Make the messenger handbag long strap
The finished strap will be 1-inch wide.
RULE OF THUMB: Decide how wide you would like your strap to be and then multiply by 4 and that will be how wide to cut your fabric. For this sling bag, the finished straps are 1″, multiply that number by 4 (1×4=4). Therefore, I need to cut the fabric 4-inches wide before folding.
Once you have the fusible interfacing attached to your strap, lay your strap right side down on your ironing board.
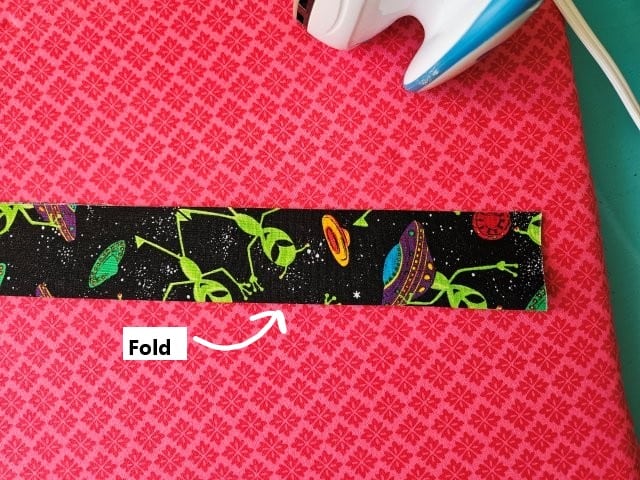
Fold the strap in half lengthwise (wrong sides together) and press the fold.
Check out these instructions on how to make your own mini ironing board.
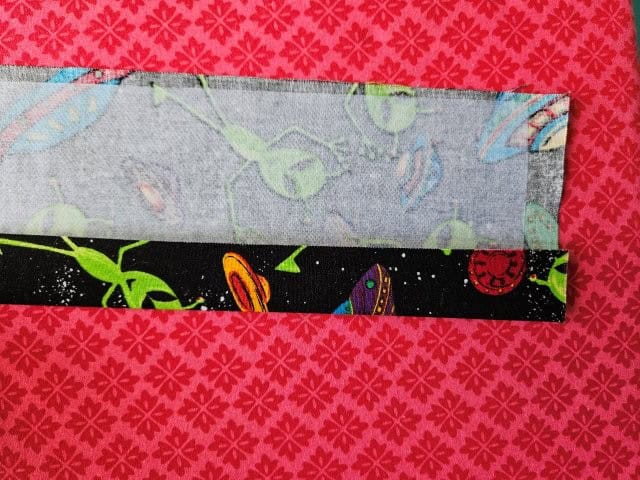
Open back up and fold the outside edge to the center and press.

Turn the strap around and fold the other outside edge to the center and press.

Fold in half again and press.

Open back up and fold each short end in about 1/2-inch and press. Fold the strap together again and press. Hemming the strap gives it a finished look and hides the raw edges.
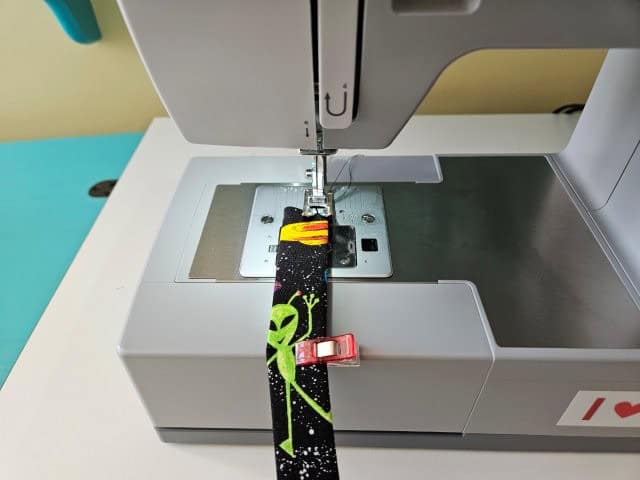
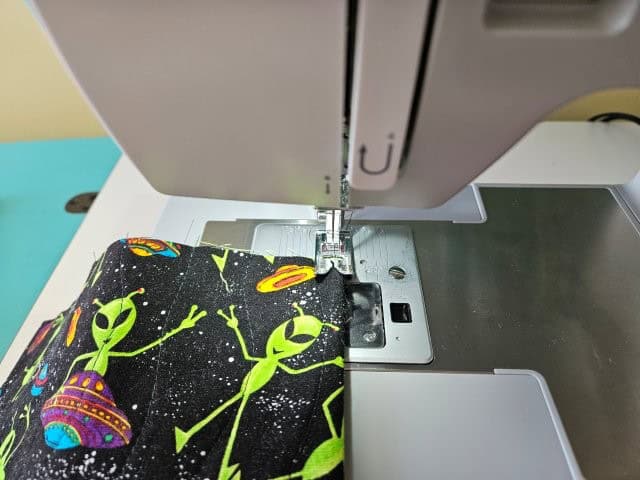
Sew the strap lengthwise along the folded edges using about 1/4″ seam allowance.
Repeat these steps to sew the short straps. When folding the short straps in half, be sure the 3-inch sides are together. You do not need to hem the ends of the short straps.
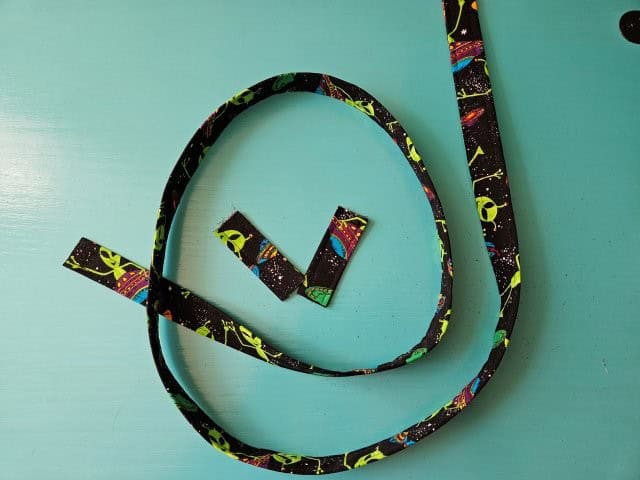
The above picture shows the finished straps.
***You can find the AD-FREE, printable PDF version of this sewing tutorial available for purchase in my Etsy shop HERE. Includes 23 pages of step-by-step instructions with pictures. Print a copy to keep next to your sewing machine for easy reference.***
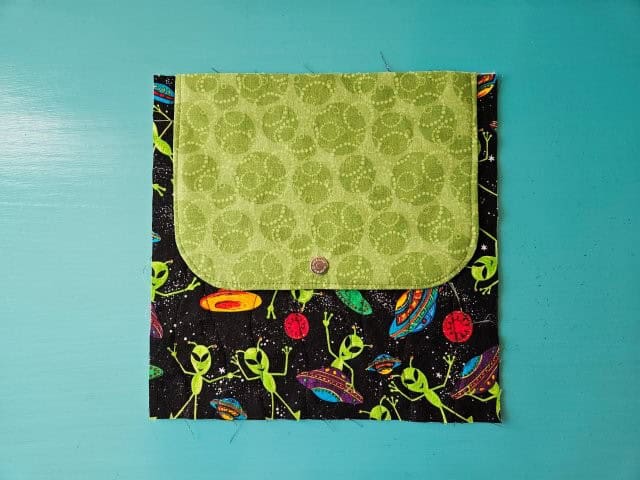
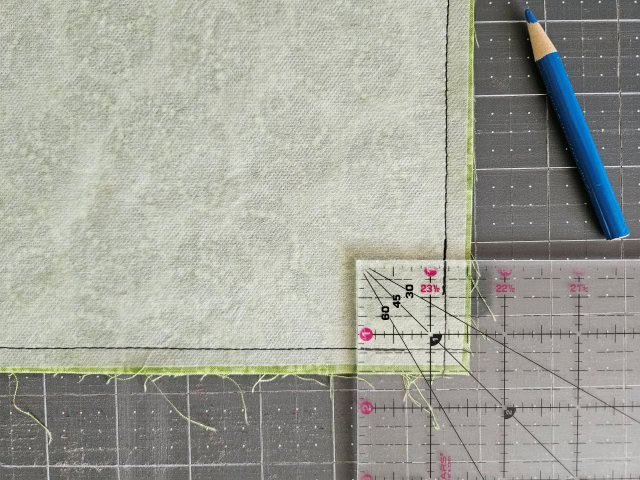
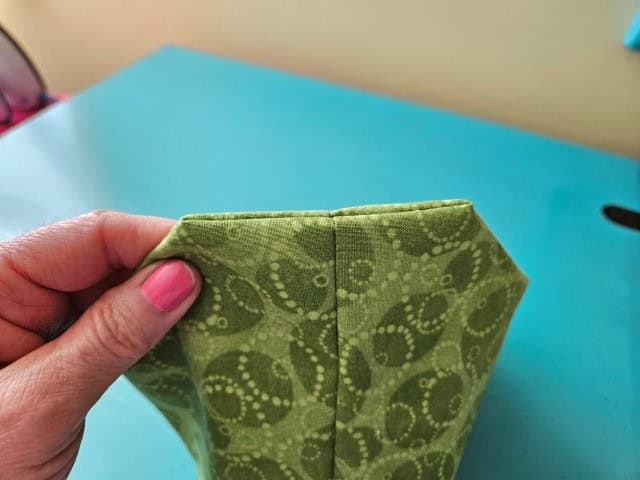
Round the corners of the flap cover
You are going to round the bottom corners of the flap cover.
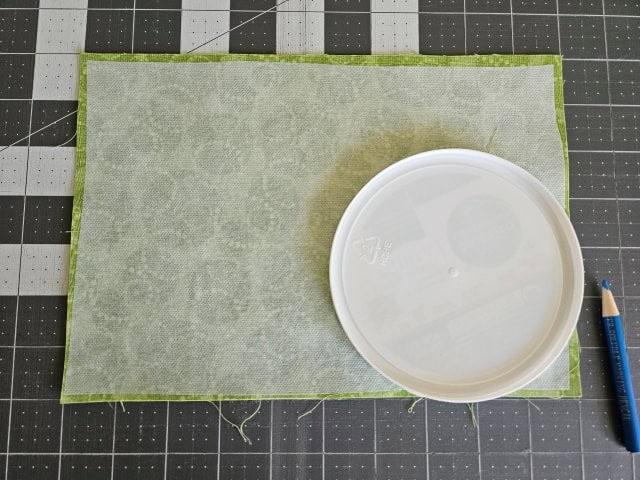
Starting with the flap lining piece, line up the bottom right corner of the flap cover fabric piece with the corner of the cutting mat. Find a lid or a plate to trace with your marking pencil – I use an old yogurt container lid. You’ll want to be about 2-inches away from the corner on both edges. Trace with your marking pencil. Do the same to the bottom left corner.
Use your sewing scissors and cut along the pencil line.
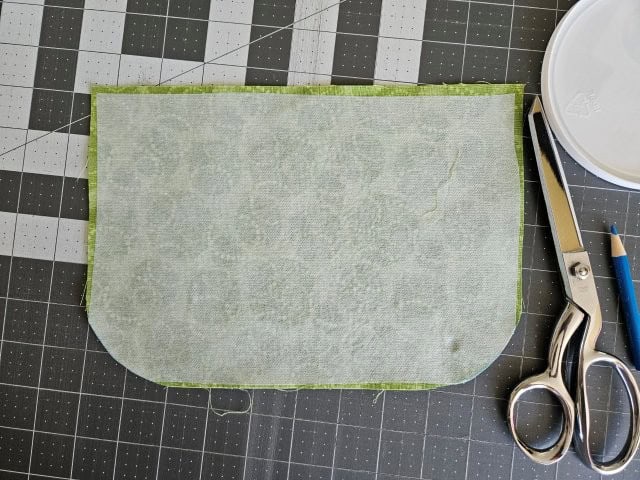
Repeat by rounding the corners of the outer flap cover piece.

The above picture shows the rounded corners of the flap cover pieces.
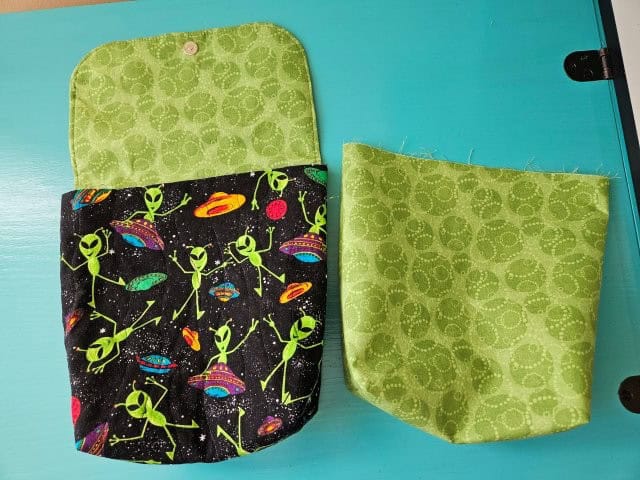
Add the magnetic snap to the flap cover
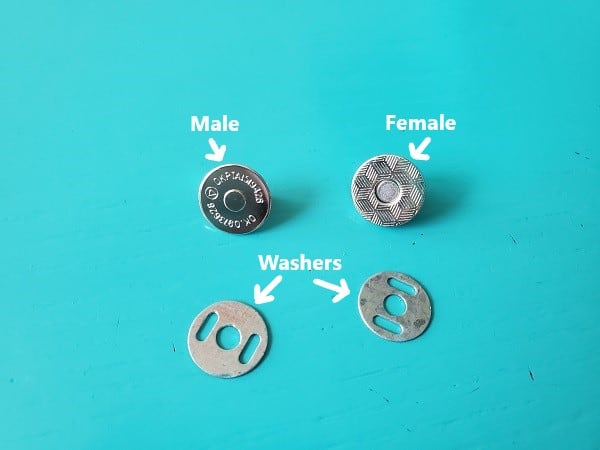
The magnetic snap has four parts – male, female, and two washers.
You’re going to attach the male magnetic snap to the lining side of the flap cover.
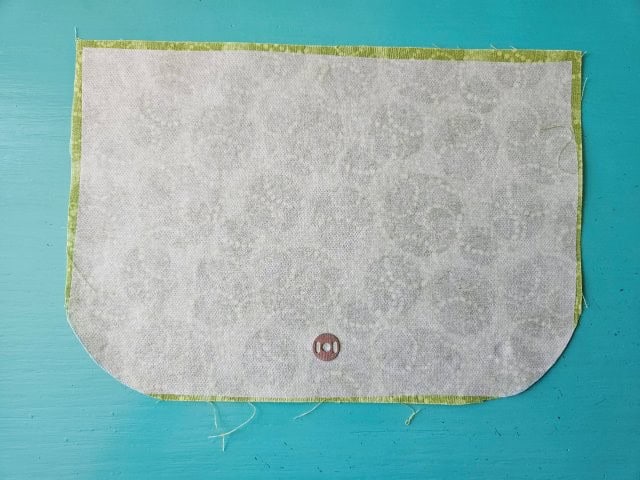
Figure out where you would like the magnetic snap to be and place one of the washers there. The center is at 5″. Be sure to save space for the seam allowance (3/8″) and top stitching.
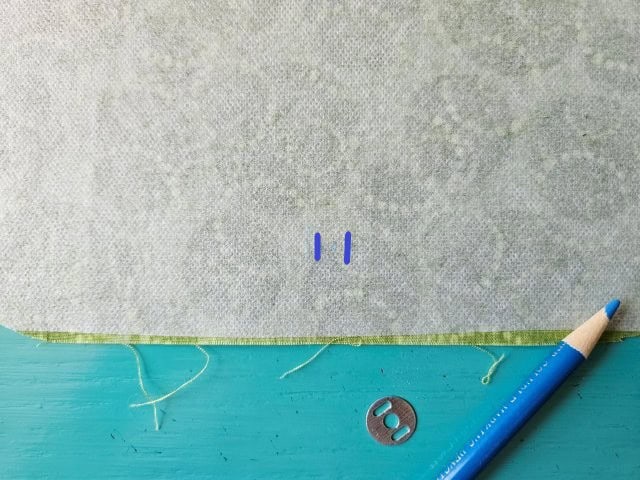
Mark the washer slots on the fabric with a marking pencil. Cut the slits with your seam ripper (cut just a bit smaller than your pencil mark. You don’t want the slits too big).
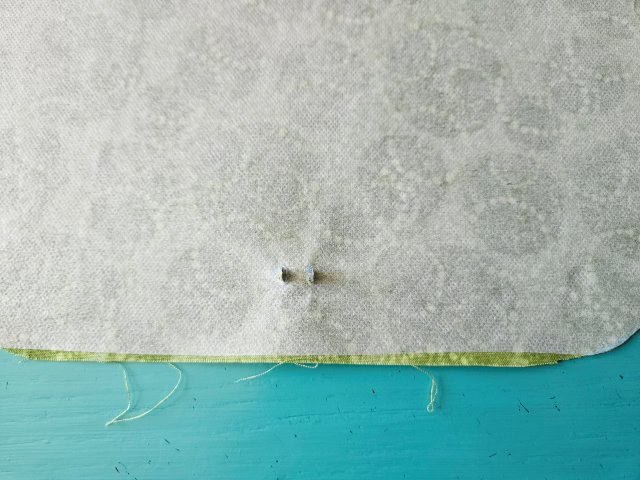
Push the prongs on the male magnetic snap through the slits you just made.
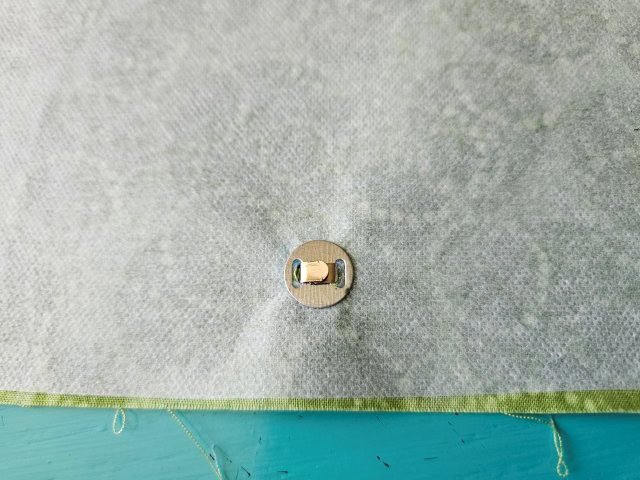
Place the washer on the back of the snap. Hold down the washer and fold one prong towards the center of the snap. I use scissors or something sturdy to push down on the prong. Repeat with the other prong.
The female magnetic snap will be added in a later step.
Sew together the flap cover
Use 3/8″ seam allowance.
Place the flap cover fabric pieces right sides together. Pin to hold in place.
Sew the sides and bottom of the flap using a 3/8″ seam allowance, leaving the top open.
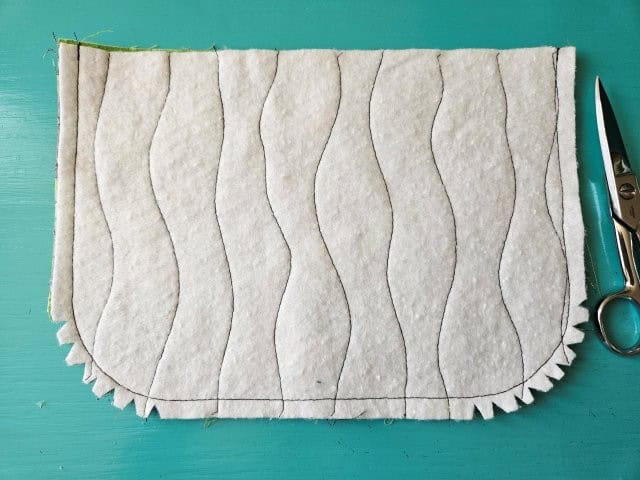
Cut little triangles around the curves using your sewing scissors.
Turn the flap right side out and press.
Top stitch the sides and bottom.
Baste the flap cover to the bag
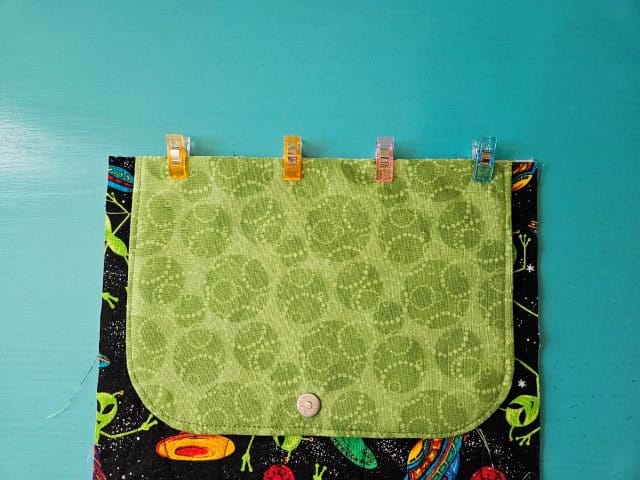
Place the cover flap on top of the back outer fabric piece of the messenger bag with the lining side facing up. The sides of the flap should be about 5/8″ from each edge. Pin at the top to hold in place.
Baste the flap cover to the outer fabric piece.
The above picture shows the flap basted to the back outer fabric piece.
***You can find the AD-FREE, printable PDF version of this sewing tutorial available for purchase in my Etsy shop HERE. Includes 23 pages of step-by-step instructions with pictures. Print a copy to keep next to your sewing machine for easy reference.***
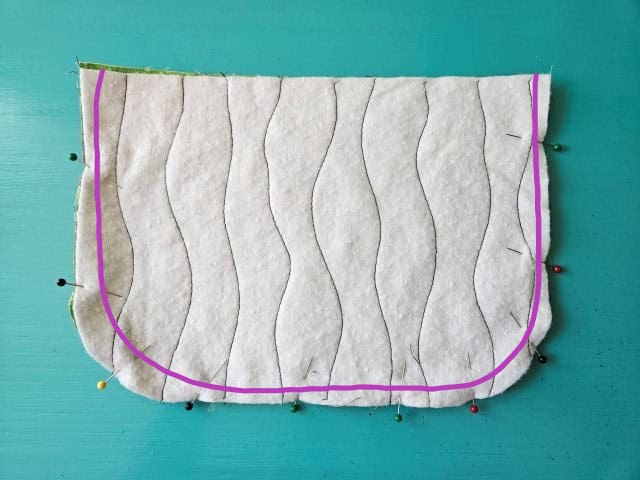
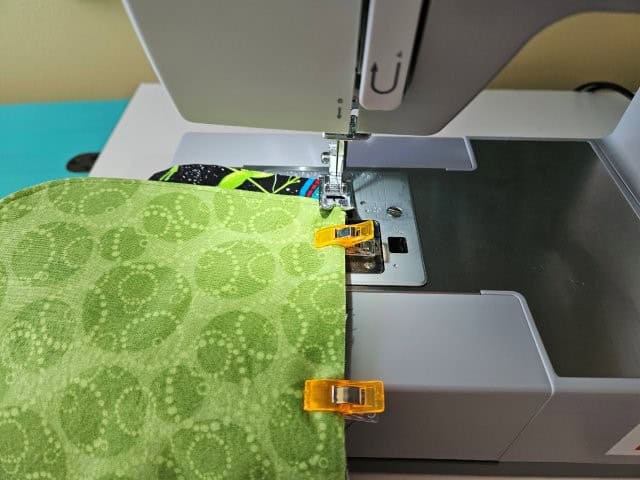
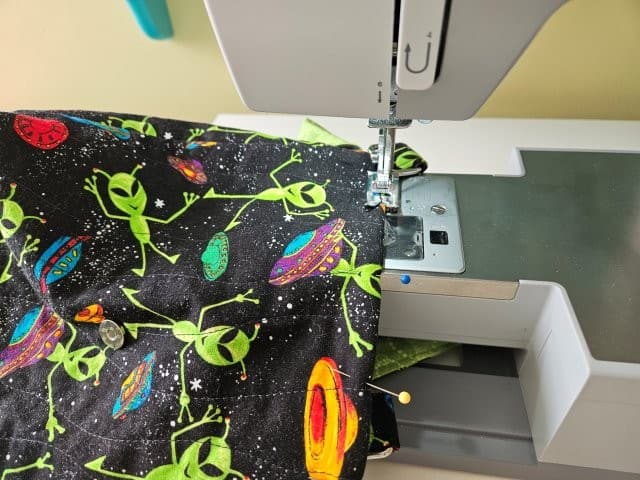
Sew the outer and lining bags
Use a 3/8″ seam allowance.
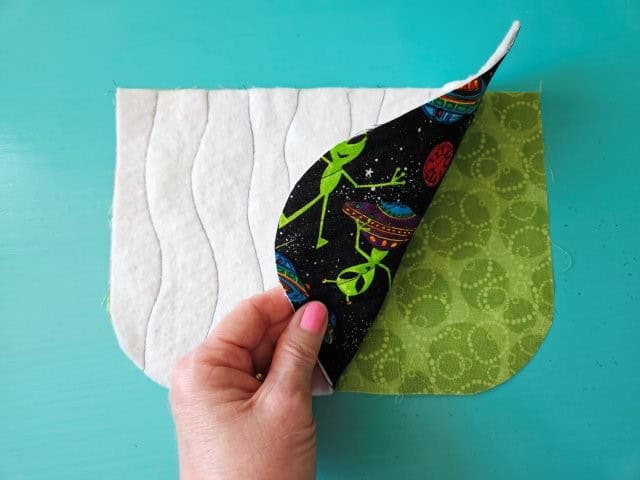
Place the outer bag fabric pieces right sides together.
Pin or clip the sides and bottom to hold in place, lining up the stitching. Sew the sides and bottom using 3/8″ seam allowance. Leaving the top open.
Repeat with the lining fabric pieces.
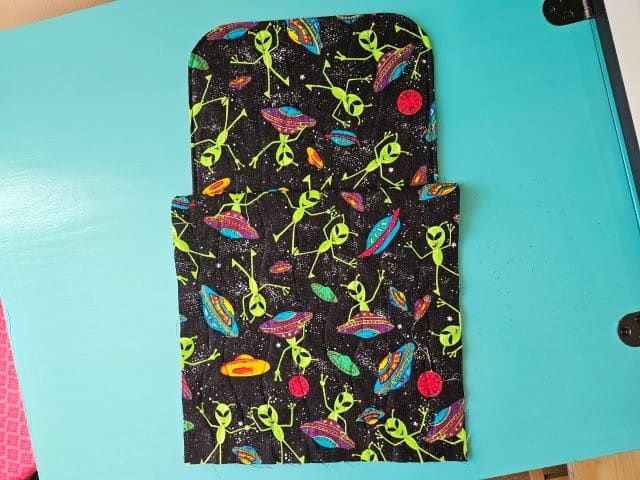
Square the bottom
You are going to cut a 1.5-inch square at each bottom corner of both the lining and outer bag pieces.
RULE OF THUMB: The finished bottom width of the messenger bag is going to be two times the width of the squares you cut. For this crossbody bag, the squares are 1.5-inches which makes the finished bottom width 3-inches. For a 4-inch wide bottom, you’ll need to cut the squares 2-inches wide.
Using your clear ruler and marking pencil, mark a 1.5-inch square at each bottom corner of the lining fabric bag piece.
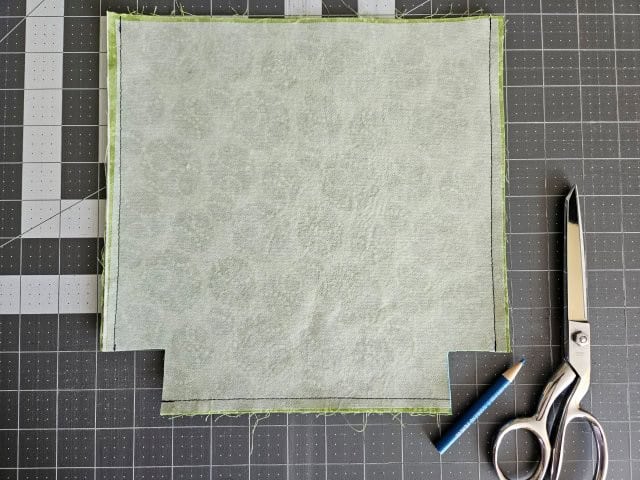
Cut the squares along the marked lines using your sewing scissors. Repeat with the outer bag piece.
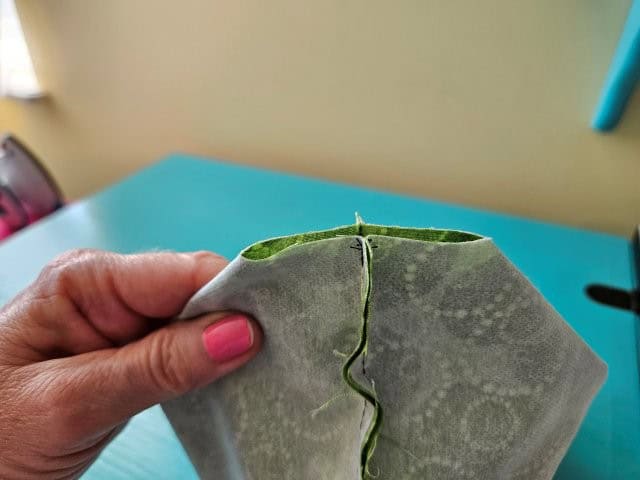
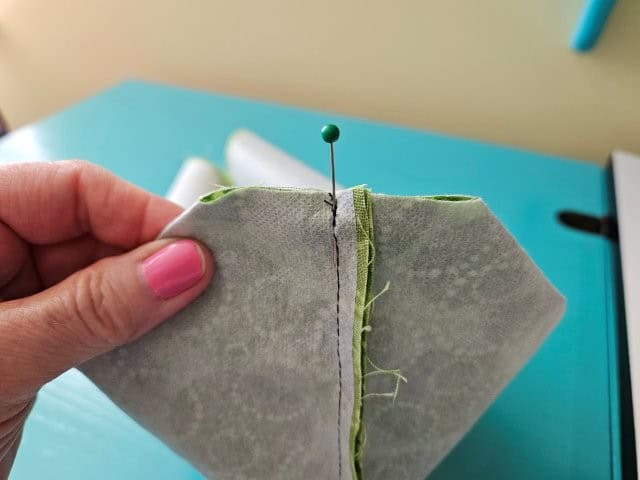
Pinch each square together, lining up the seams. Pin to hold in place.
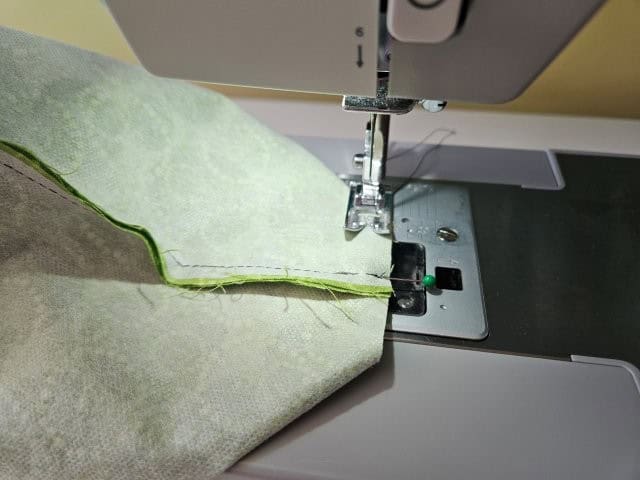
Sew along the edge using a 3/8″ seam allowance.
The bottom of your messenger bag is now 3-inches.
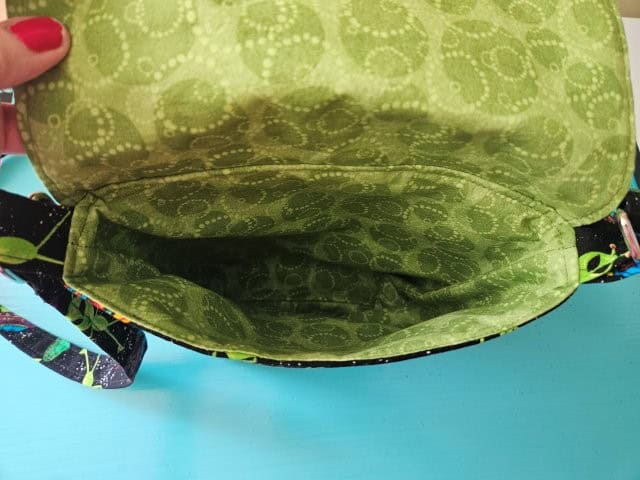
You should now have one outer bag and one lining bag.
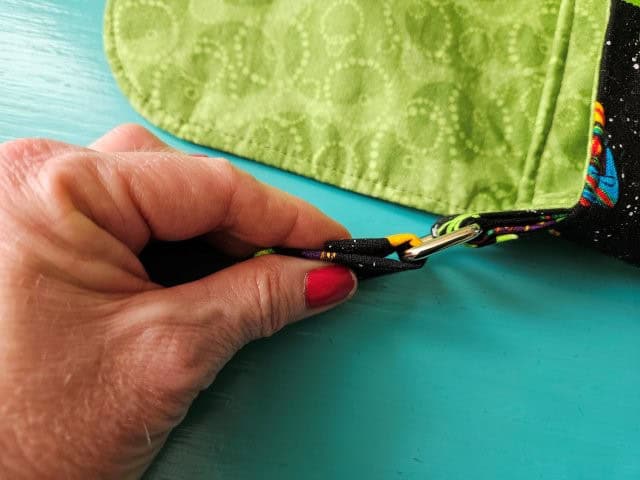
Baste the short straps
You are going to baste the short straps to the outer crossbody bag.
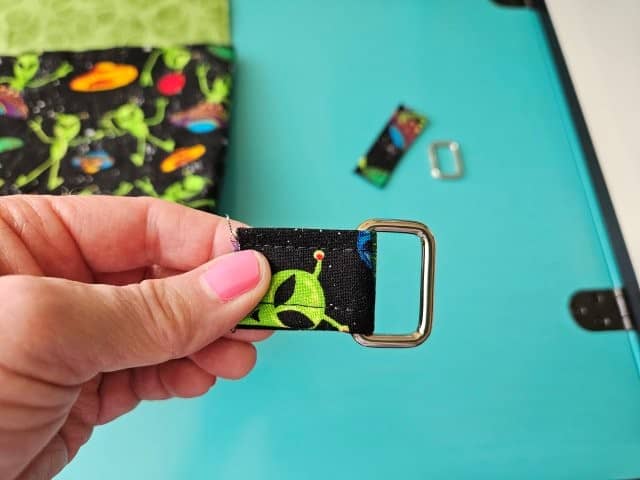
Slide one short strap through one of the rectangle rings and fold over.
Baste the short straps to the sides of the outer bag with the bag seam lined up in the middle of the strap.
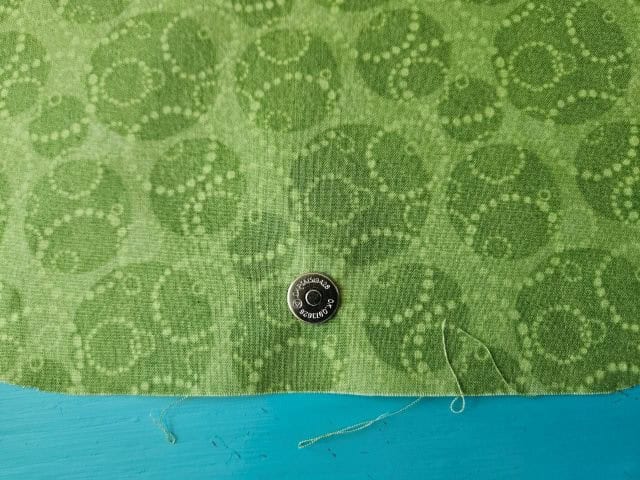
Add the other magnetic snap

Fold the cover flap over and mark where the female magnetic snap should go with your marking pencil.
Place the washer over the dot and mark the slots in the washer. Follow the same steps to attach the female magnetic snap as you did with the male snap.
Turn the outer bag back to wrong side out.
Sew the messenger bag together
Use a 3/8″ seam allowance.
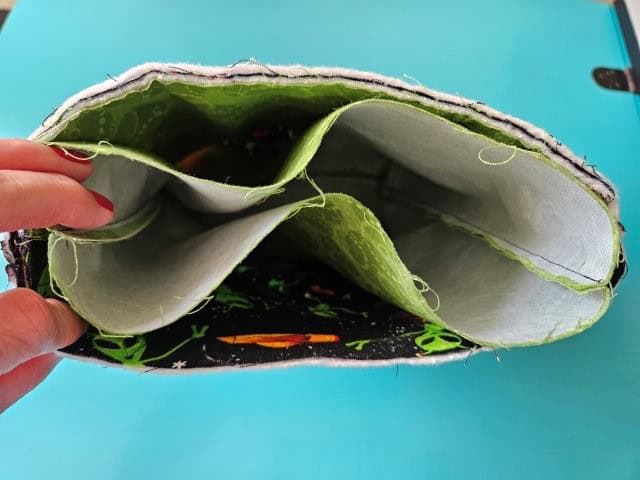
Turn the lining bag right side out and place inside the outer bag. The right sides of the fabric should be facing each other and the short straps and flap should be in between the bags.
Line up the side seams and pin to hold in place, leaving an opening in the front for turning.
Sew around the top of the bag using a 3/8″ seam allowance, again leaving an opening for turning. Sew over the straps a couple times for extra durability.
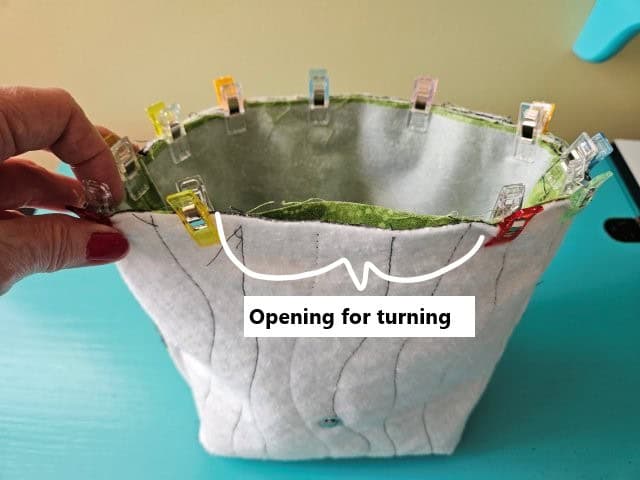
Turn the bag right side out
Through the opening in the front, turn the quilted messenger bag right side out. Push the lining inside the bag and press.
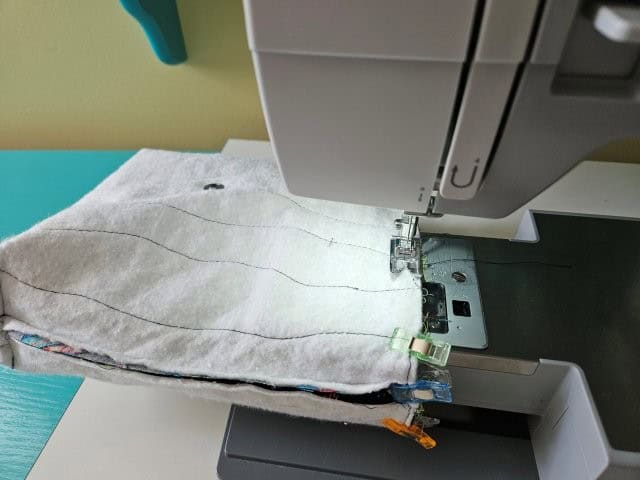
Top stitch around the top giving the bag a finished look and closing the opening made for turning. Be sure your upper thread matches the outer fabric and the bobbin thread matches the lining fabric.
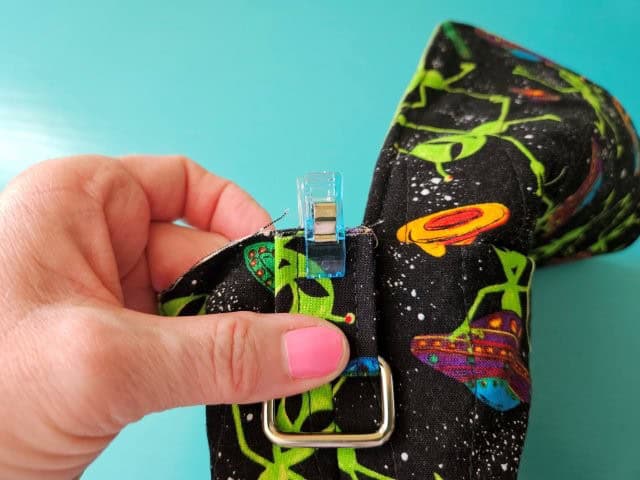
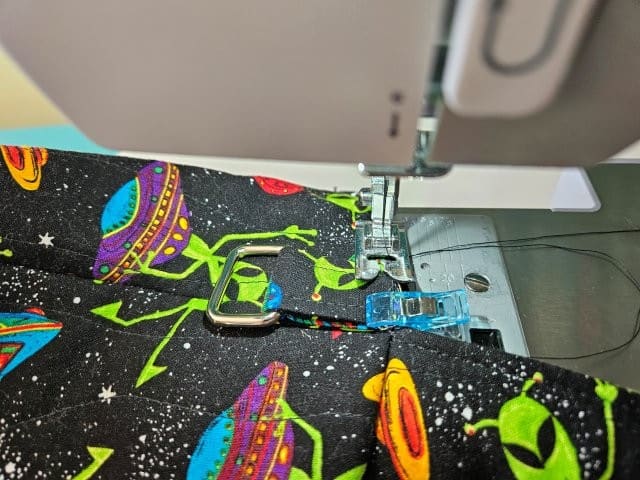
Attach the long adjustable strap
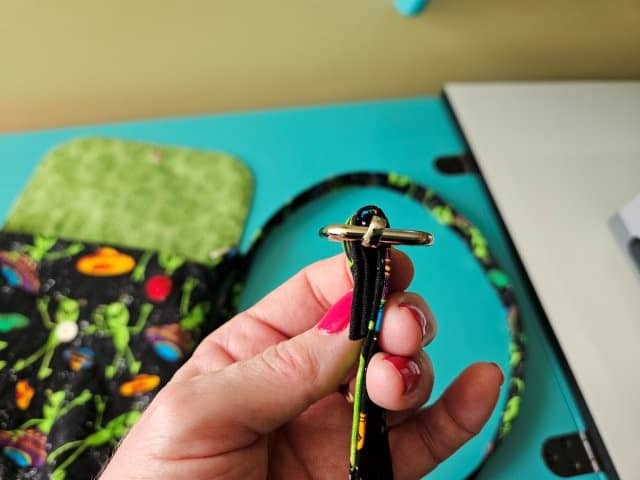
The rectangle slide is used to make the strap adjustable. Slip one end of the long strap through the slide and fold over.
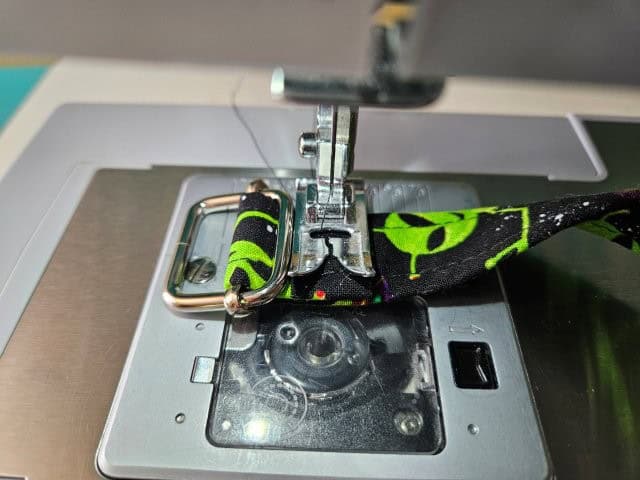
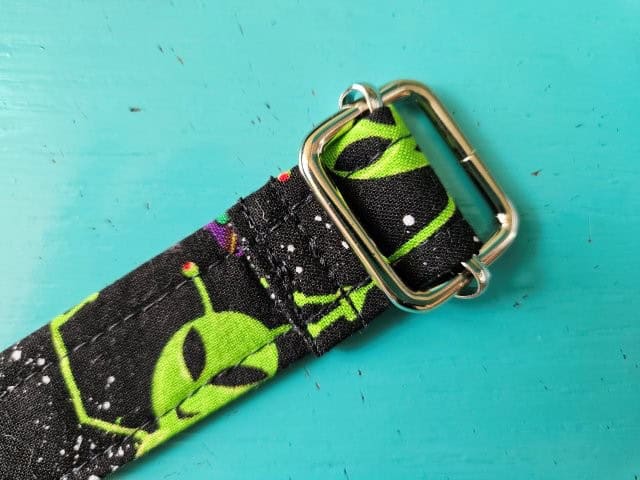
Sew to attach the strap. I start in the middle and go backwards then forwards then back to the middle. This keeps the strap lined up and prevents it from moving around. (I sew two lines for extra durability).
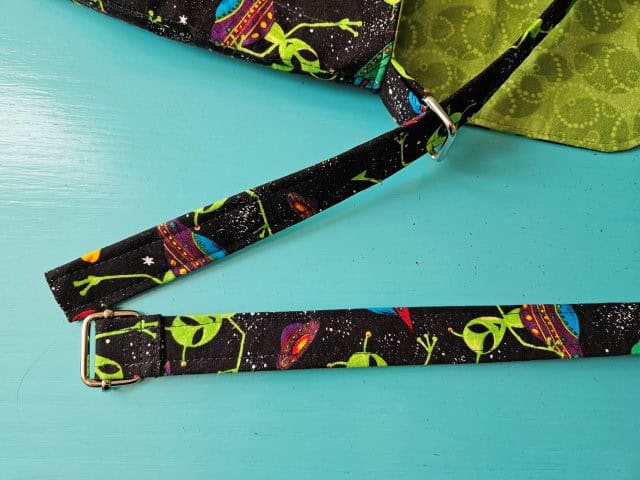
With the folded part of the strap facing up, slide the other end of the strap through the left rectangle ring. Be sure the strap isn’t twisted.
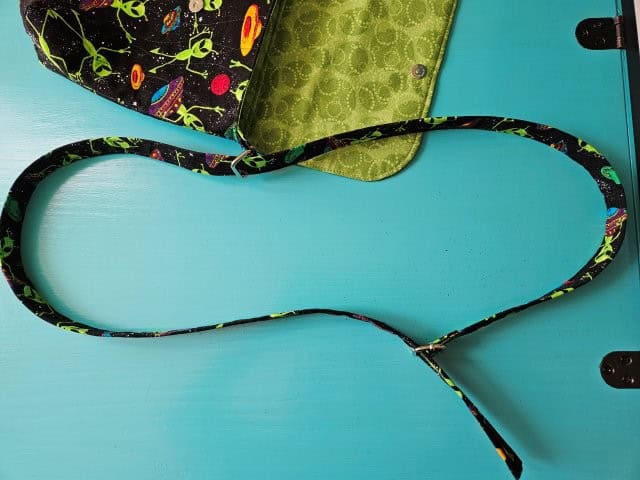
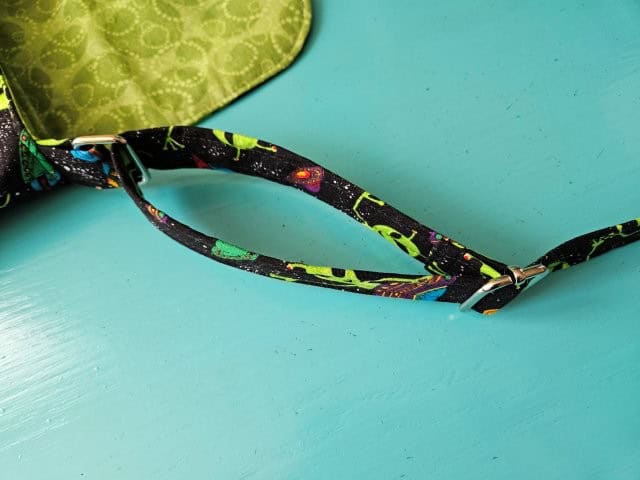
Then slide the strap through the rectangle slide. The folded part of the strap should be facing down, hidden under the strap.

Take the end and slide it through the other rectangle ring and fold over so the folded part is facing inside.

Sew the strap a couple times to attach to the ring.
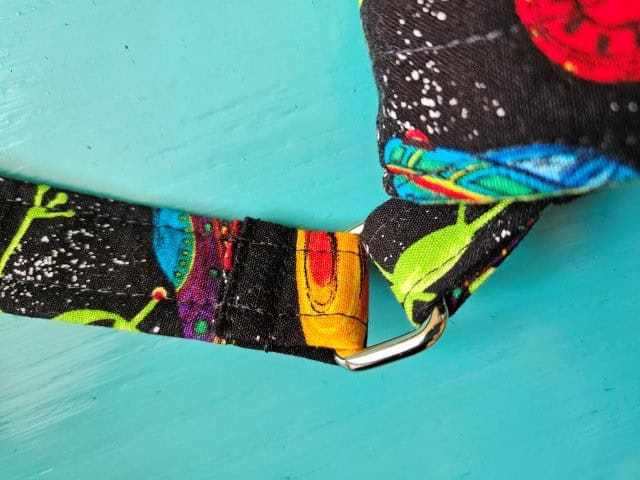
The above pictures shows the long strap attached.
***You can find the AD-FREE, printable PDF version of this sewing tutorial available for purchase in my Etsy shop HERE. Includes 23 pages of step-by-step instructions with pictures. Print a copy to keep next to your sewing machine for easy reference.***
Pin for later!
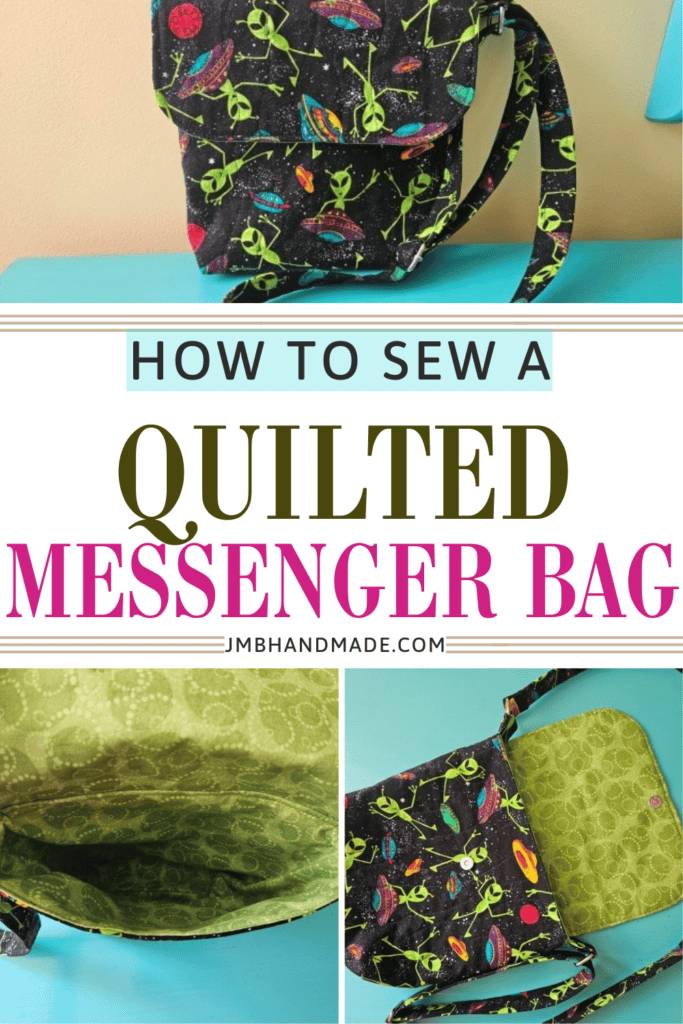
You are finished!
I hope you enjoyed this tutorial on how to make a quilted messenger bag! This little crossbody bag is the perfect size to fit all your essentials when you’re on the go. Happy sewing!
Other handbag sewing projects:
- Simple Faux Leather Crossbody Bag with Upcycled Strap
- DIY Crossbody Cell Phone Purse
- Tote Bag with Recessed Zipper Sewing Tutorial
- Small Over the Shoulder Handbag – Purse template included