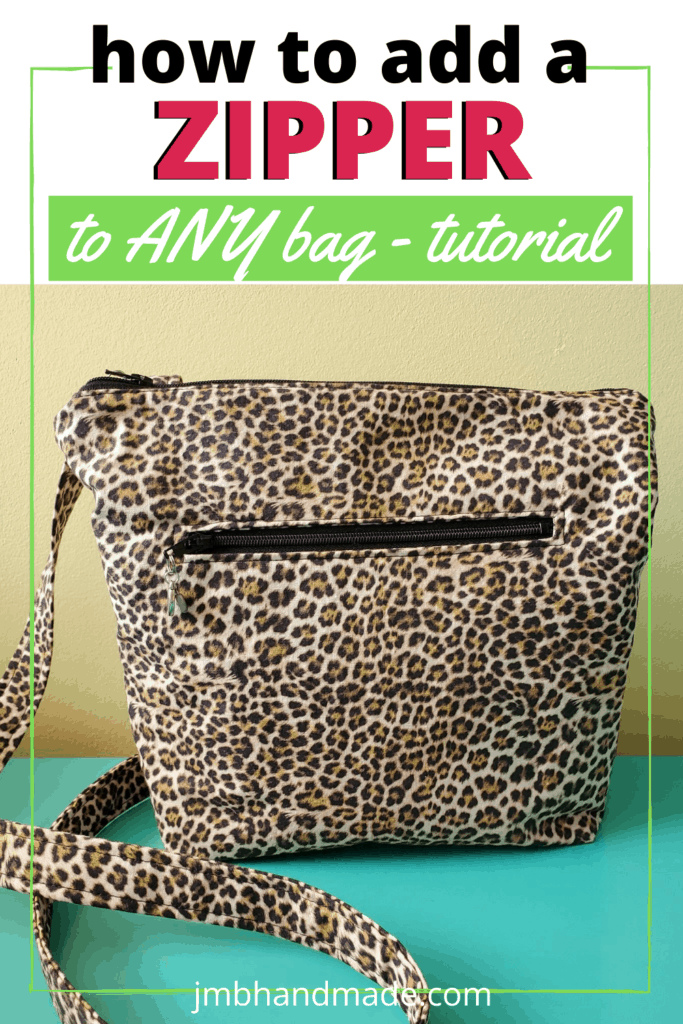
How to Add a Zippered Pocket to a Tote Bag
Sewing a zippered pocket in a handbag or tote can be challenging but that’s why you’re here right?
I always like to have a zippered pocket in my handbag to keep lipstick and all those little items so I can easily find them when I need them! I’m sure you don’t like digging around in your purse trying to find your keys or lip balm!
For the purpose of this tutorial, I am adding a zippered pocket to a tote bag like the tote bag in my How to Make a Simple Tote Bag tutorial. Here is how to make a zippered pocket you can add not only to your handbag, but to anything once you know how!
Be sure to check out some of my other sewing projects for some fun accessories you can make to go in your tote bag like our Easy DIY Key Fob!
Don’t have the right size zipper? Learn how to shorten a zipper with this easy tutorial.
There are affiliate links in this post. Please see disclosure for more information.
Supplies needed:
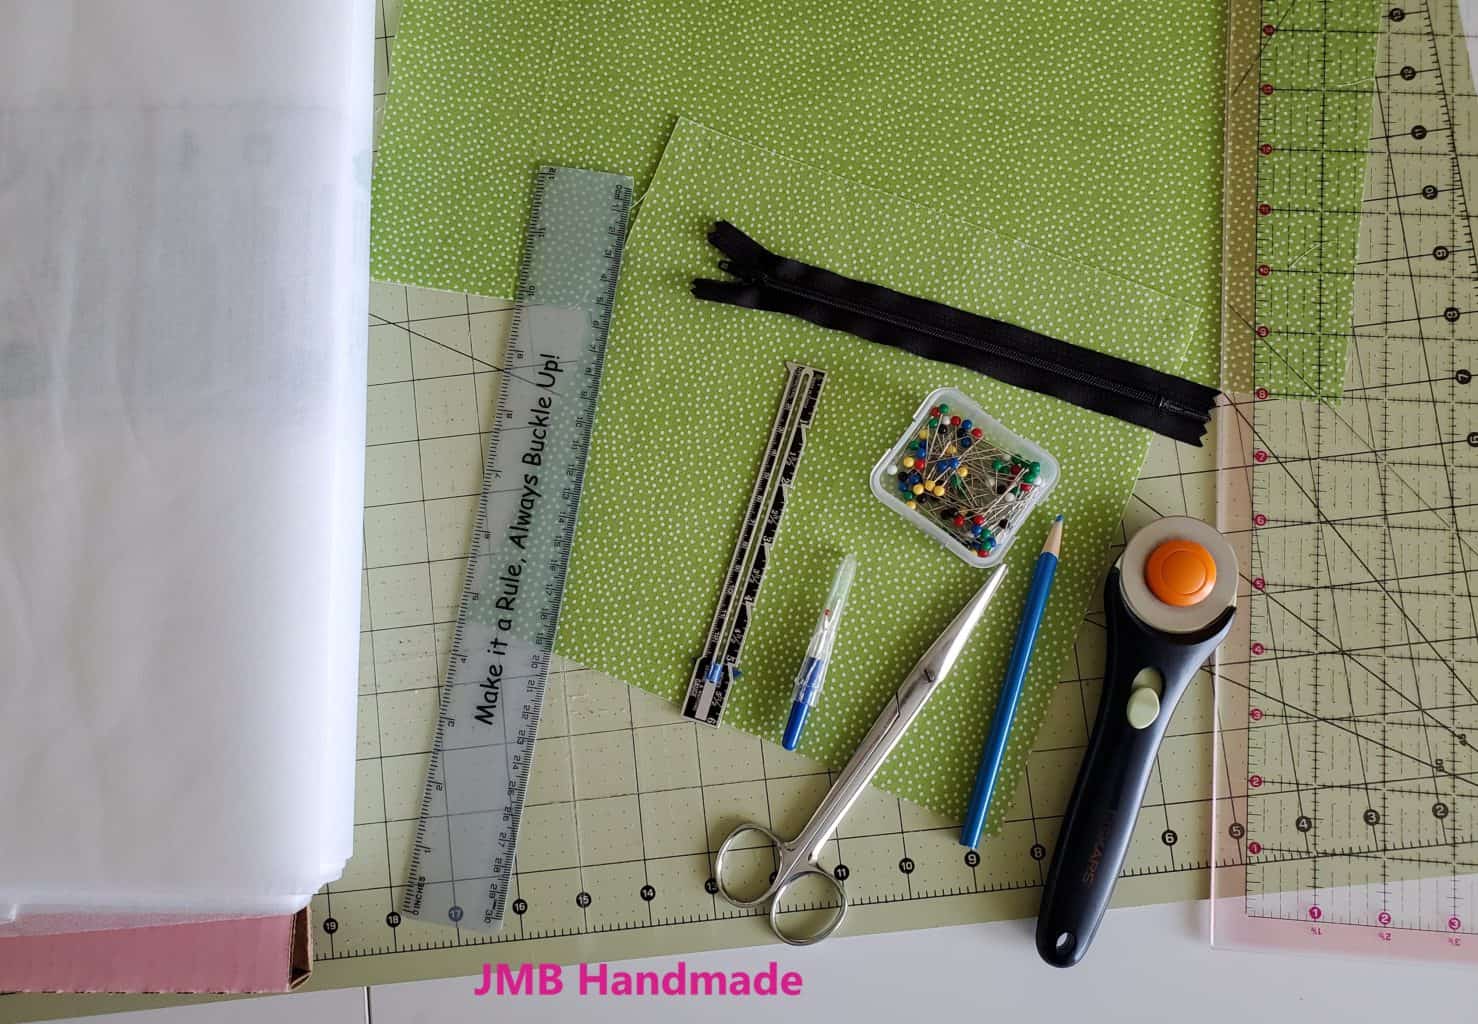
- Two fabric pieces for the pocket measuring 9 inches by 9 inches – my favorite fabric shop
- 7 inch zipper – where I buy all my zippers
- Fusible interfacing
- Rotary cutter
- Clear ruler
- Cutting mat
- Sewing gauge
- Ruler – with centimeter measurements
- Marking pencil
- Sewing scissors
- Seam ripper
- Straight pins
- Thread
- Sewing machine – with zipper foot
Cut your fabric
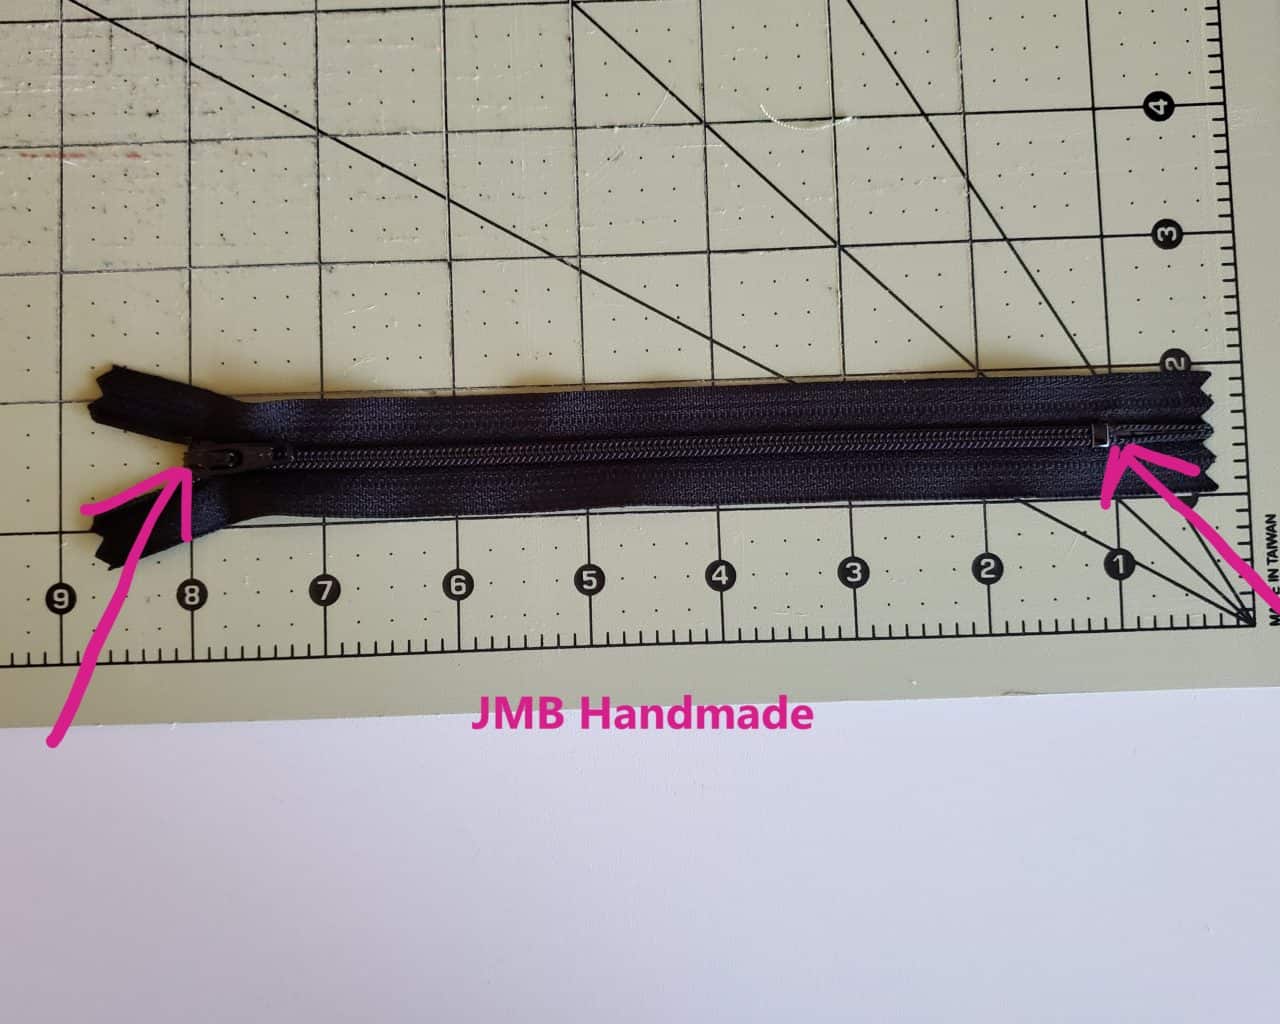
I am using a 7 inch zipper for this tutorial. The size of your fabric will need to by cut 2 inches wider than the size of your zipper, in this case 9 inches. To determine the size of your zipper, measure between metal to metal.
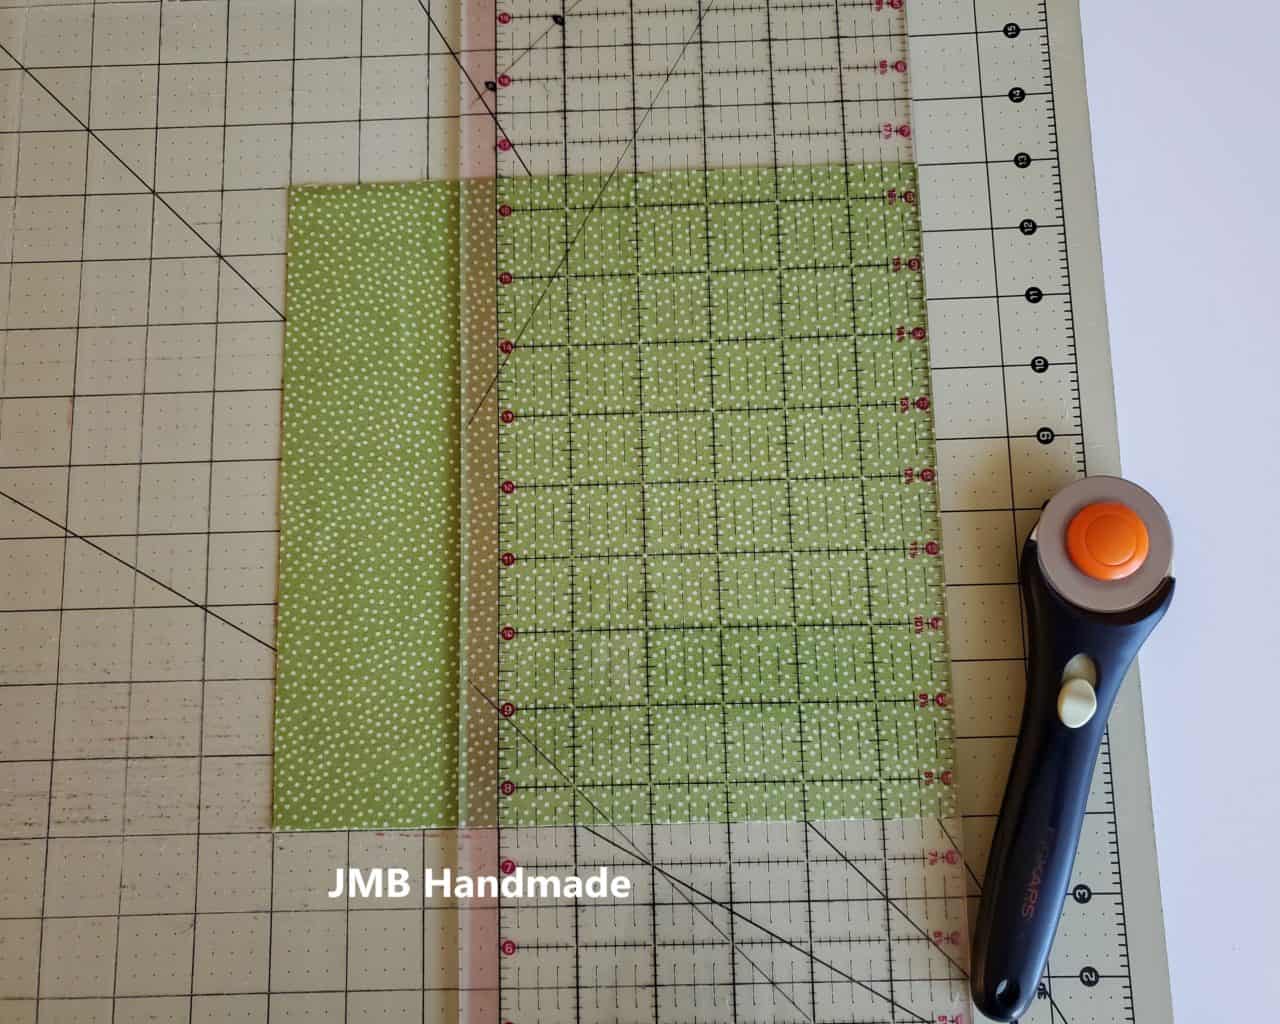
Using your cutting mat, clear ruler and rotary cutter, cut two fabric pieces measuring 9 inches by 9 inches. The length of the fabric can be any size – make it however deep you want your zippered pocket. For this tutorial, the length is 9 inches.
Add the fusible interfacing
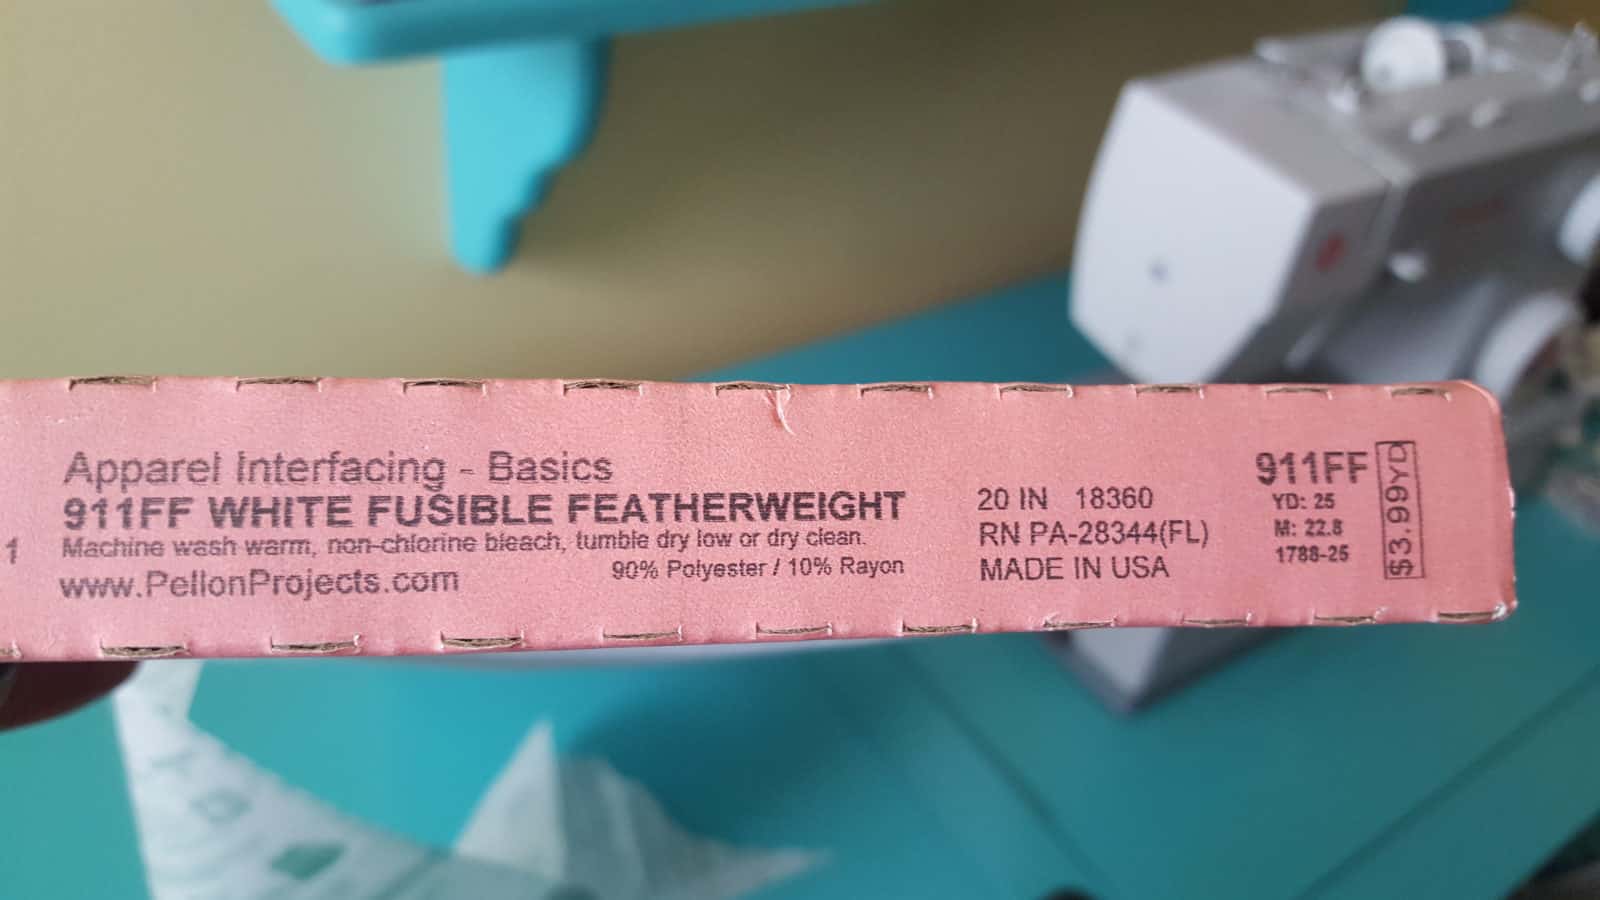
You’ll want to use a fusible interfacing for this sewing project for extra durability and it makes working with the fabric pieces easier. I use Pellon brand for all my sewing projects. For handbags and accessories, I use Pellon 911FF Fusible Interfacing. I use Pellon P44F Fusible Interfacing for my memory t-shirt quilts and memory pillows. It’s just the right weight to make the t-shirts easier to work with.
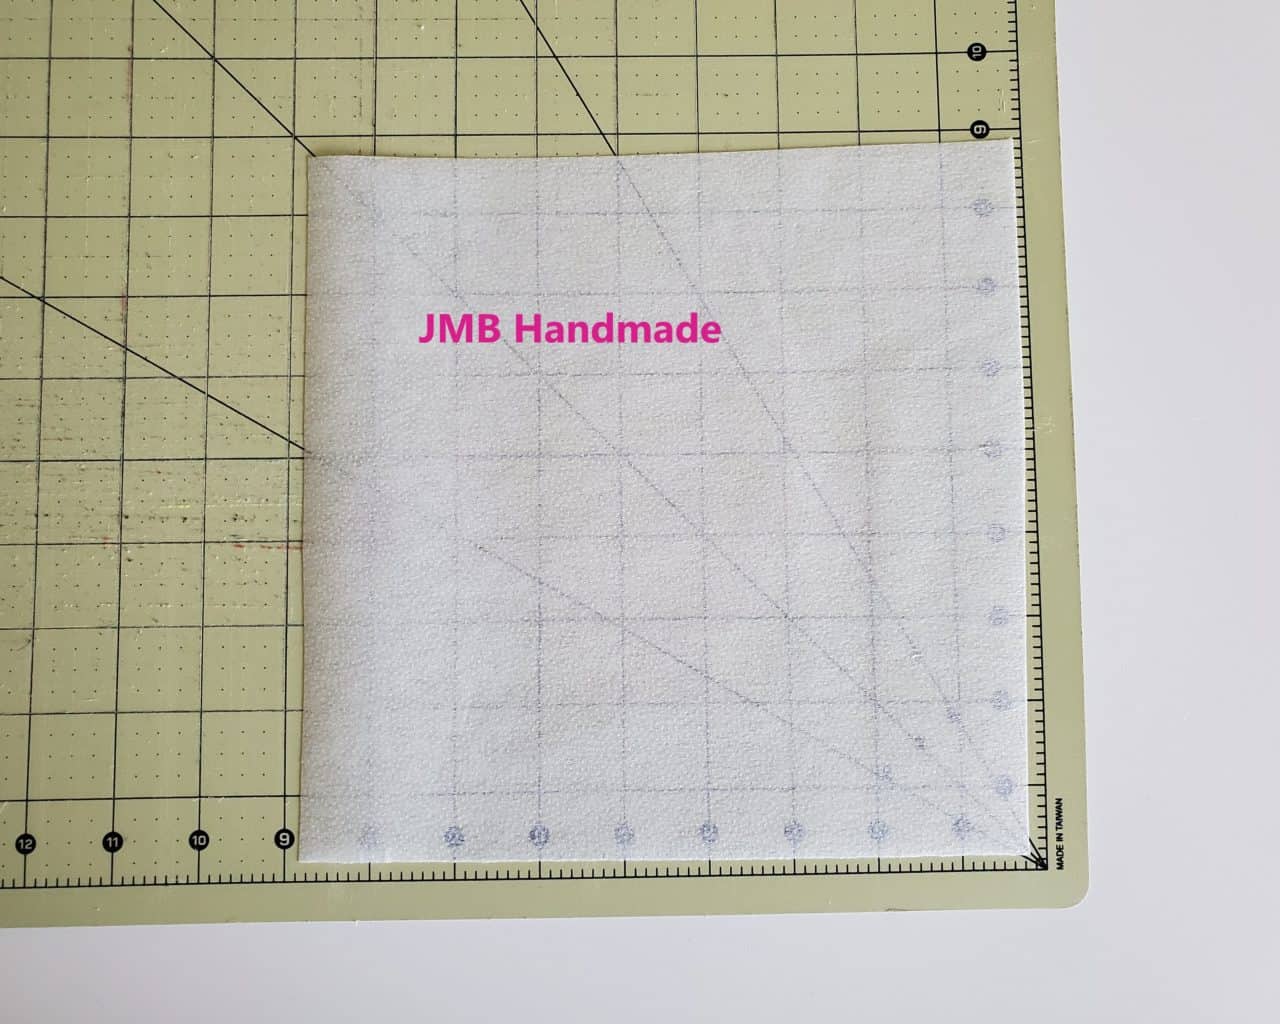
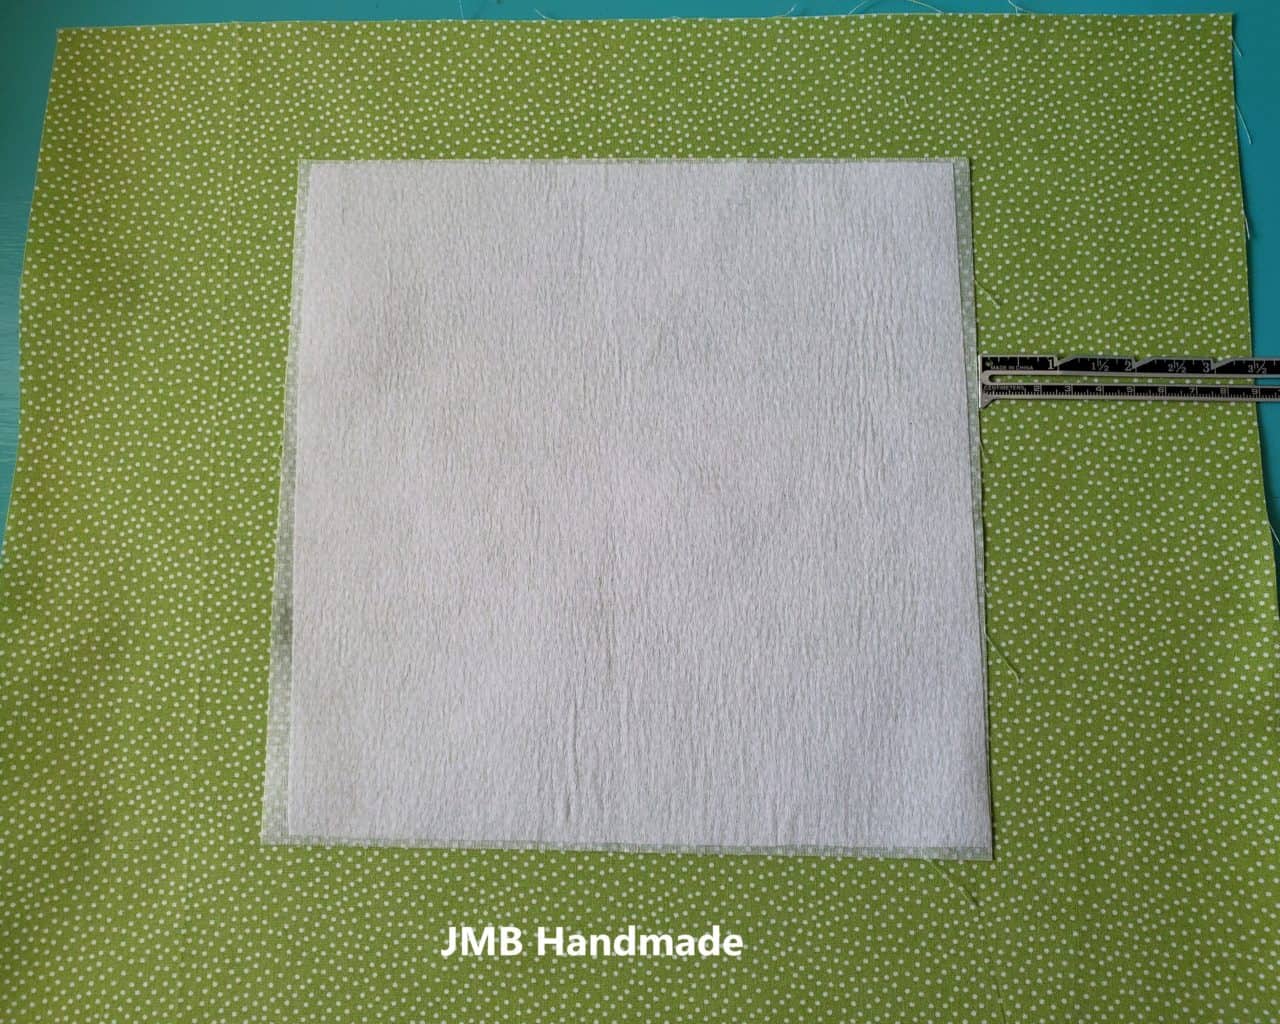
Cut your fusible interfacing just smaller than your fabric pieces – one for each fabric piece.
Place the fusible interfacing (dots side down) on the wrong side of your fabric piece.
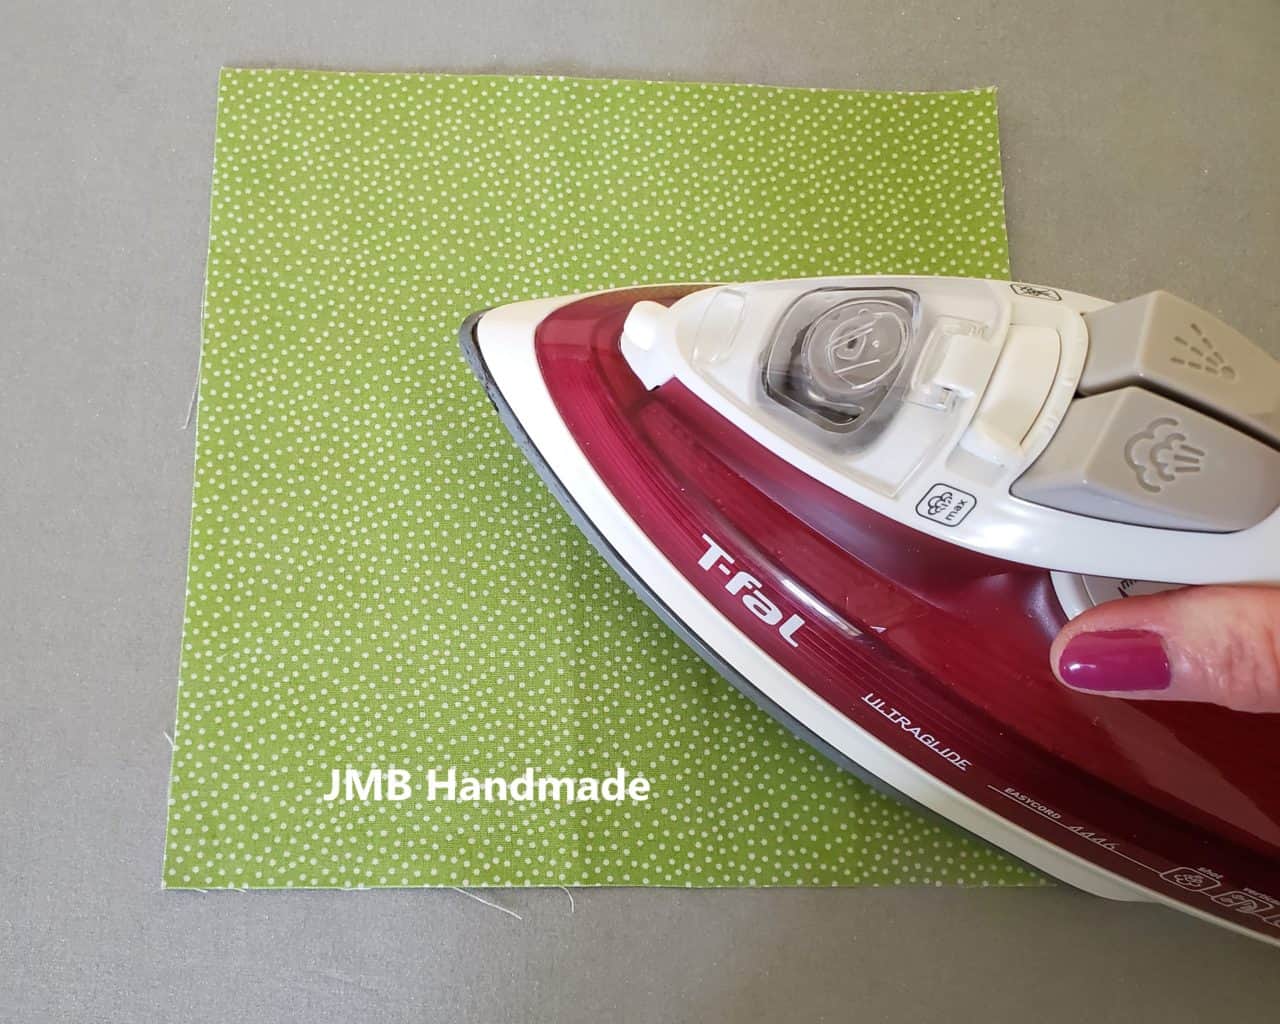
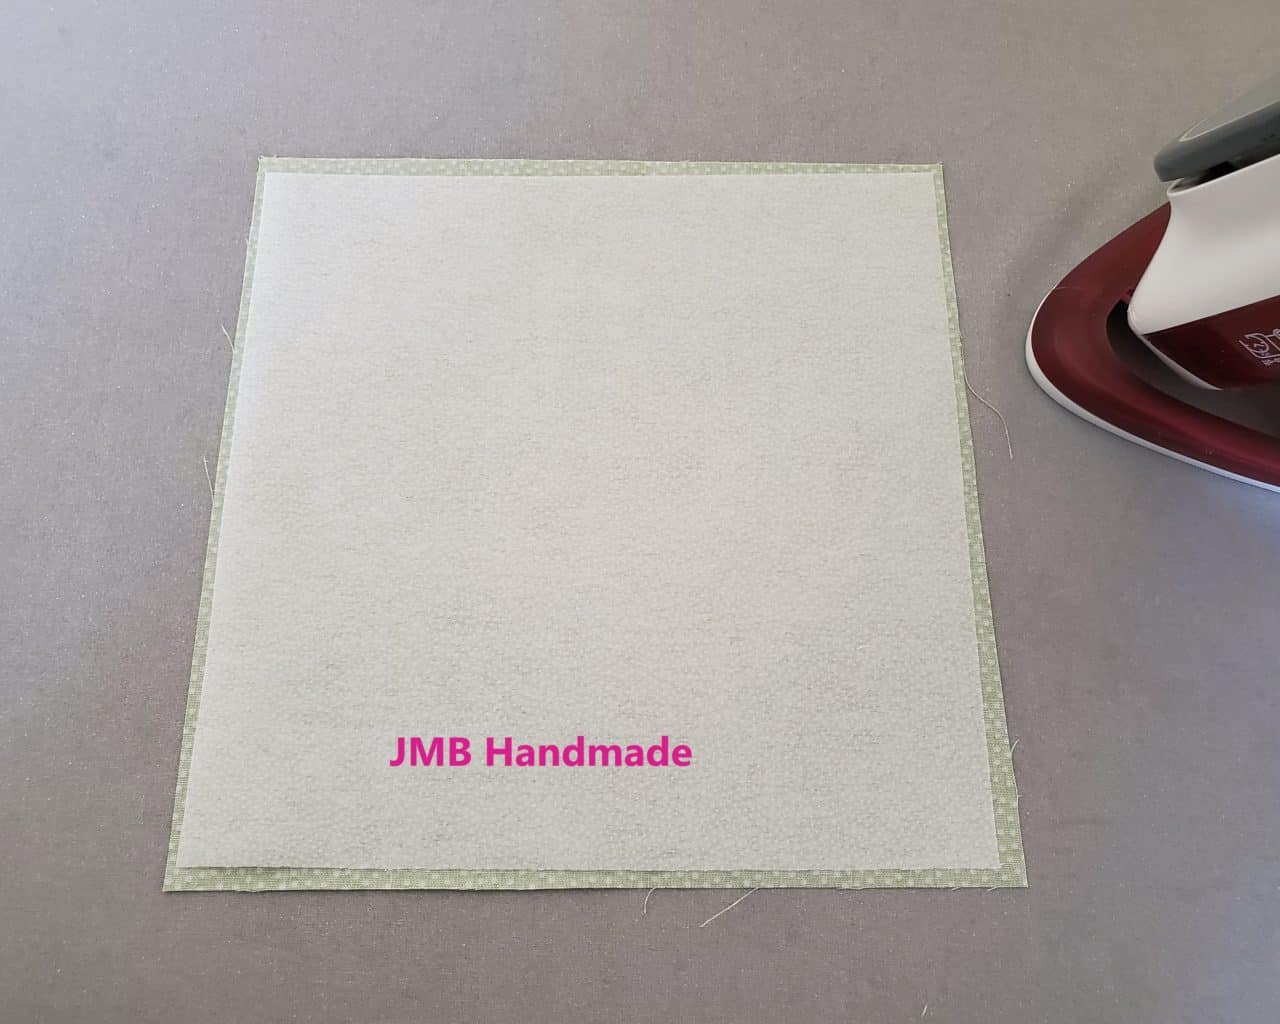
Flip the fabric, with the interfacing, over and iron using the cotton steam setting until the interfacing is attached. Add the interfacing to the other fabric piece as well.
Create the zipper opening
Place one fabric piece right side down on the lining fabric piece where you want to add the zippered pocket.
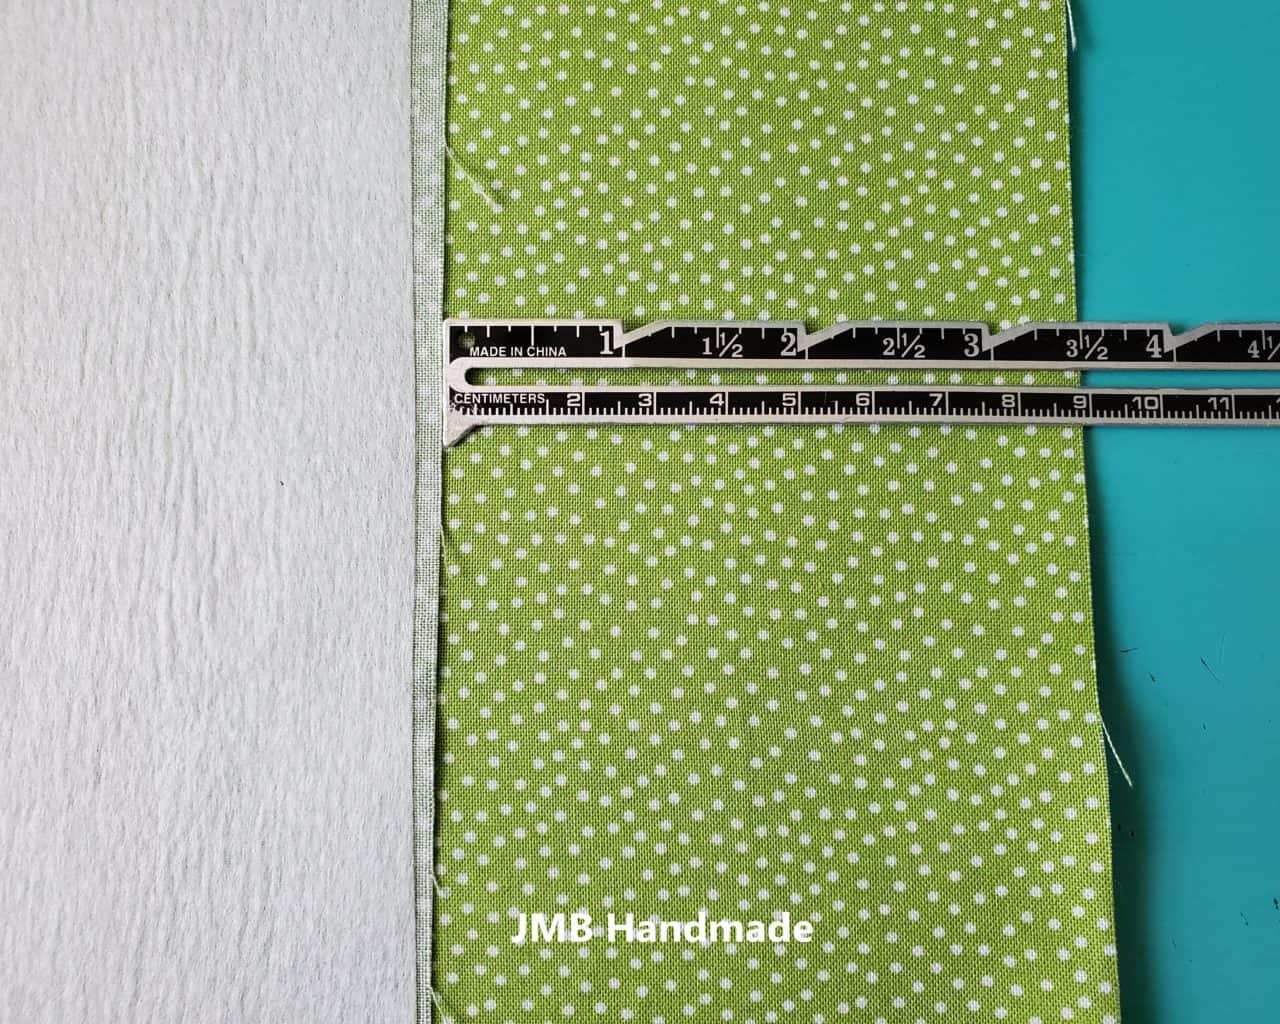
Be sure to center it horizontally by using your sewing gauge. In this case my fabric piece was 3 1/2 inches from each vertical edge of the tote bag lining piece.
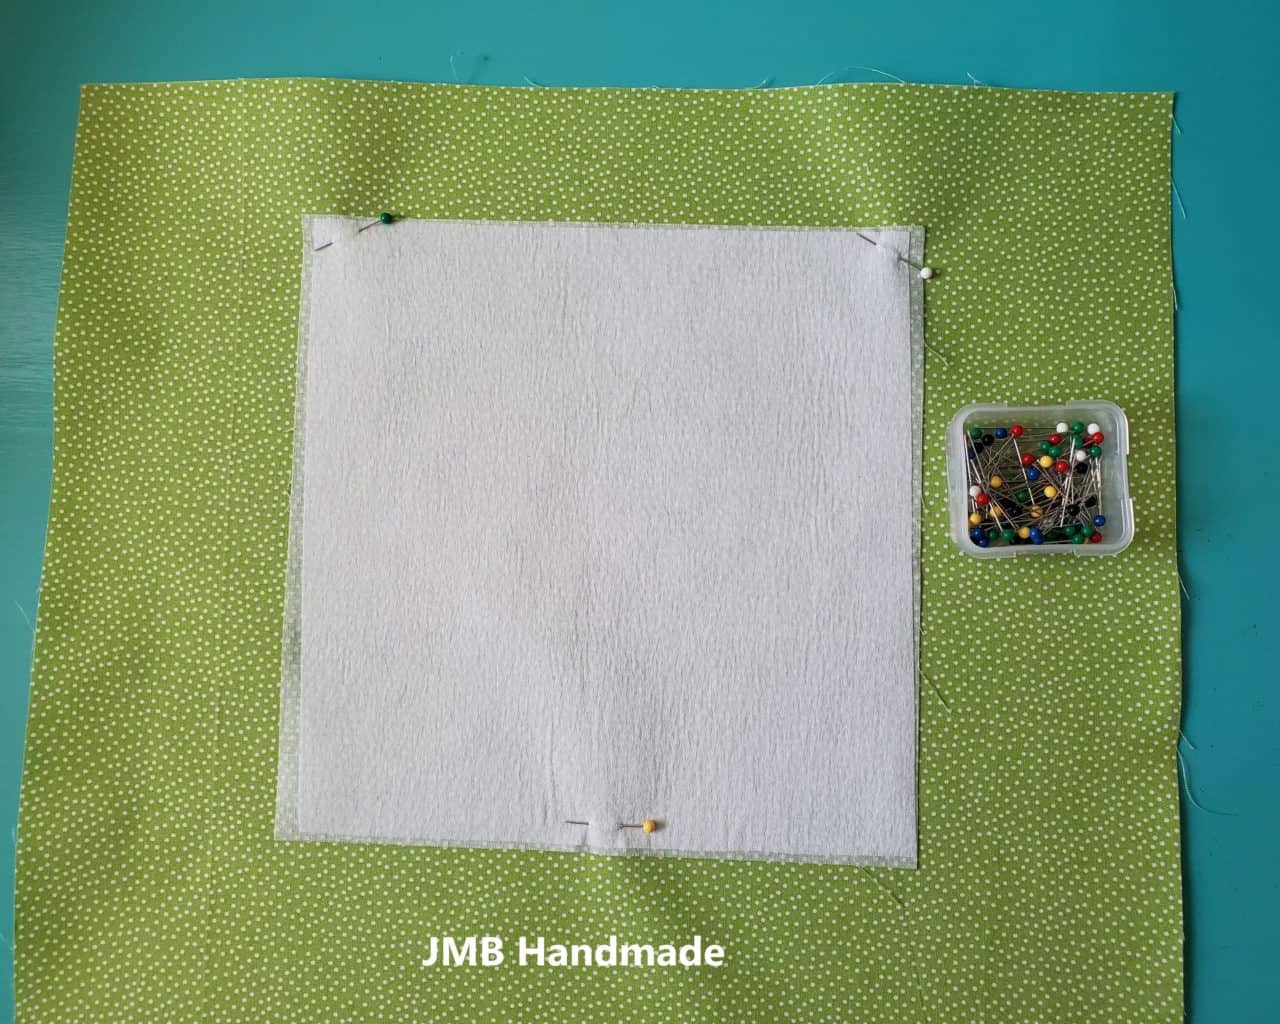
Using your straight pins, pin in place.
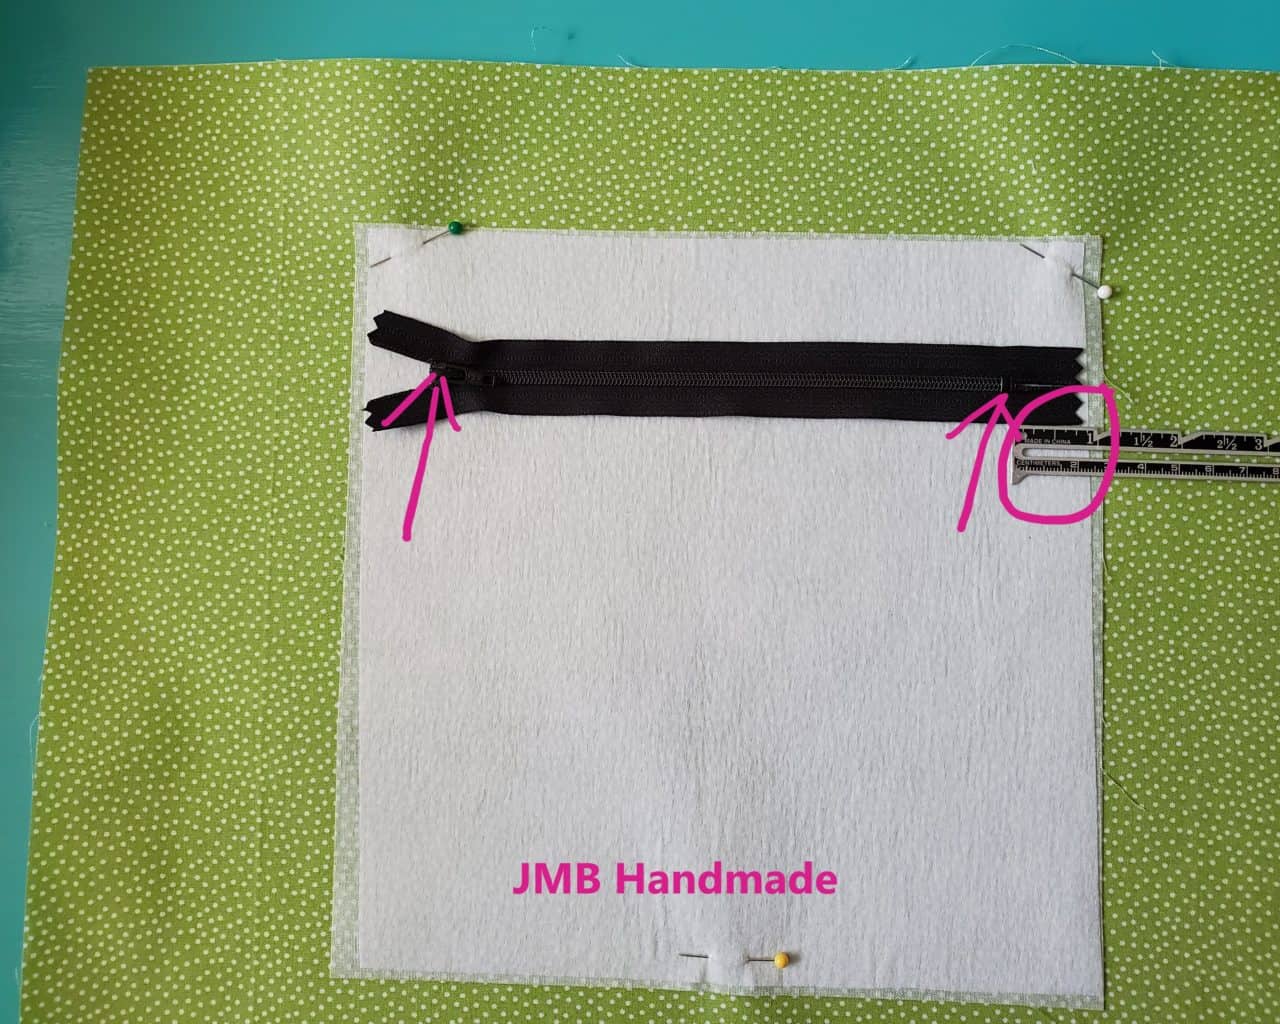
Place the zipper where you would like it for your pocket. Center it vertically on the fabric piece using your sewing gauge.
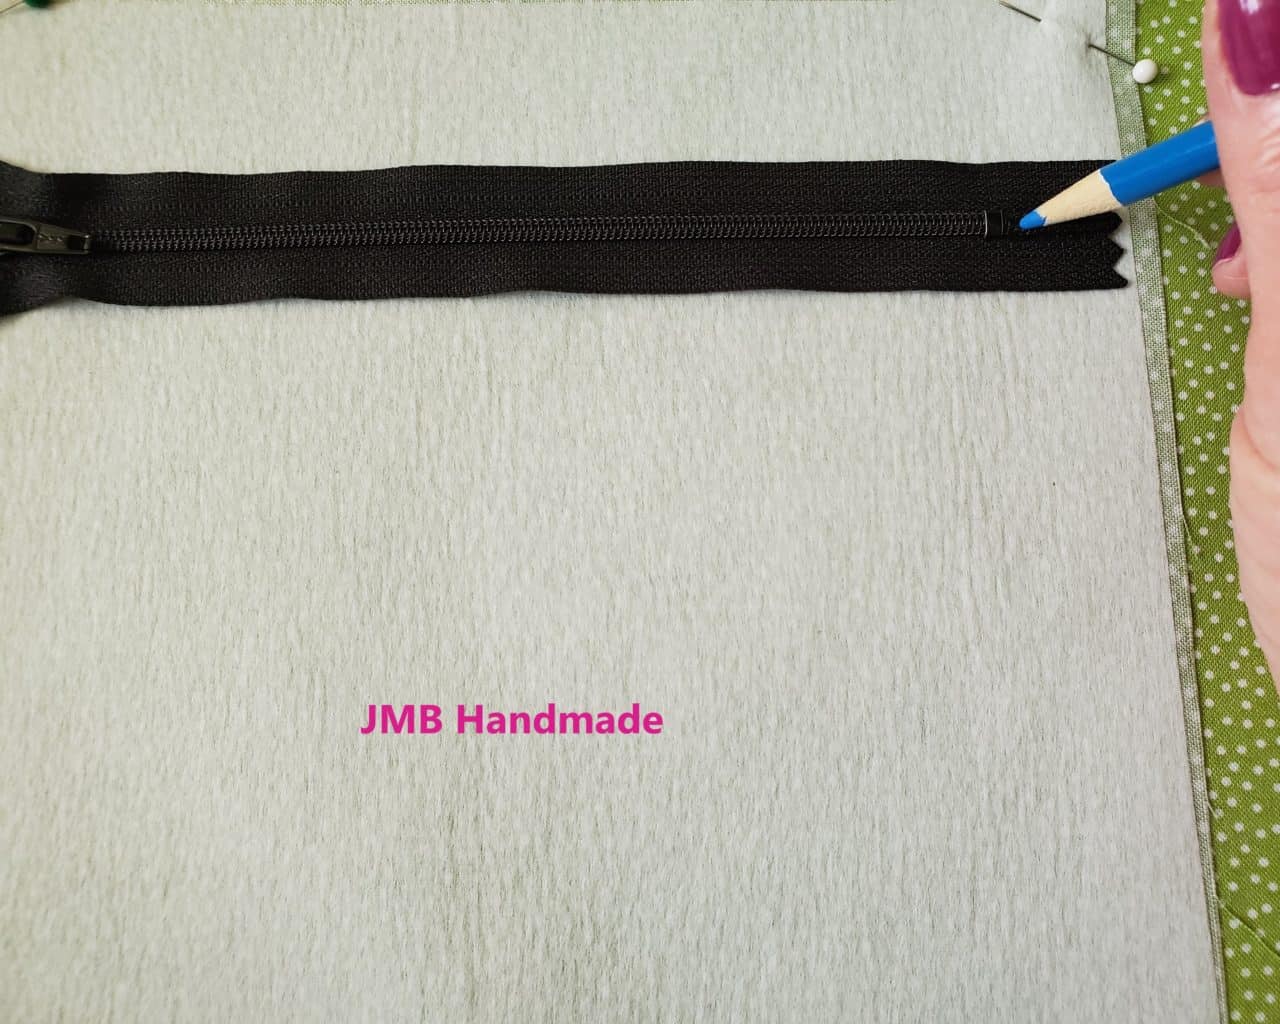
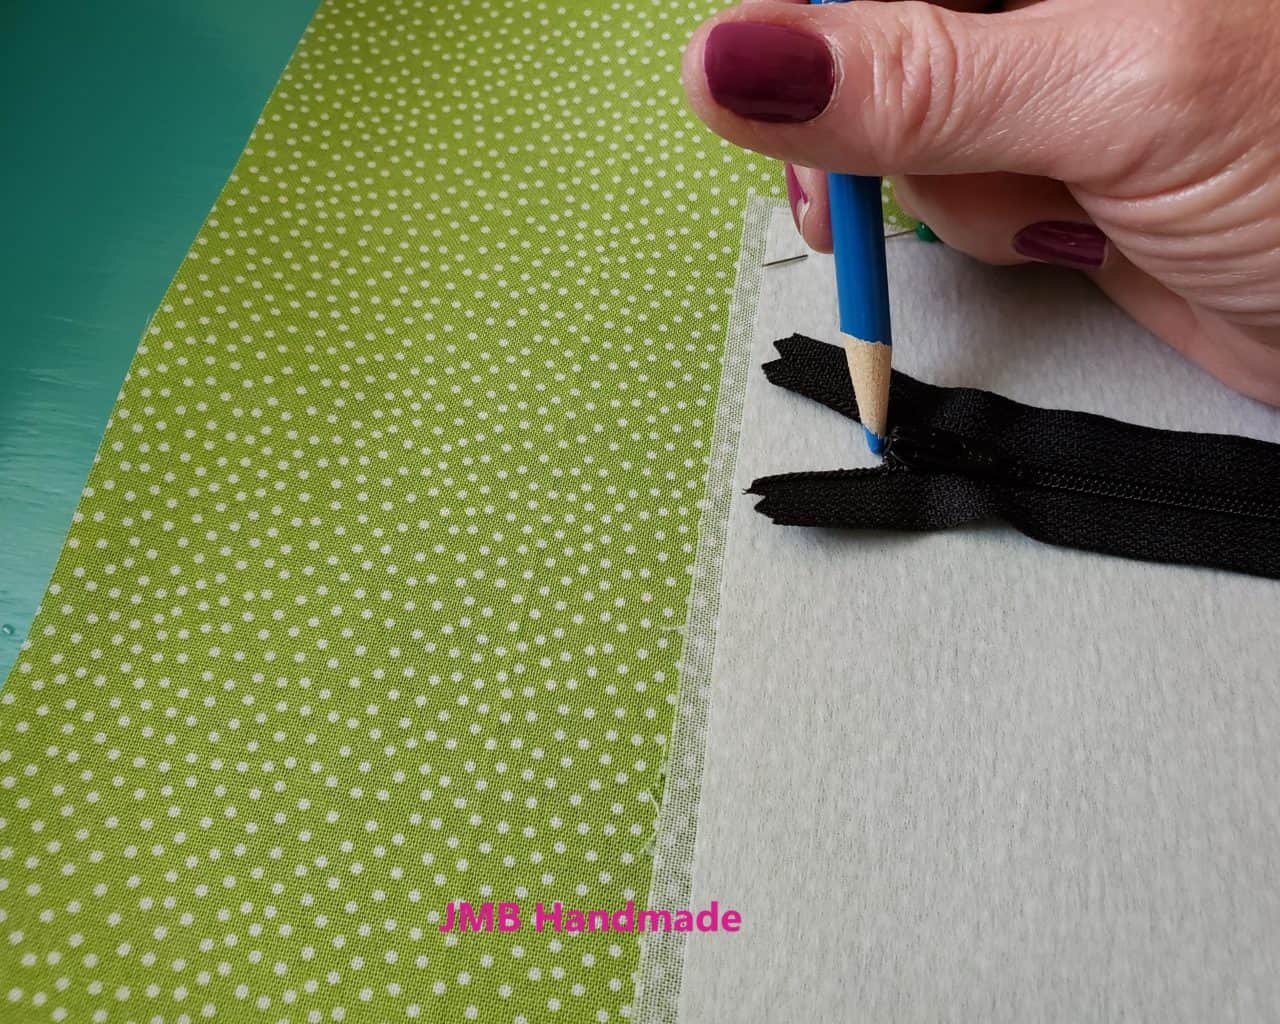
Use your marking pencil to mark a dot on the fabric for each end of the zipper.
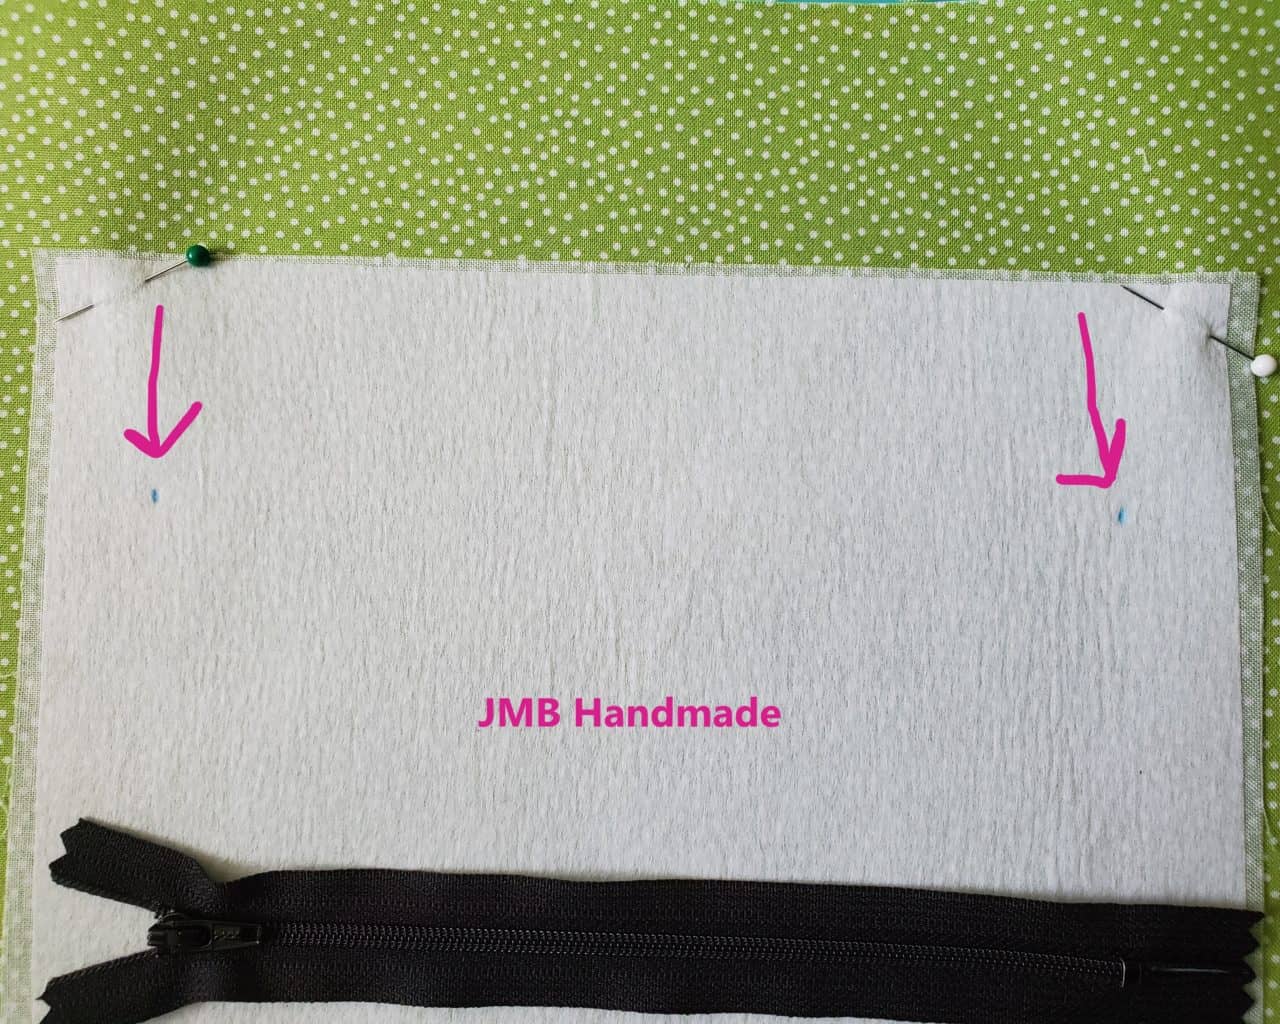
Can you see the two dots above?
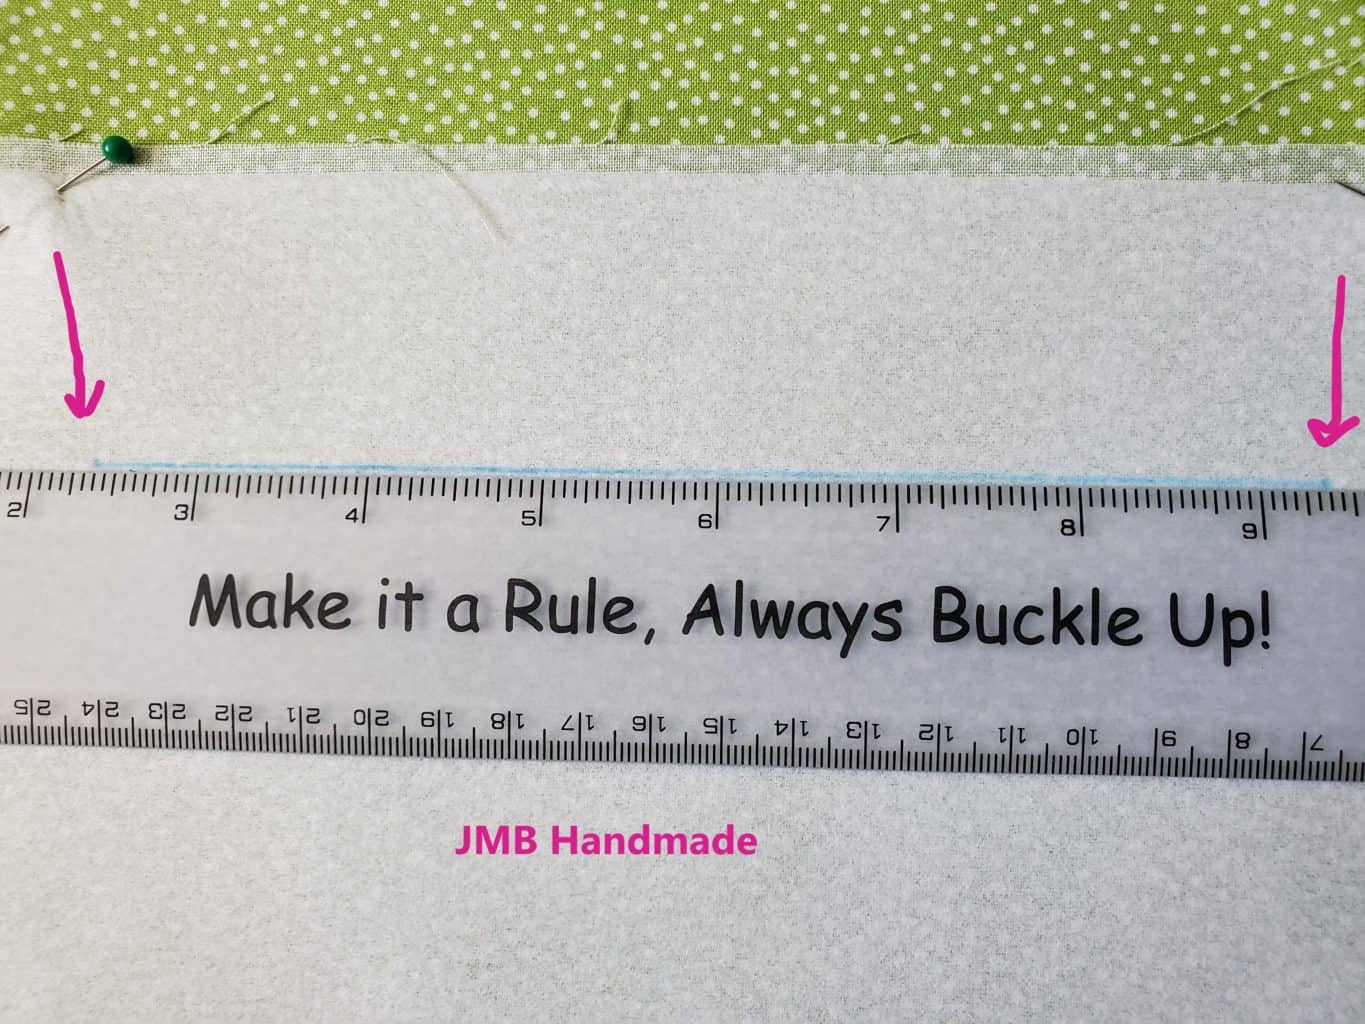

Draw a line with your marking pencil connecting the dots.
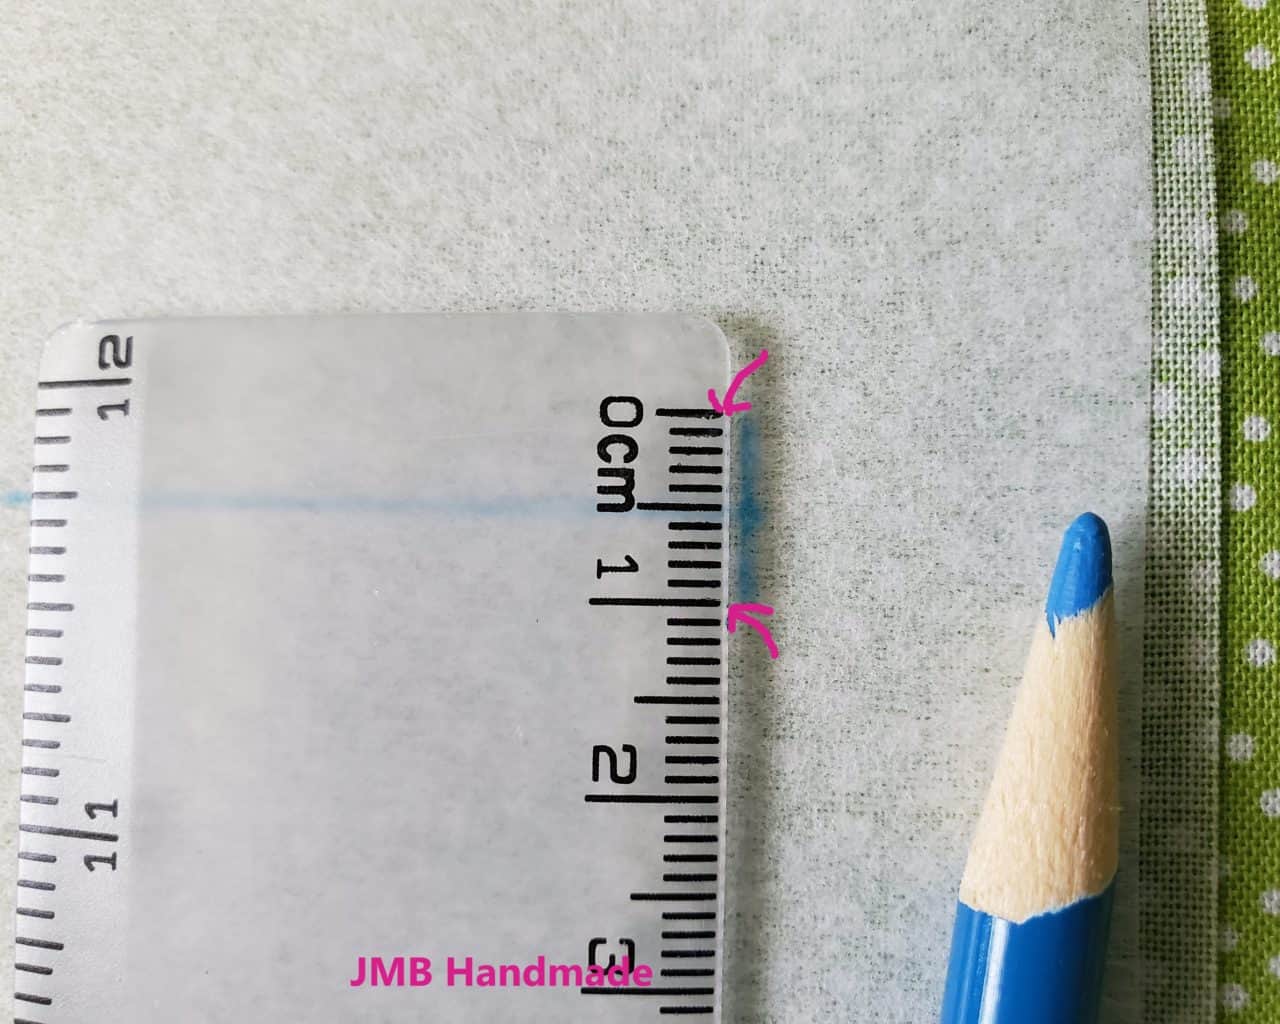
Next, draw a line, one cm long, through the dot on both ends. The dot should be in the center of the line.
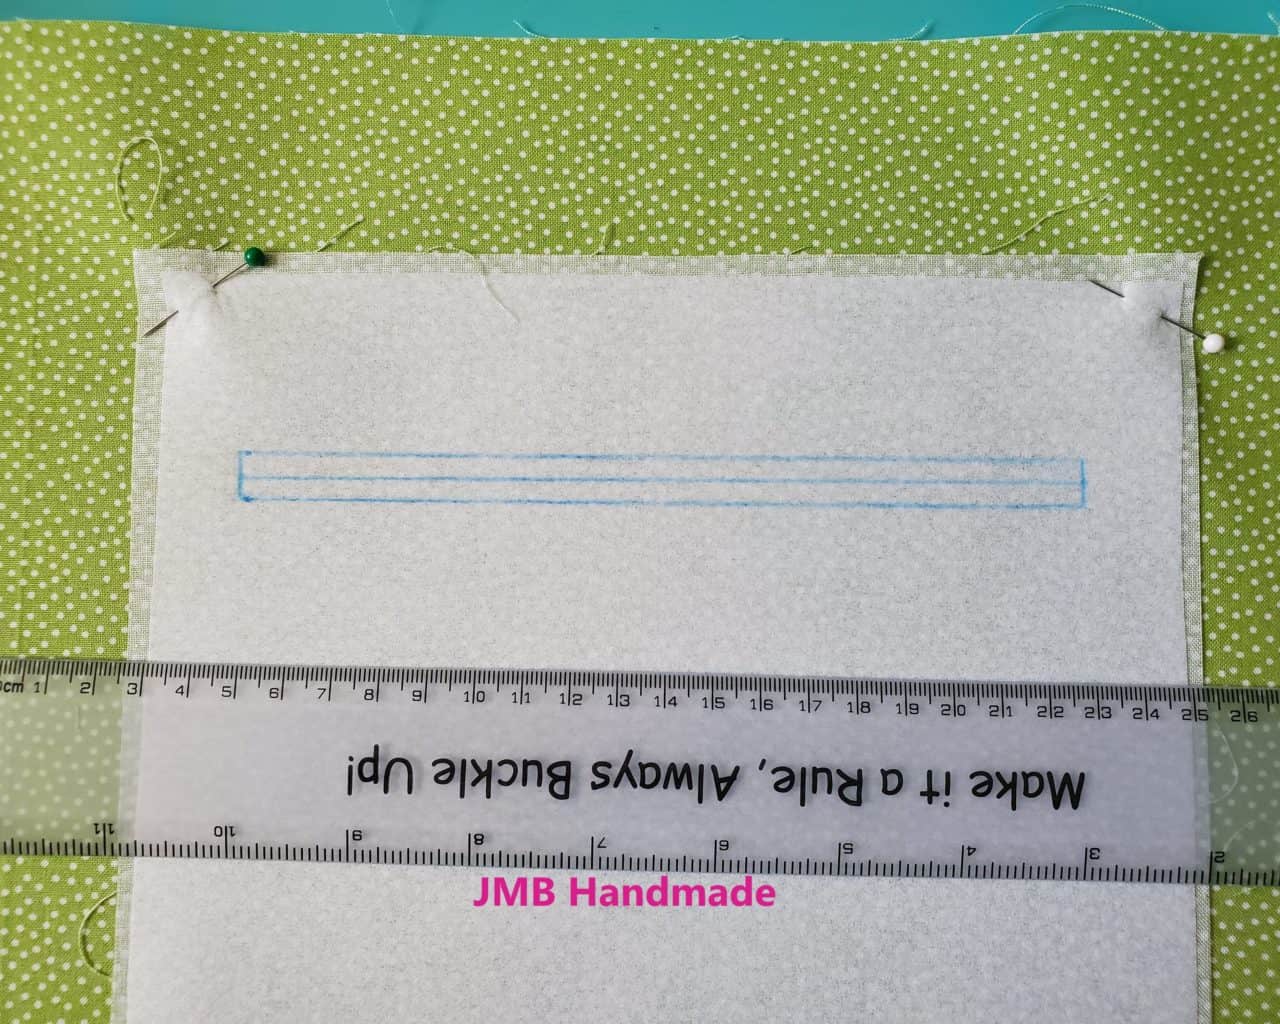
Draw a line on top and another line on bottom. See above picture.
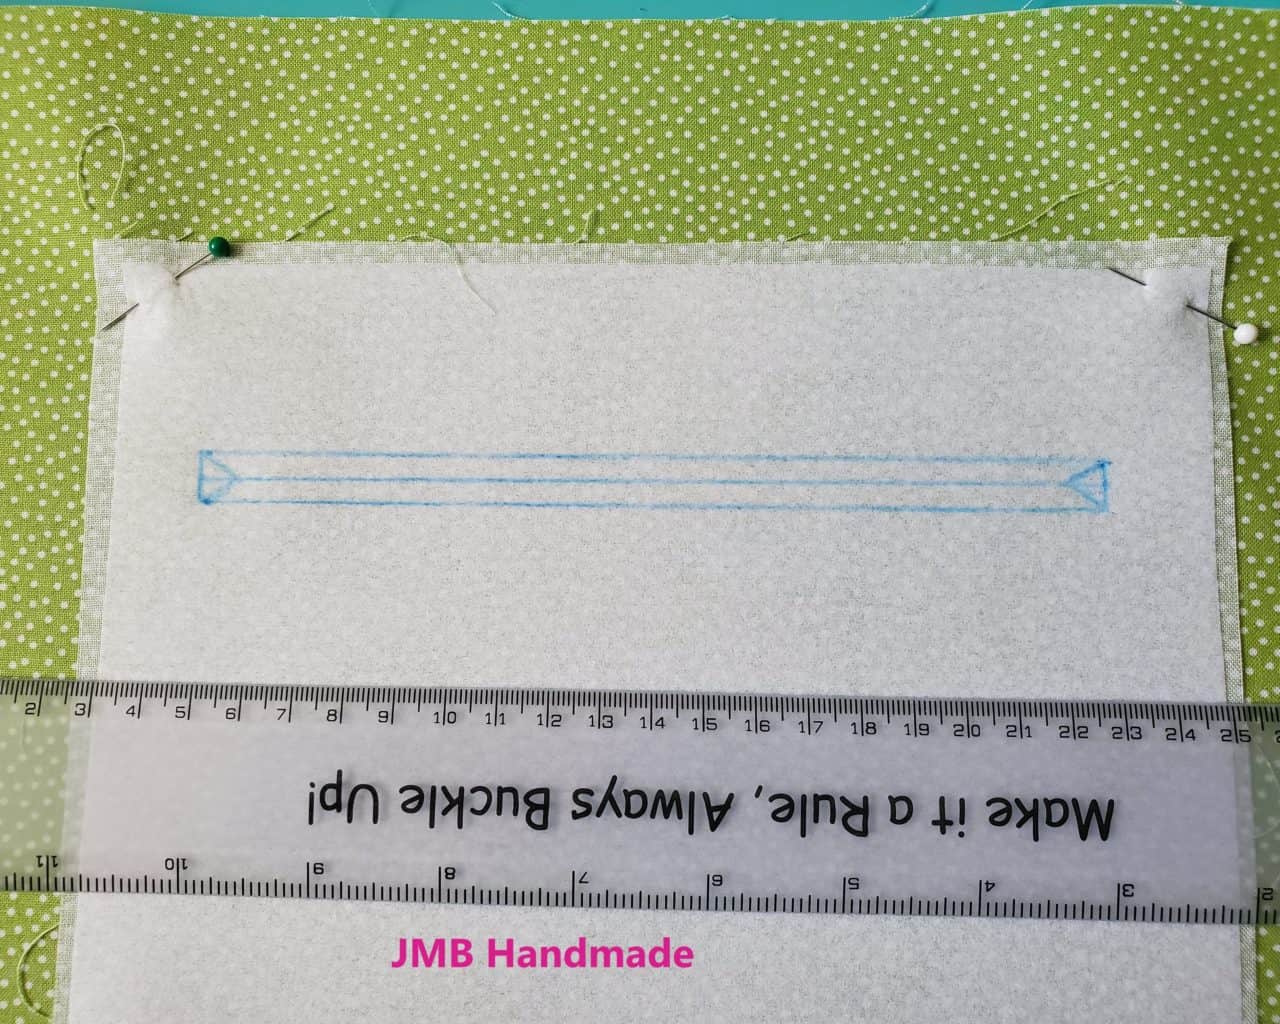
Draw a line from the center line to each corner, making two triangles.
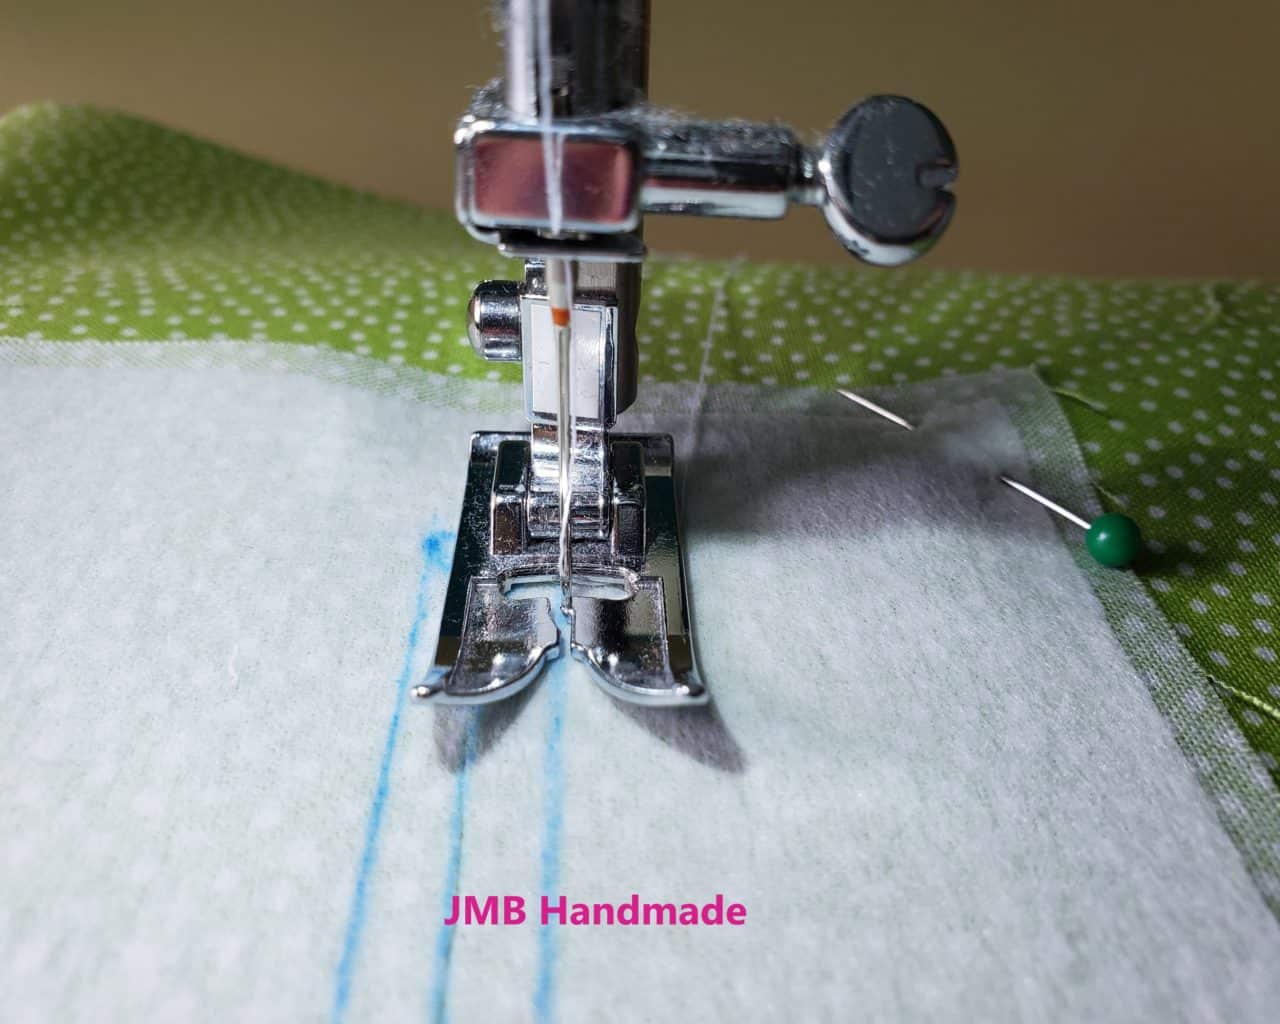
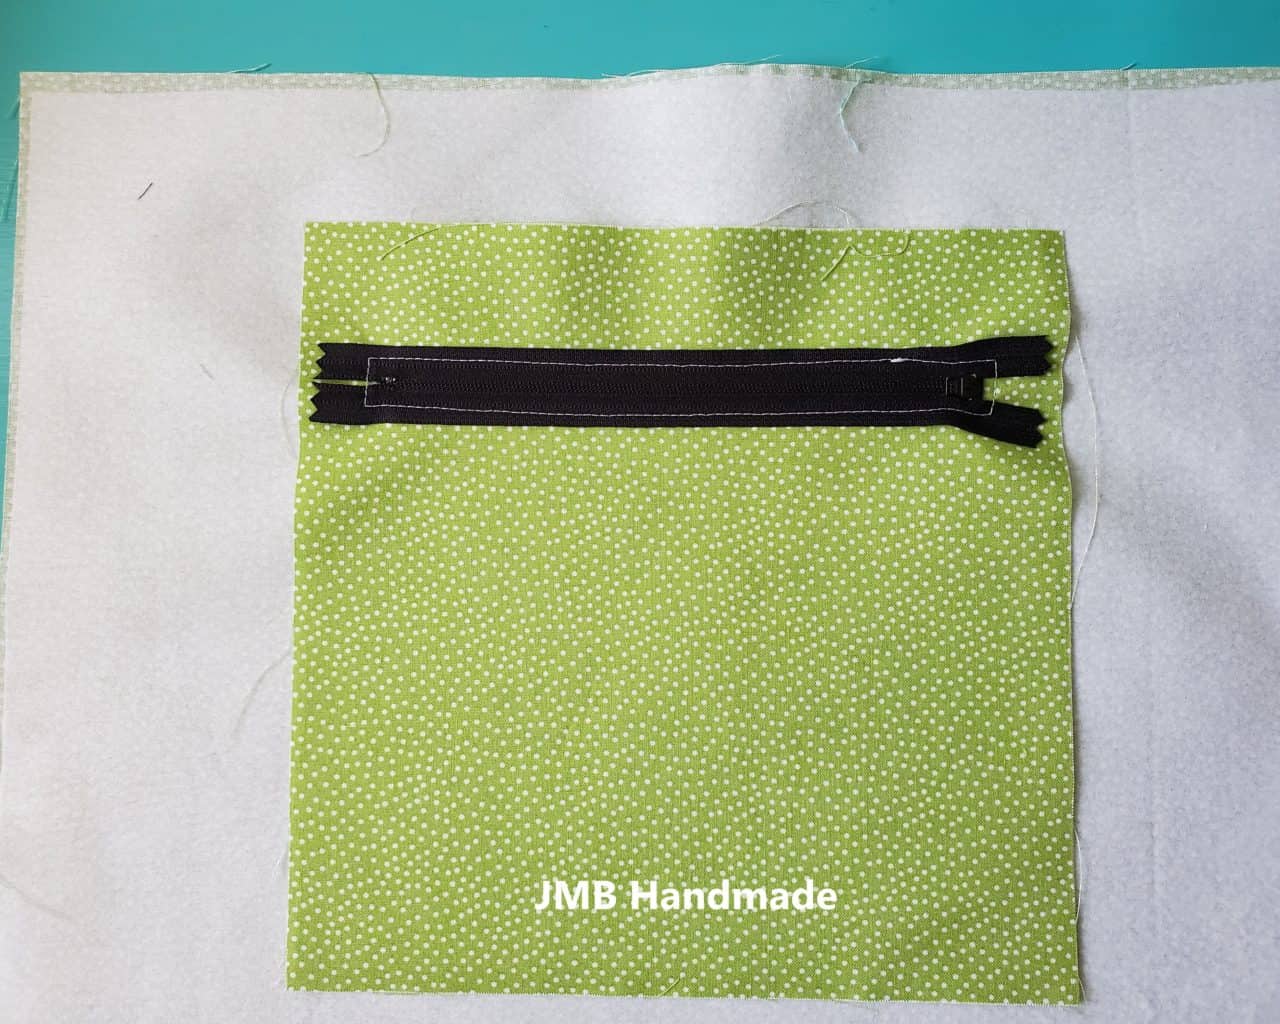
Once all your lines are drawn, sew around the outer perimeter lines, pivoting the corners.
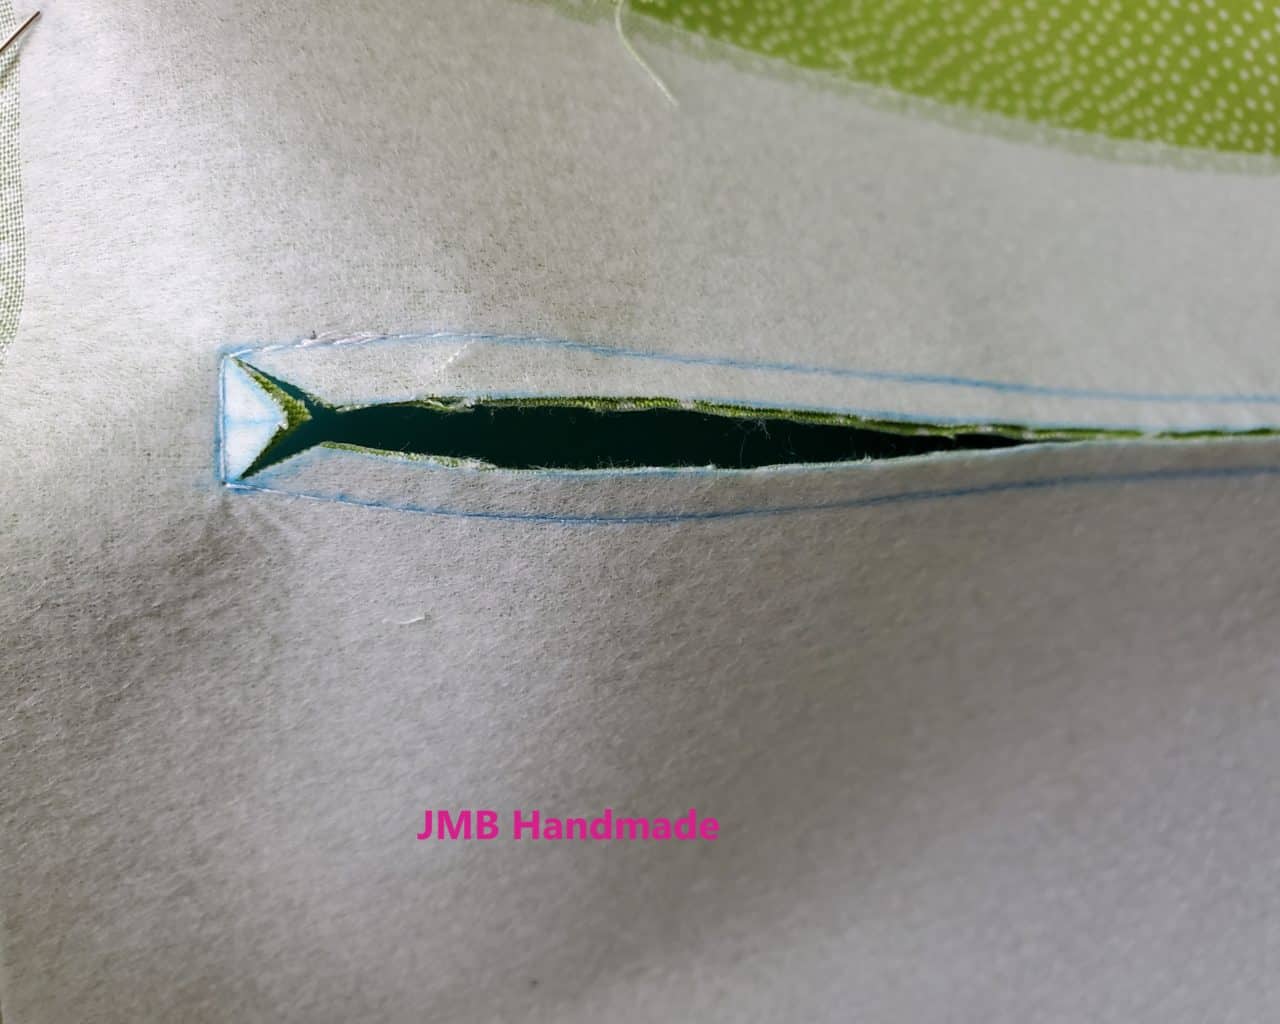
Now, using your seam ripper, make a little cut on the center line then finish cutting with your scissors. Cut the center line and the lines leading up to the corners as shown above. Be careful not to cut through your stitches!
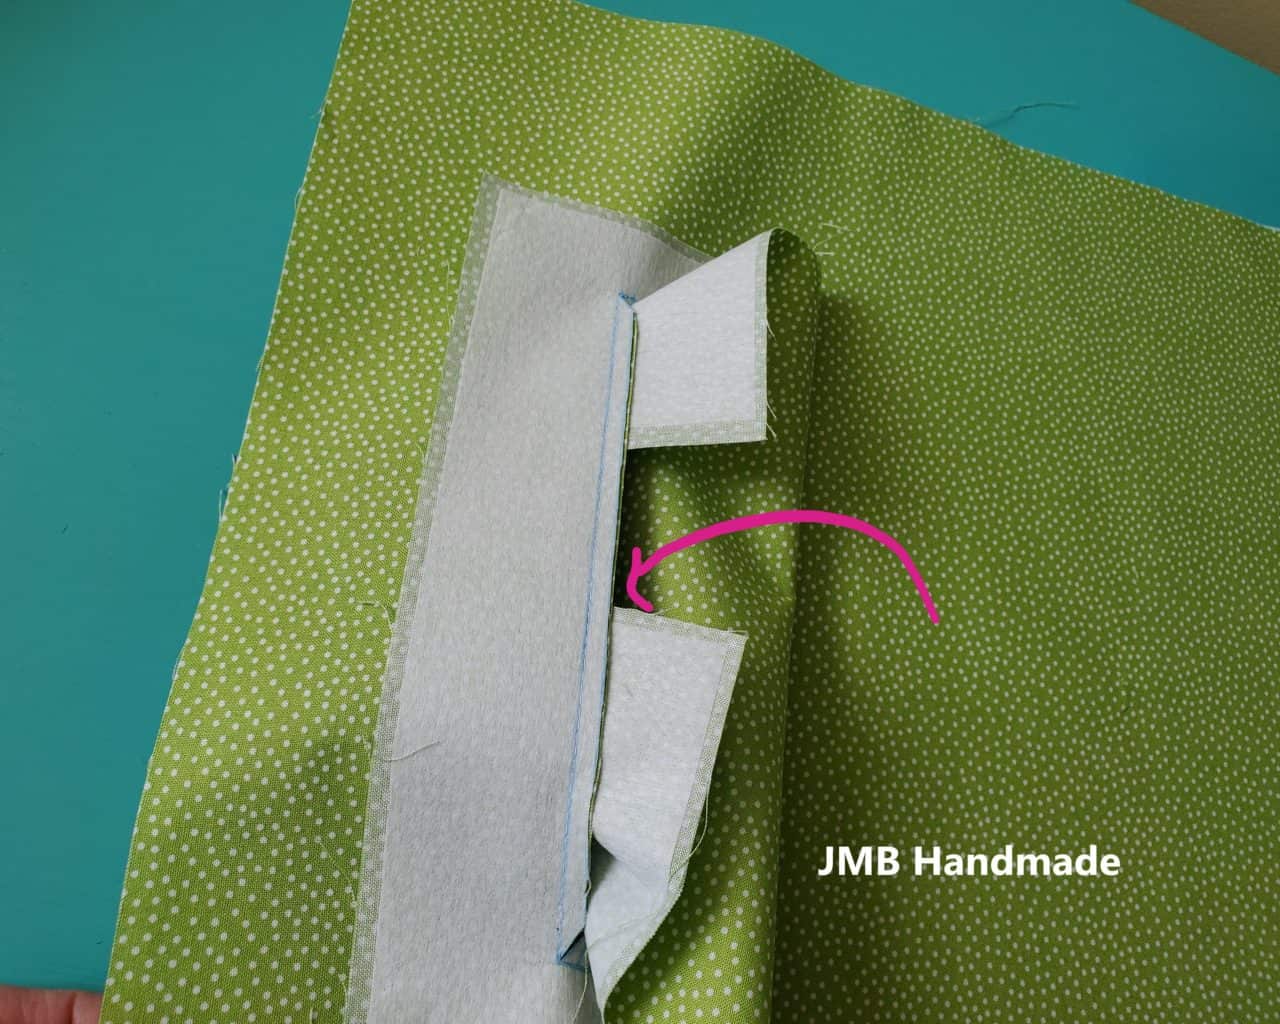
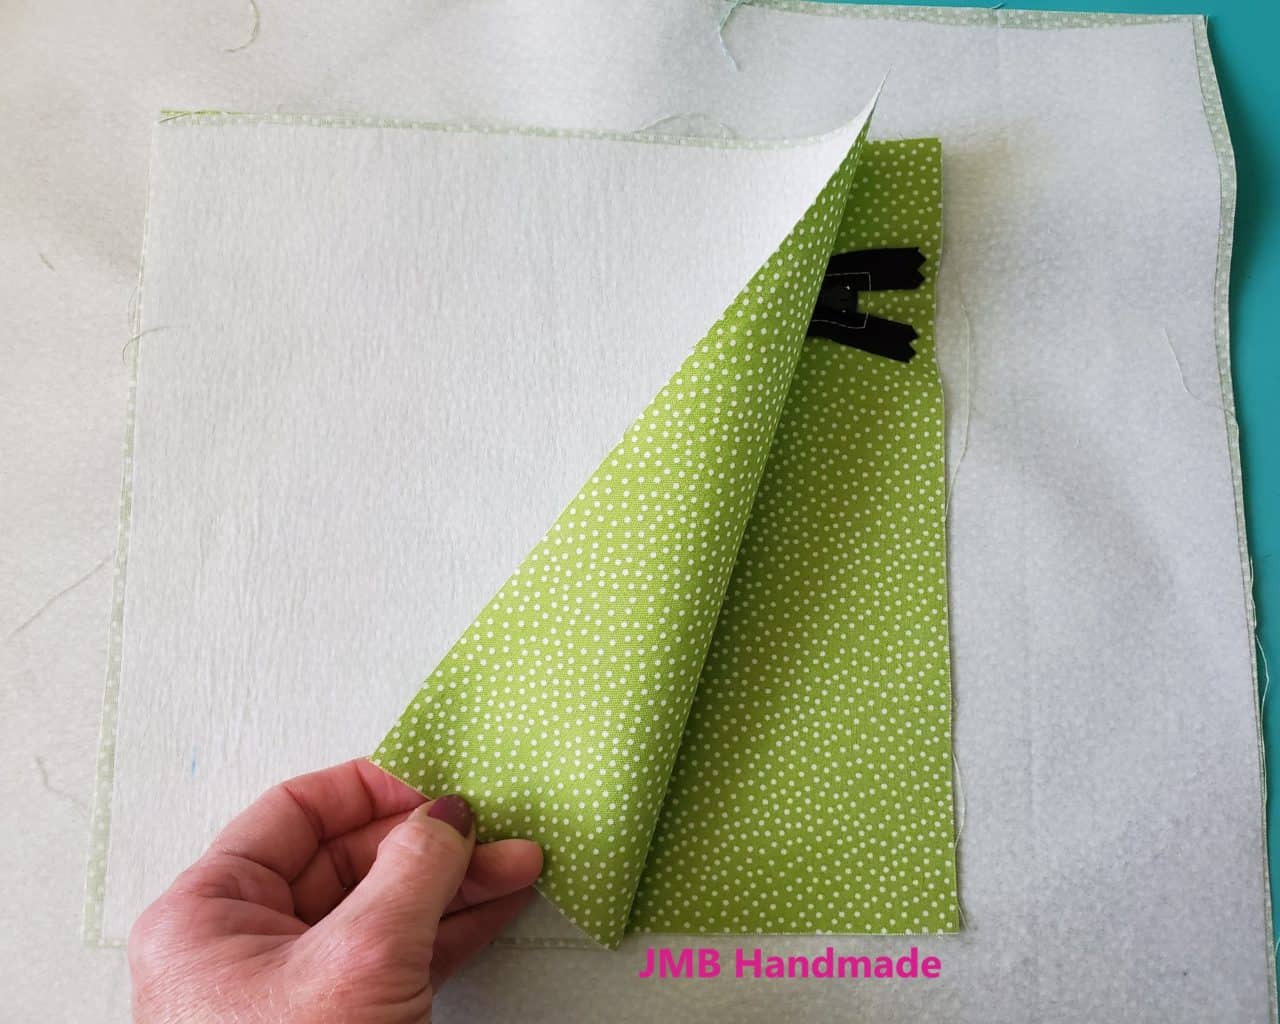
Push the pocket piece through the opening so the pocket is on the wrong side of the tote bag lining piece.
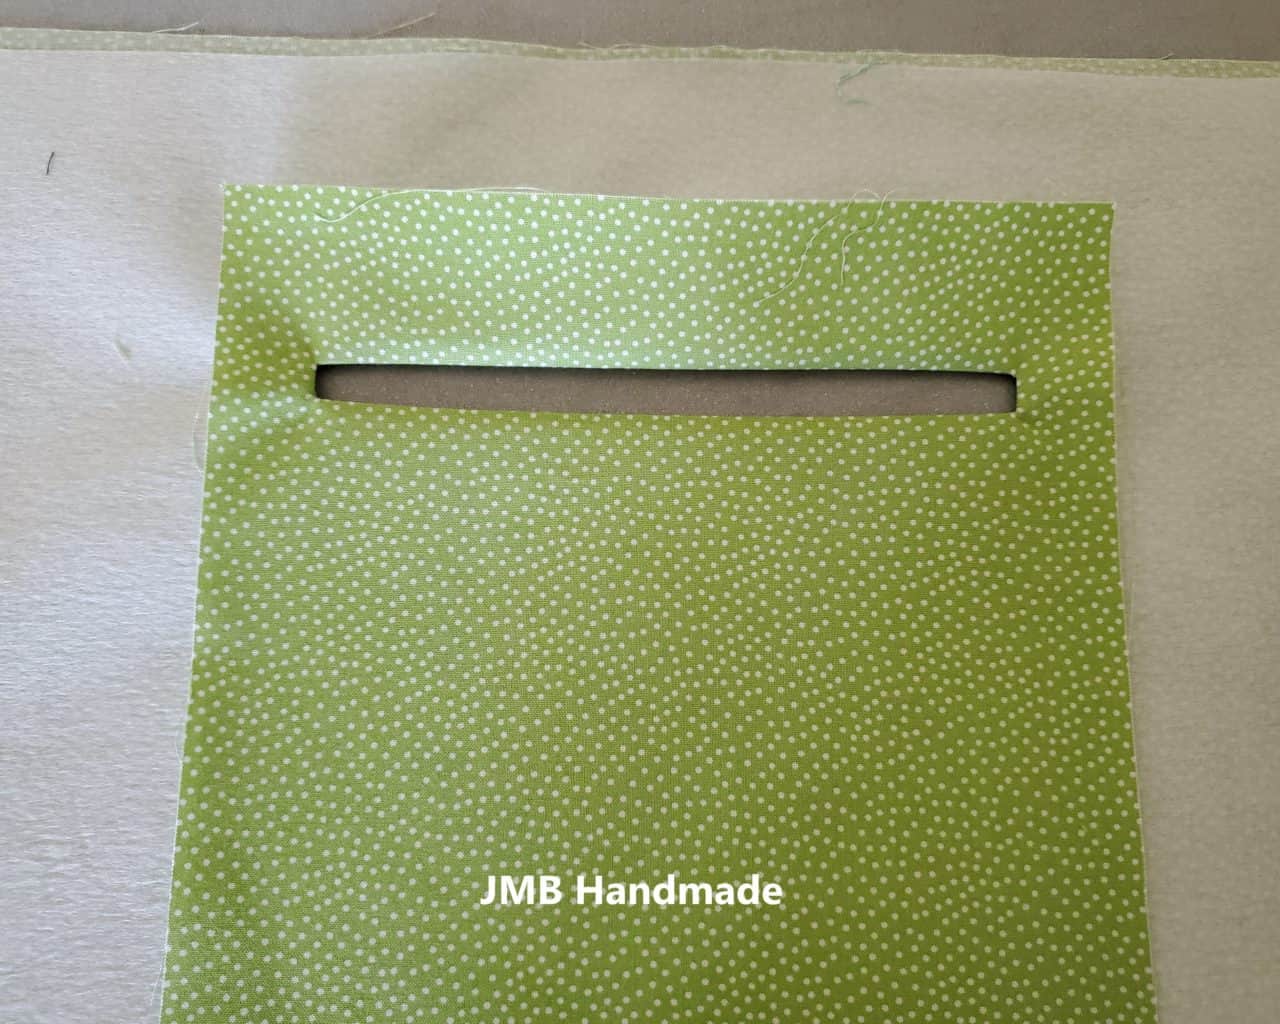
Press around the opening. Pressing will help the pocket lay flat without the pocket fabric showing on the front.
Add the zipper
Place the zipper underneath and center it in the opening.
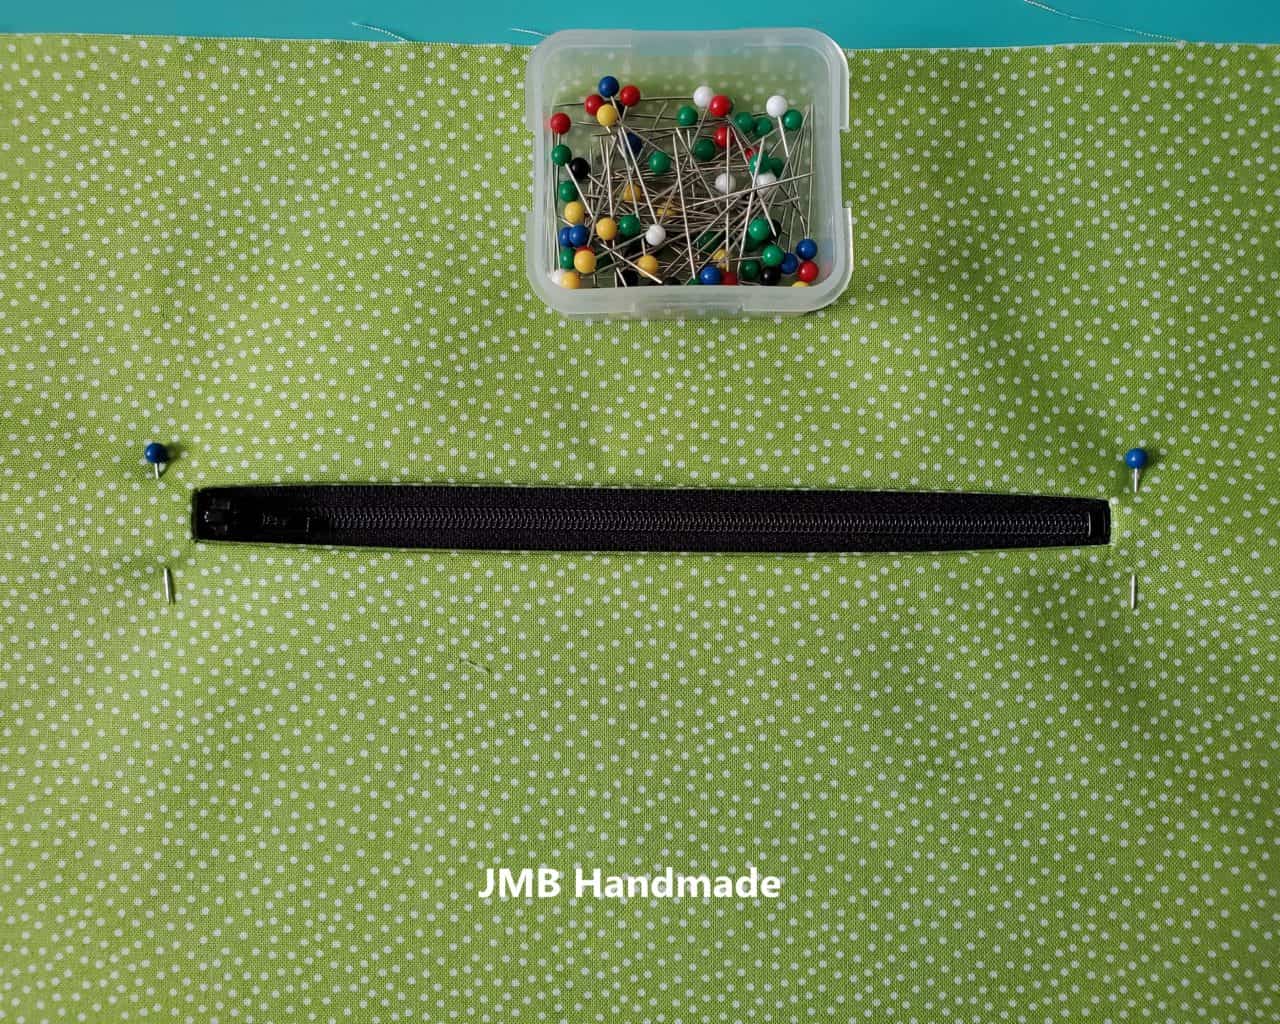
Pin in place.
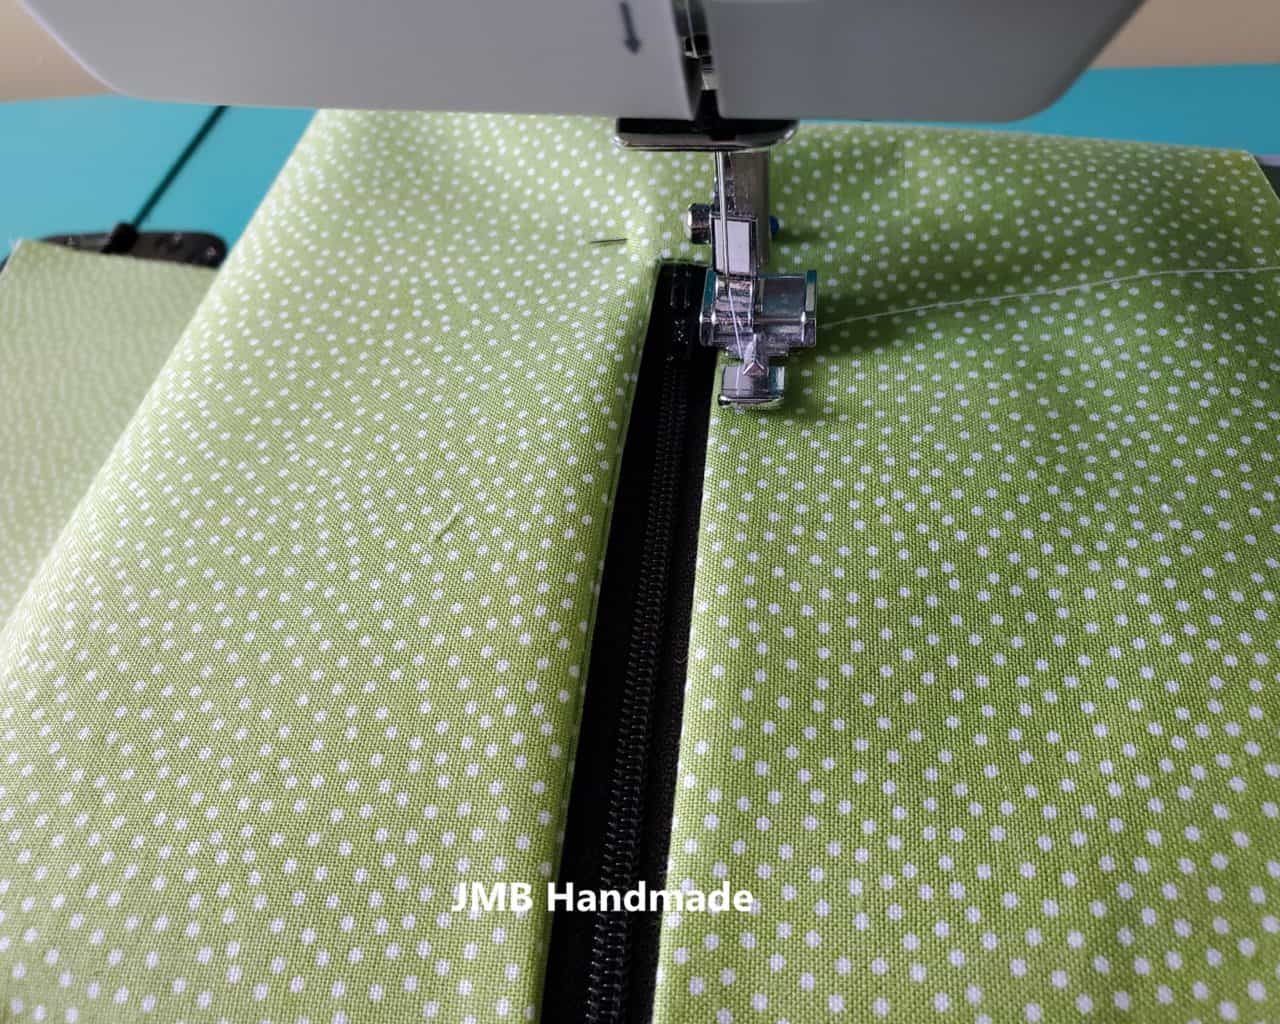
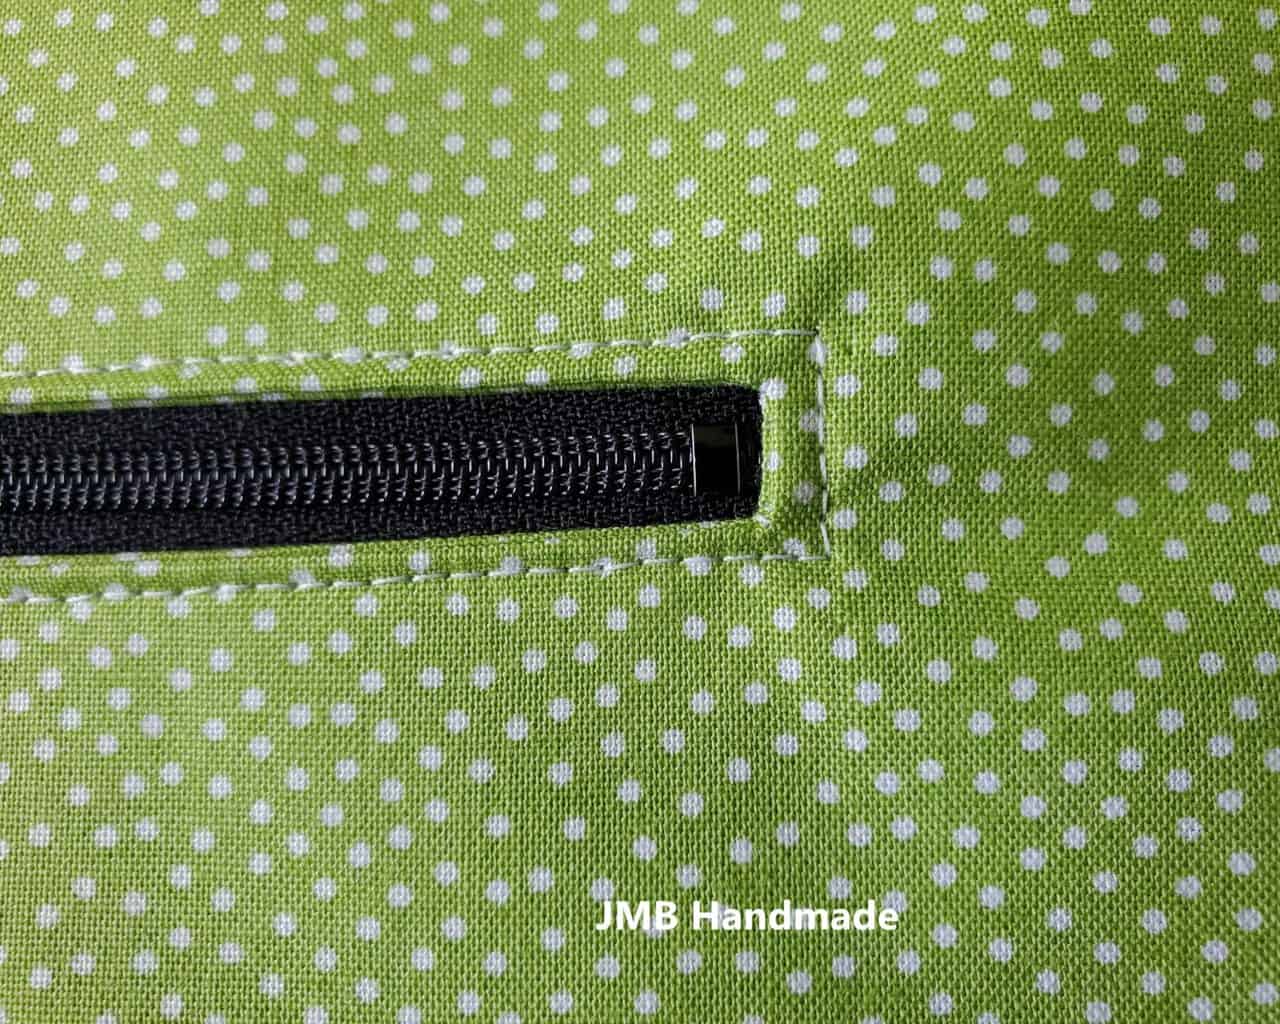
Using the zipper foot on your sewing machine, sew along the edge of the opening to secure the zipper to the tote bag lining piece. Pivot the corners.
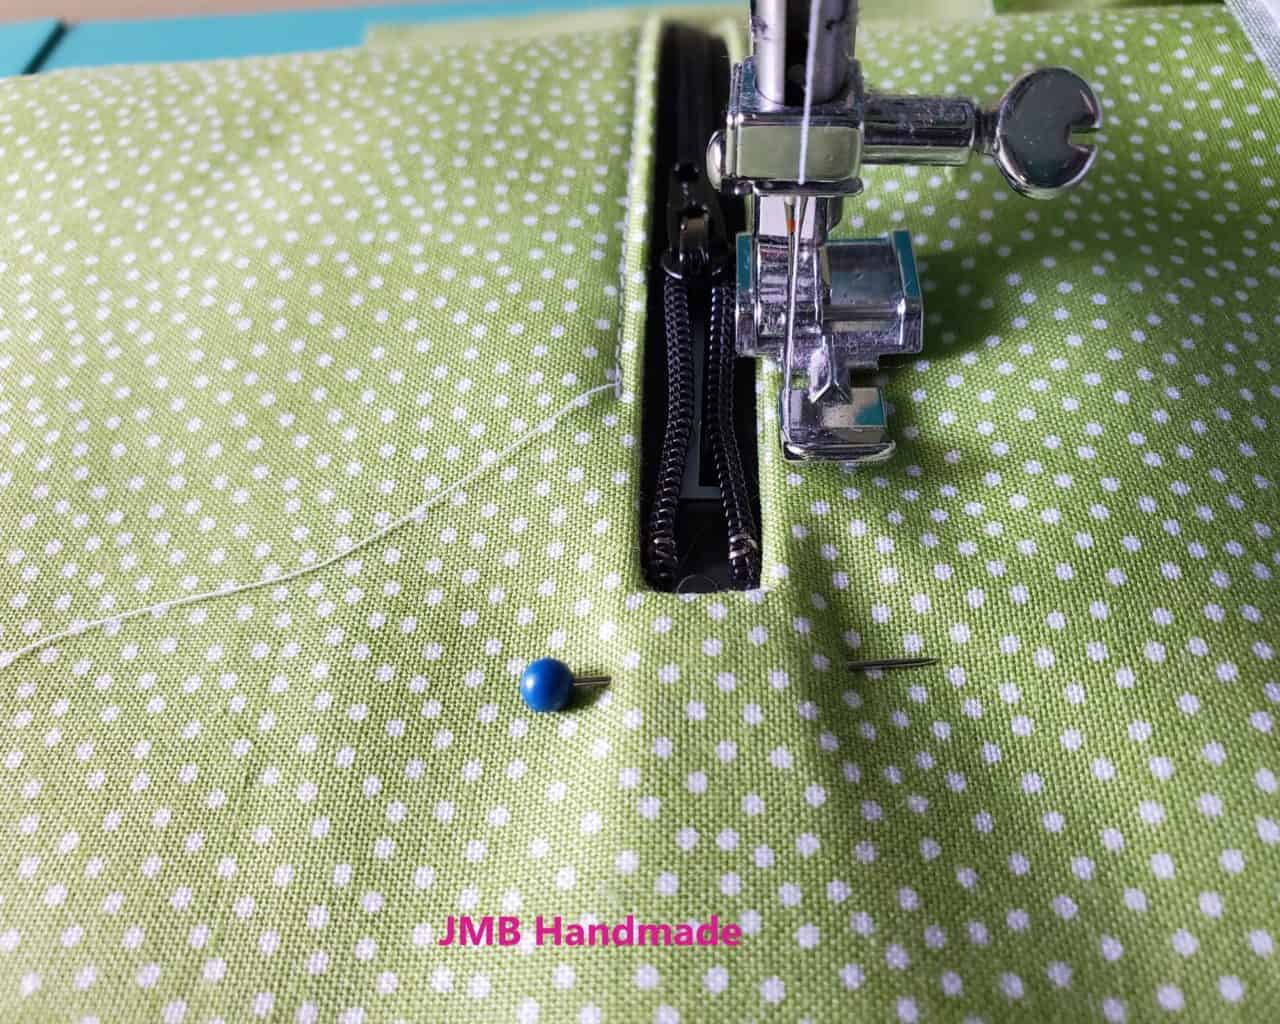
When you reach the top of the zipper, open the zipper a little bit and then resume sewing. This will allow you to keep sewing straight without running into the zipper pull.
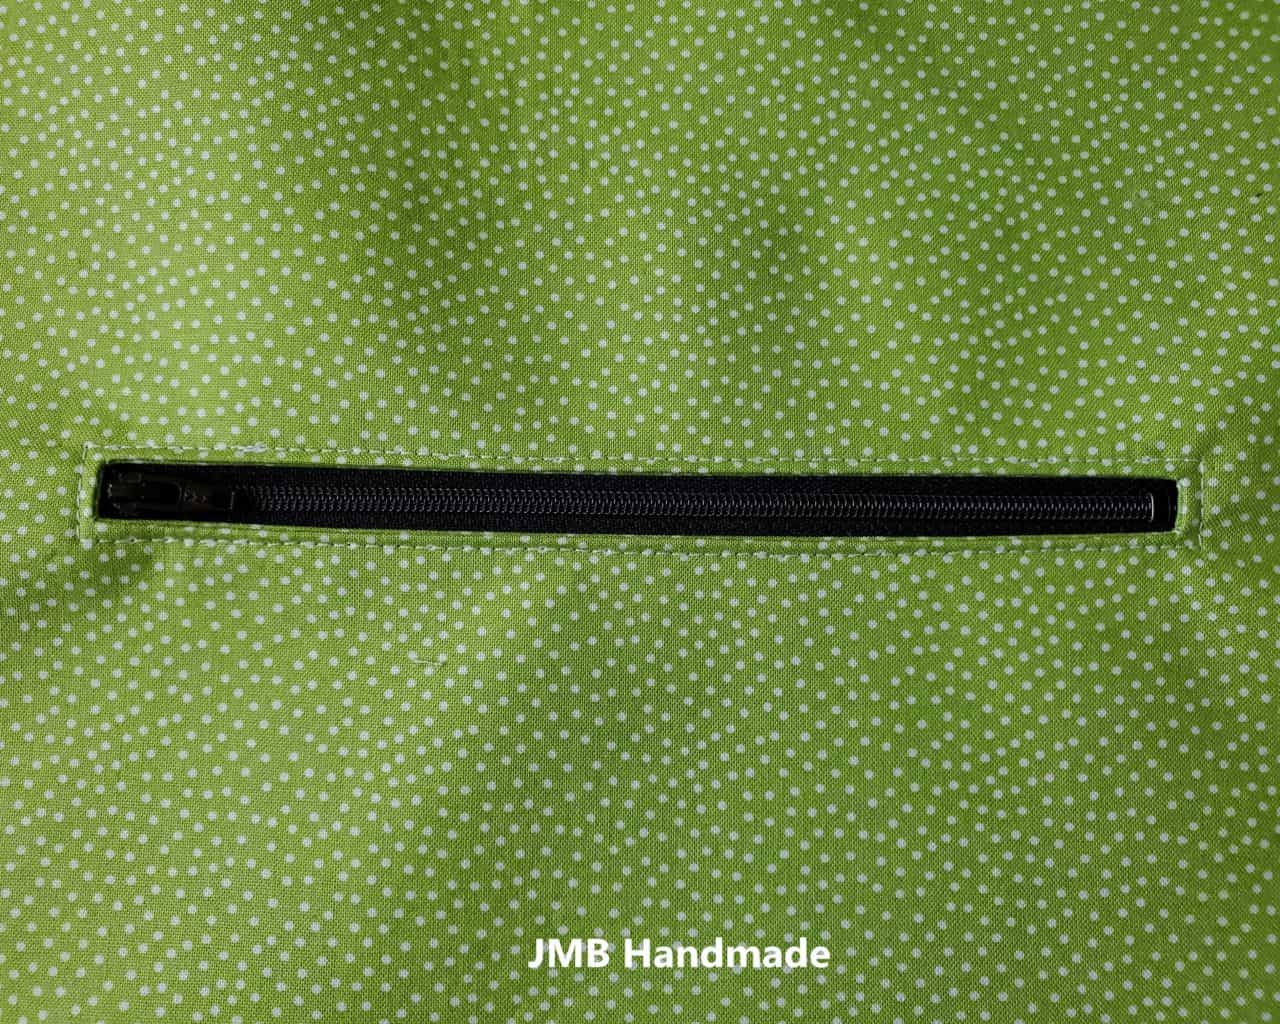
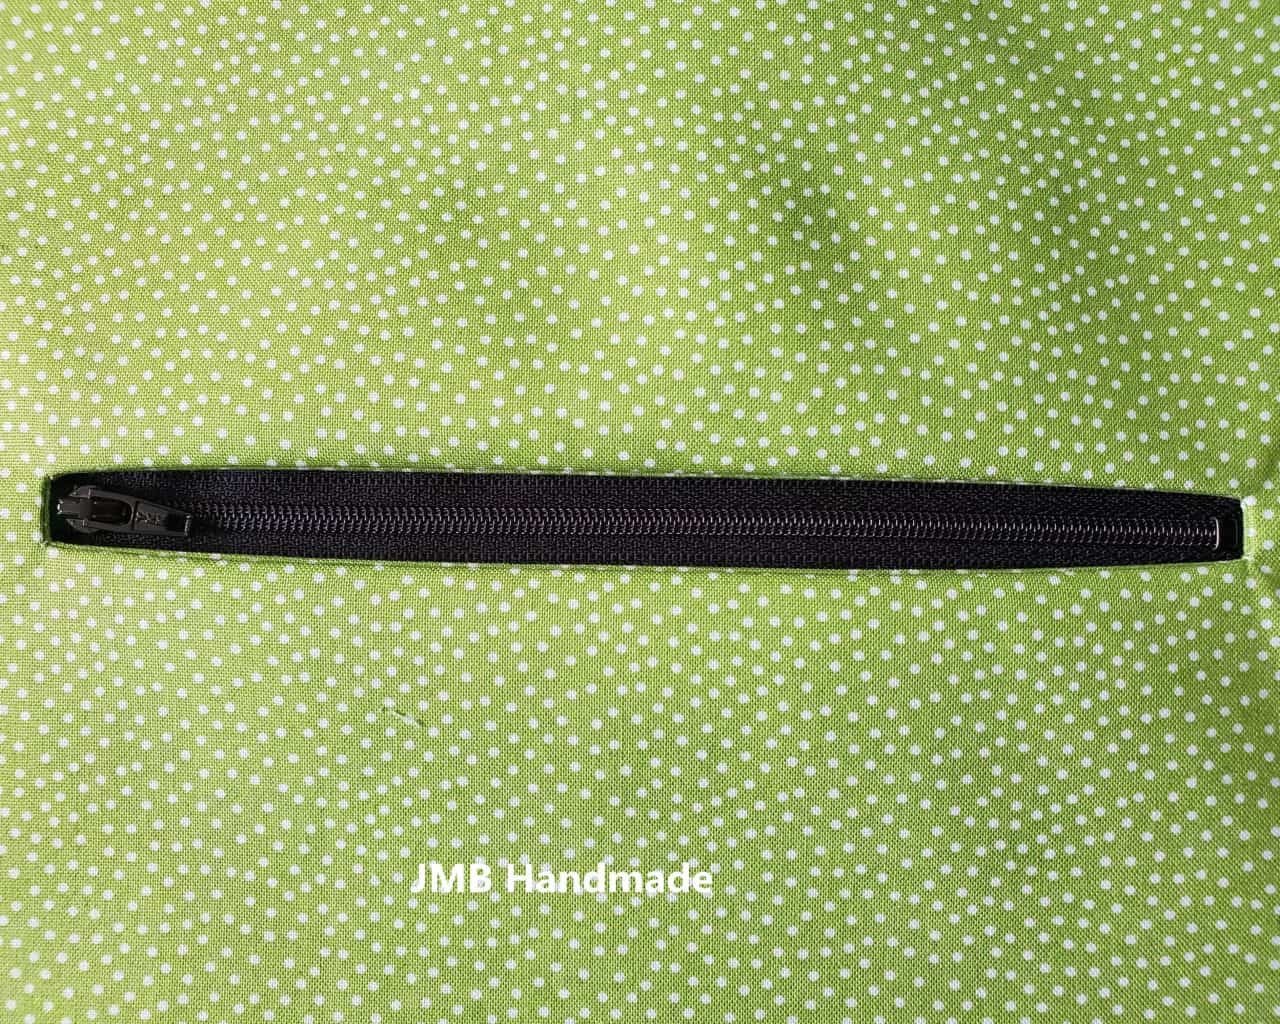
This is what it looks like at this point.
Turn the bag lining piece over so the wrong side is facing up. Place the other pocket fabric piece on top of the one you just sewed with the zipper, right sides together.
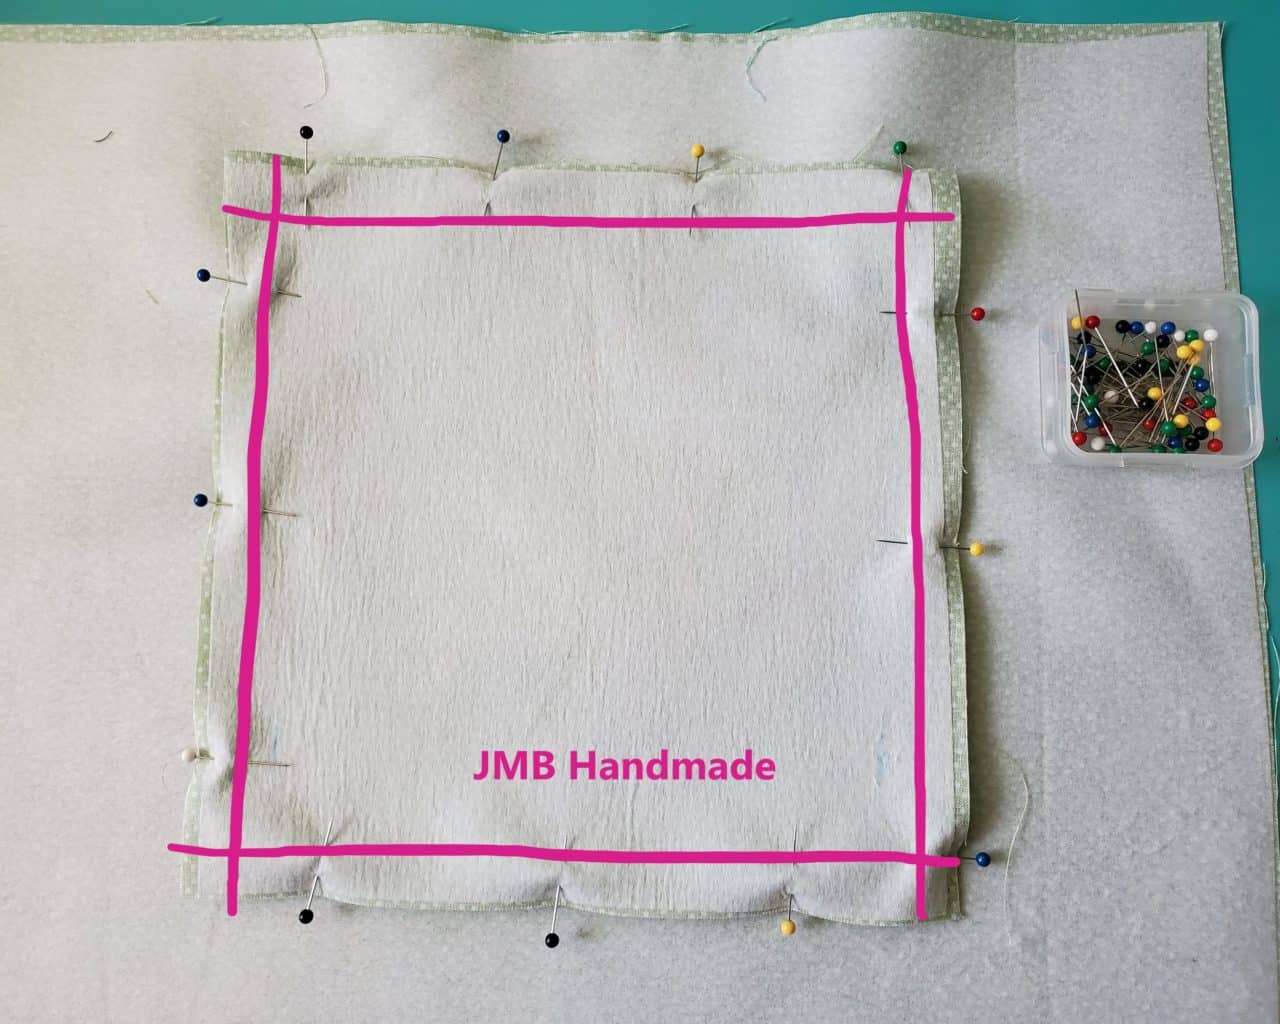
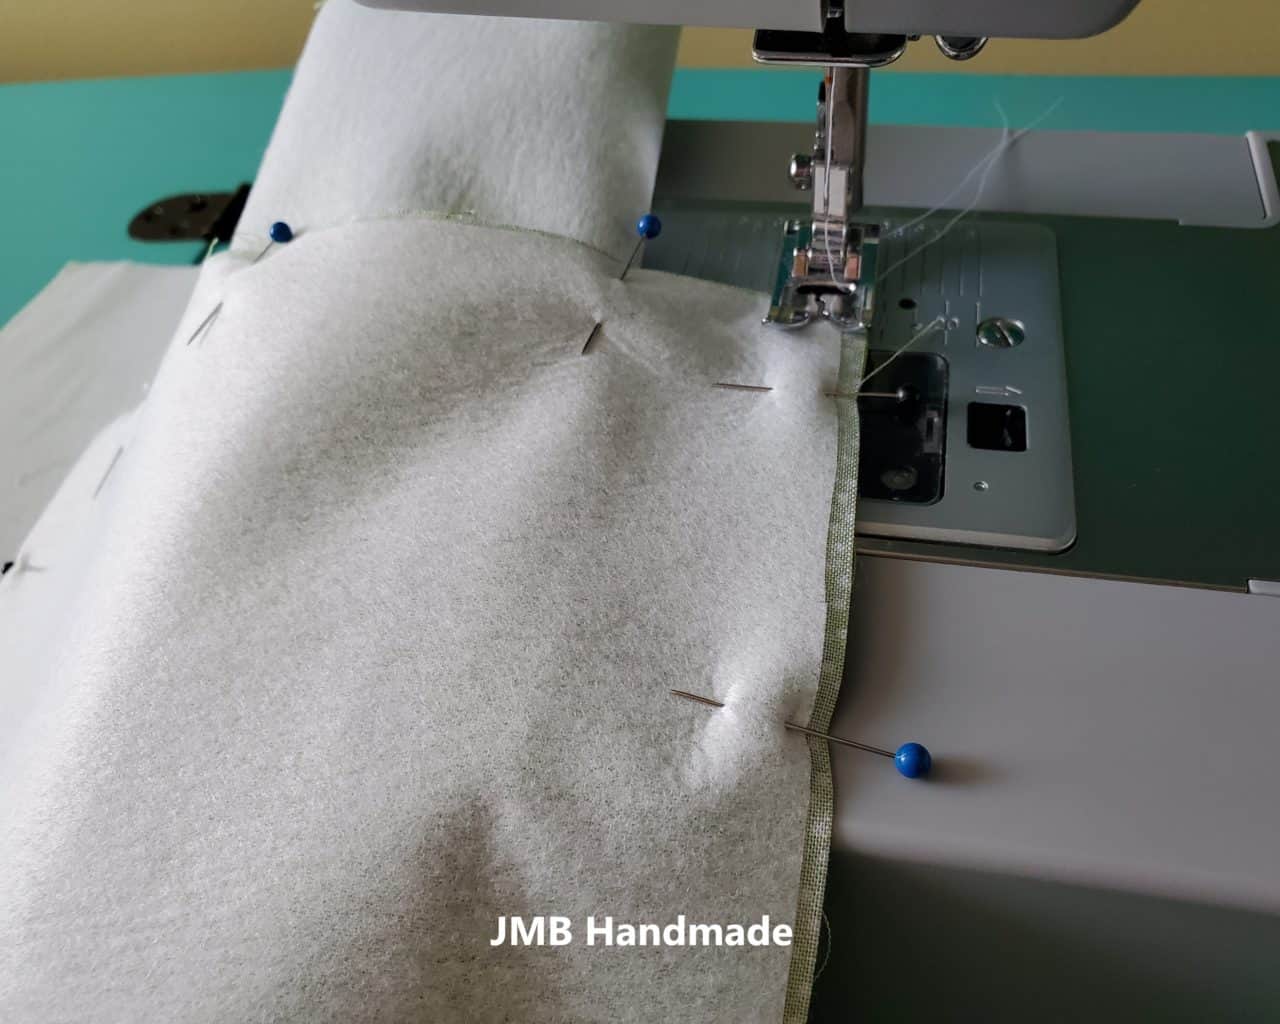
Pin in place. Sew around the pocket using the straight stitch then the zigzag stitch.

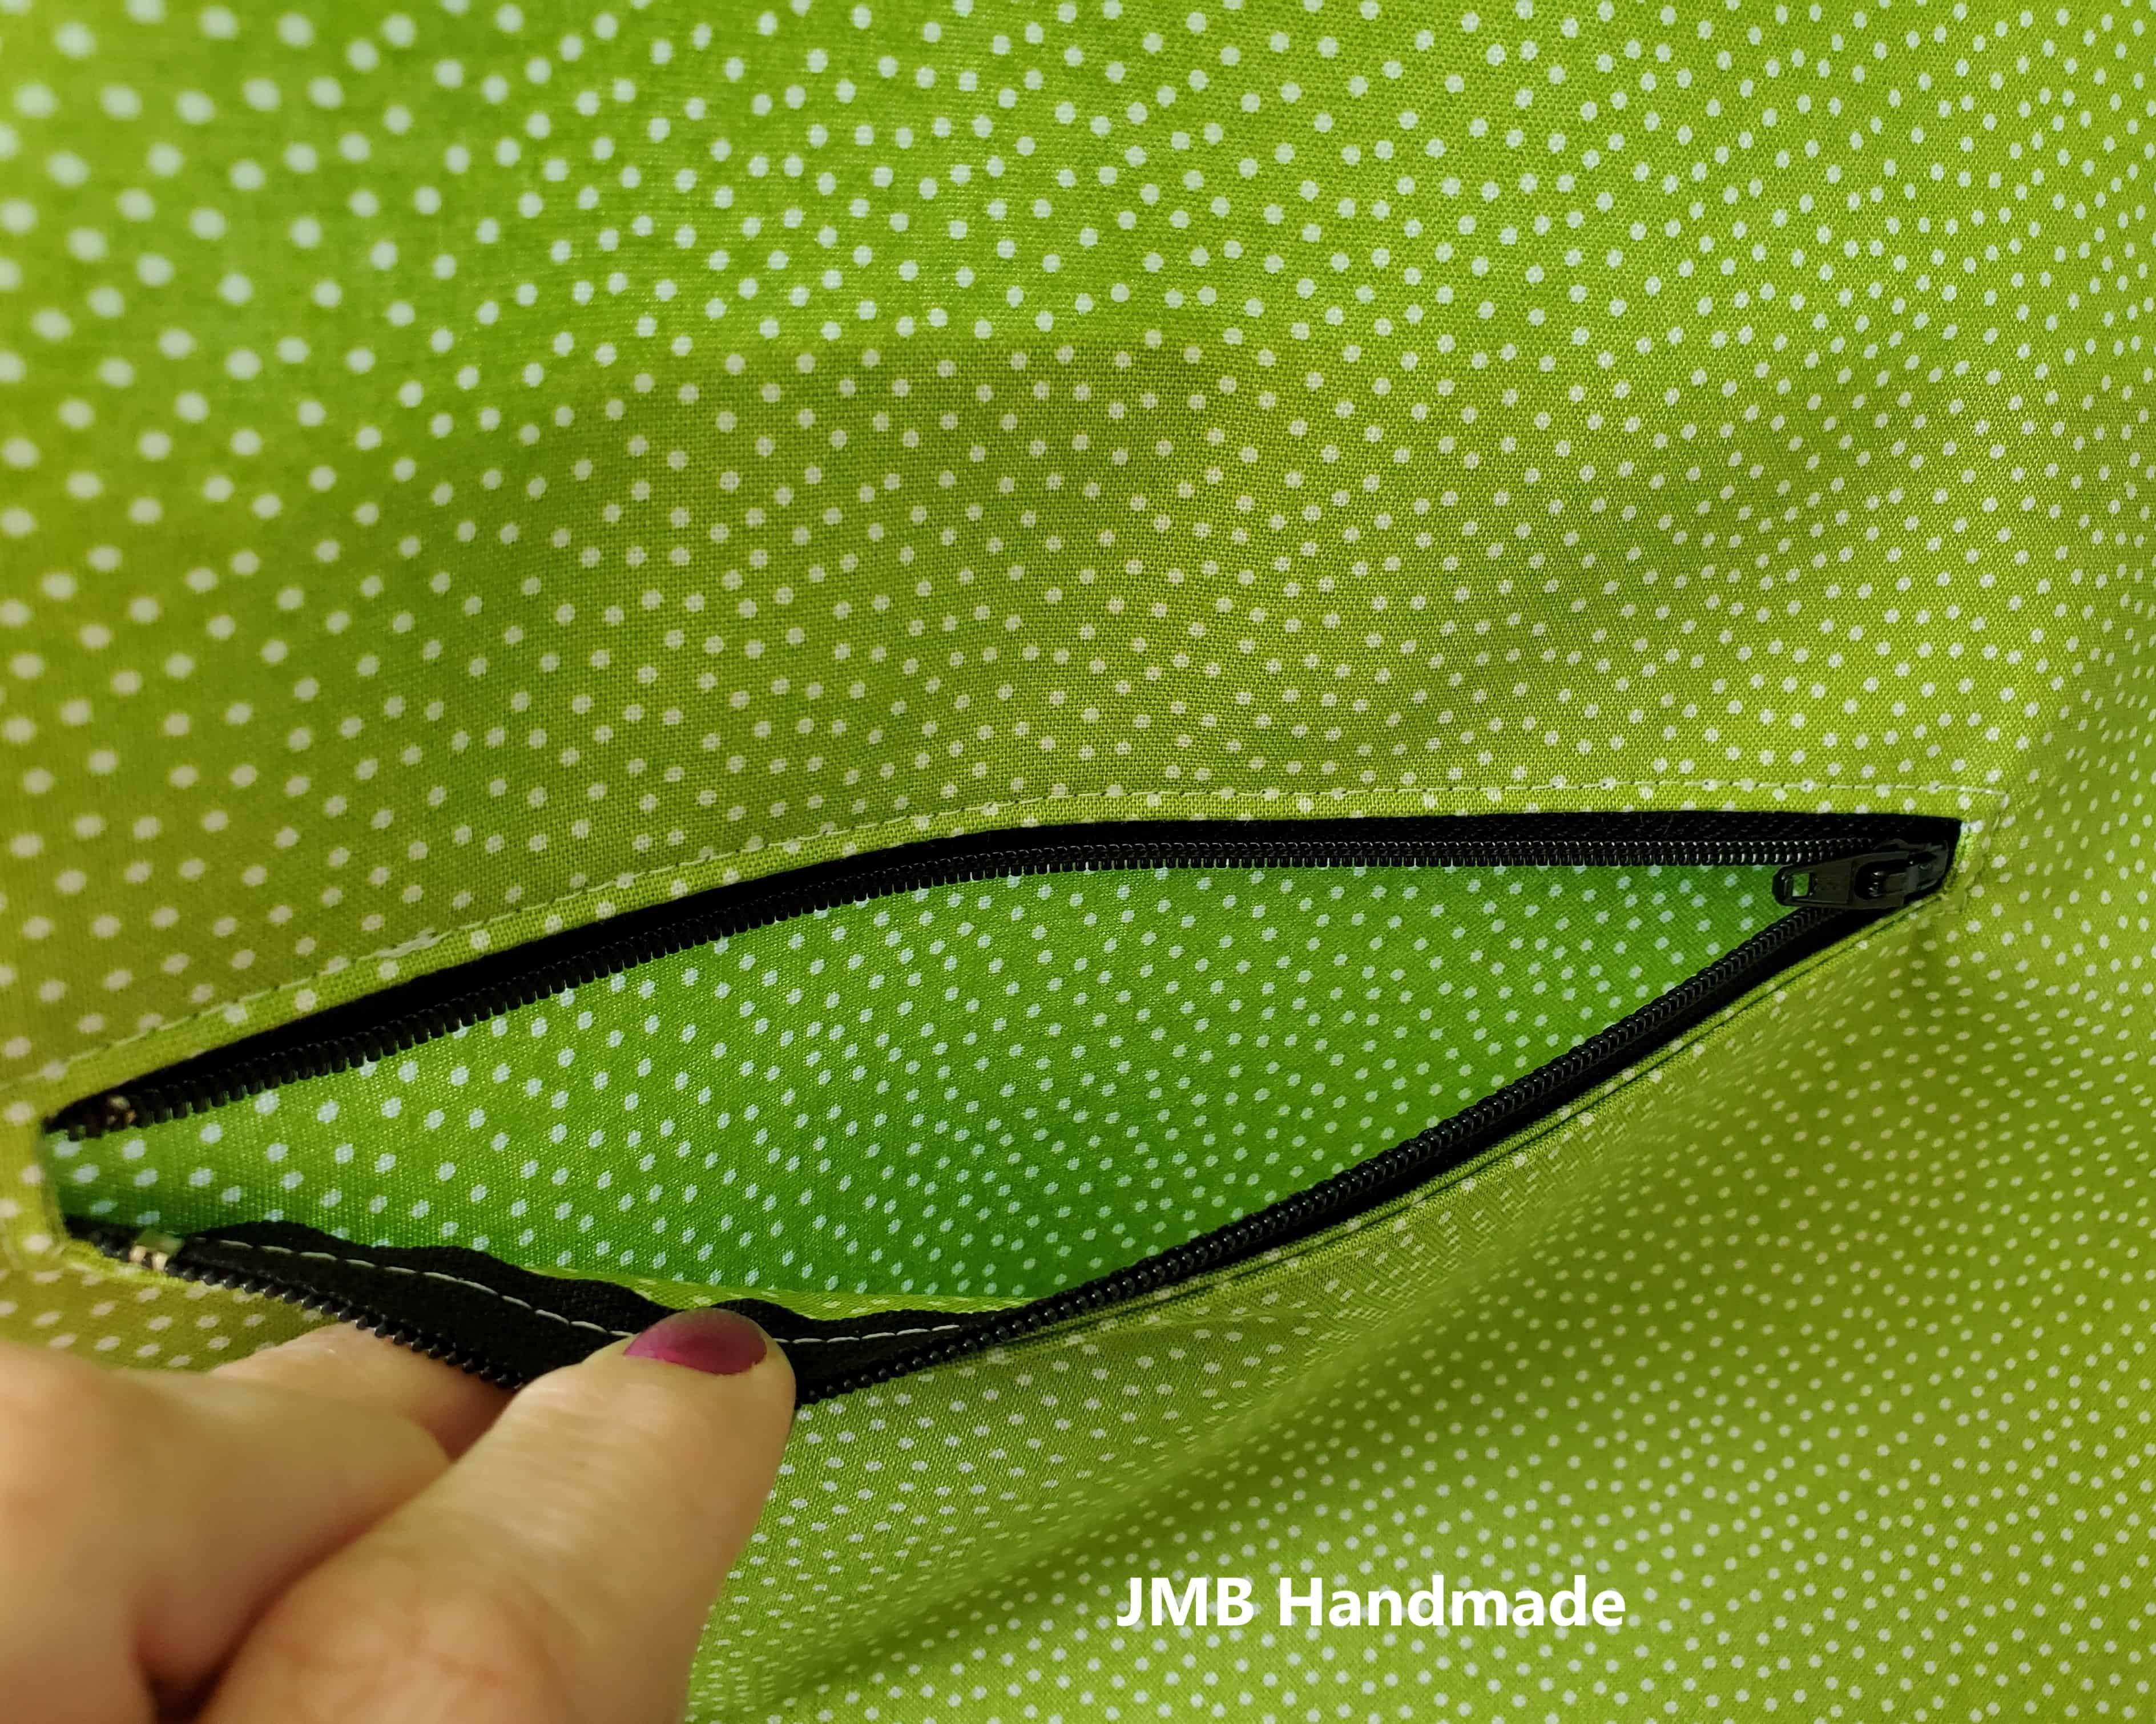
The picture above is what it should look like once sewn.
You are finished!

I hope this tutorial help you learn how to sew a zippered pocket. Once you master this, you can add zipper pockets to anything! Just remember, the width of the pocket fabric should be two inches wider than the zipper and it can be a deep as you want. Happy sewing!
Pin for later!